New Vendors Form
❑This completely redesigned Vendors Form has a whole new "look" including new Ribbon Style Menu with special Edit View and Search Icons, History Options and Vendor Options Menus, plus options on the Navigation and Actions sections of its Ribbon Menu
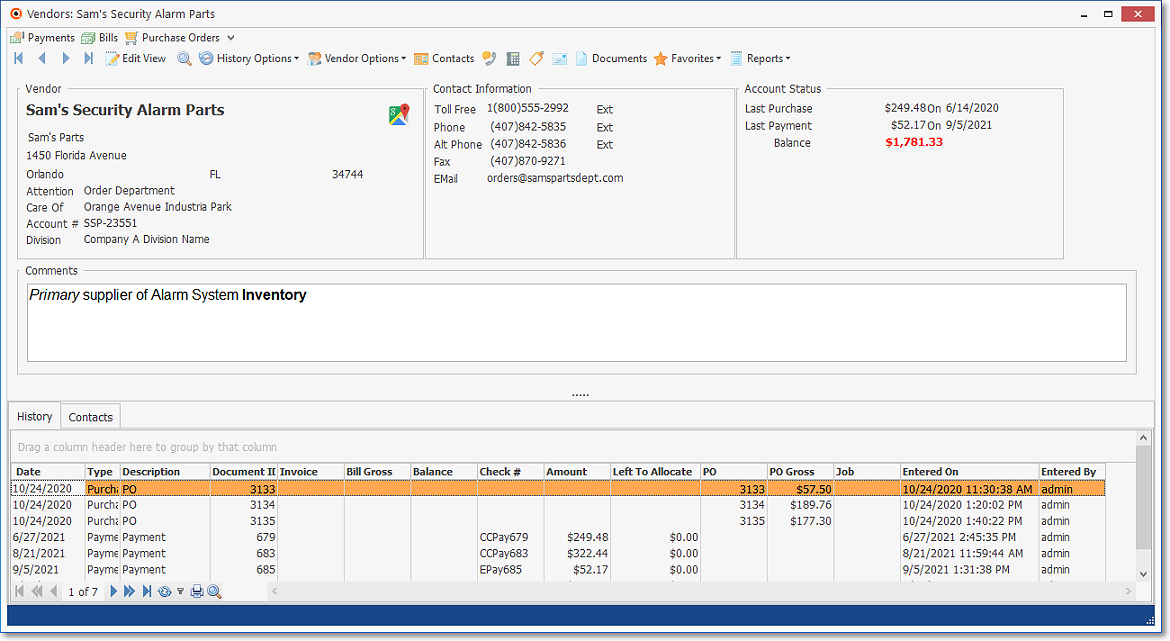
Vendors Form showing Ribbon Menu - Browse View - the History Grid
•The Ribbon Menu on the top of the Vendors Form has two sections:
![]()
1.Navigation section with a Search Icon, a History Options Icon, and the Vendor Options Drop-Down Menu which provides One Click access to most Daily Procedures (e.g., Entering Bills, Posting Payments, setting up Auto Purchases)
2.Actions section with its Calls, Dial, Documents, Favorites, Label and Reports Icons,
•You may also Customize a Quick Access Tool Bar (highlighted in Yellow below) using the Add or Remove Buttons option (Down-Arrow ˆat the top of this Form), and when defined, those options will appear above the regular Ribbon Menu on the top of the Vendors Form

•All additions, modifications and deletions of Vendor data (i.e., Contact and billing address, sale tax status, and coding) is now performed within the Edit View on the Vendors Form which has three special sections:
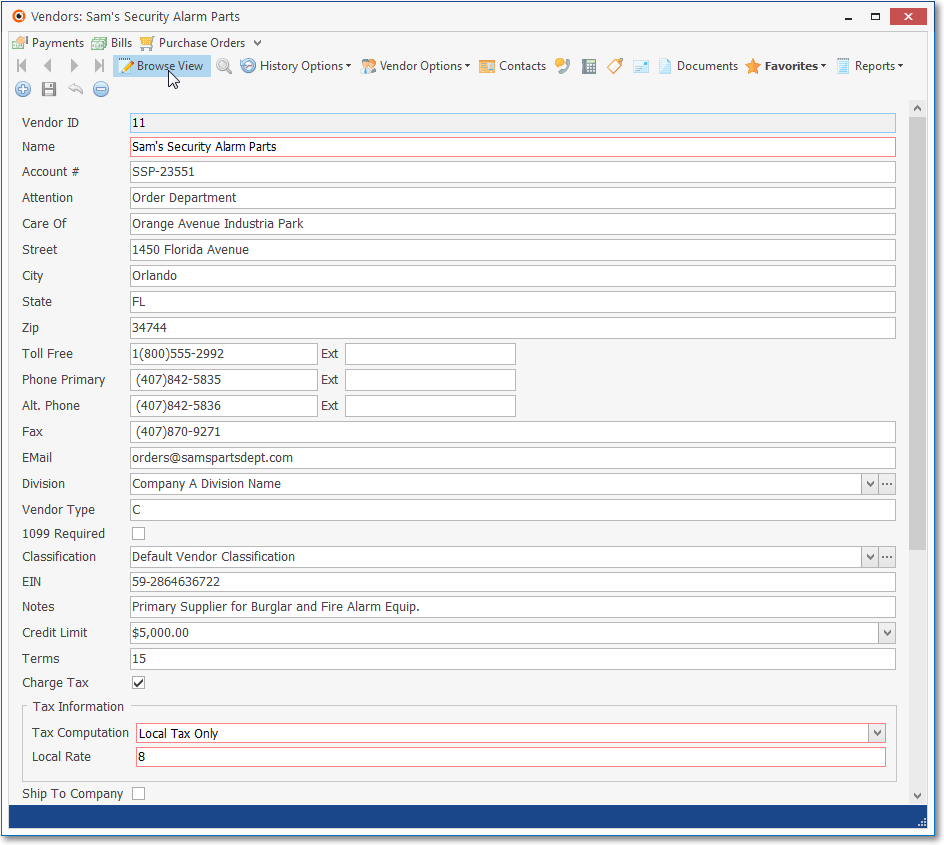
Vendors Form - Edit View
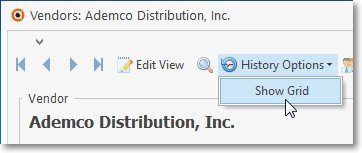
•The History Options Icon displays the History Options Menus for Filtering the Vendor Form's History Grid and designating the History Period for what is displayed based on that Filter.
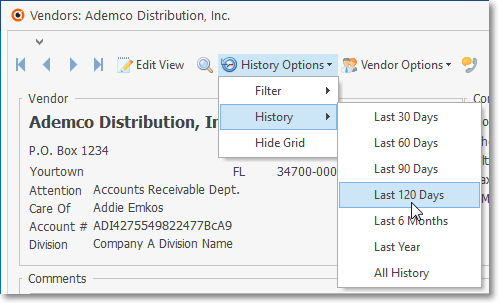
History Options Icon - History options
✓Turning the History Grid feature On and Off.
▪Hide Grid - Select the Hide Grid option to remove the History Grid from the Vendors Form.
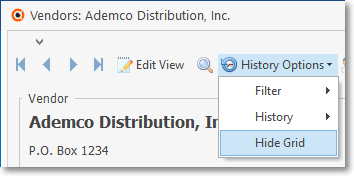
▪Display the Grid - Select the Show Grid option to display the History Grid on the Vendors Form.
•The Vendor Options Menu provides immediate access to these special purpose Forms:
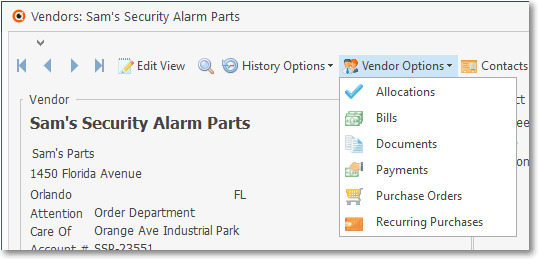
Vendors Form - Vendor Options Menu - Regular Menu
✓Allocations - Used to Apply Payments and Credit Memos to specific, outstanding Invoice(s).
✓Bills - Opens the Bill Form for entering the Invoices for the Purchases ordered from your Company's Vendors.
✓Documents - This option allows you to import (attach) various types of Documents to a specific Vendor's record.
✓Folders - This option requires a predefine Vendor Folder Path - to include the default Drive, Path and Folder name (e.g., C:\Program Files (x86)\MKS\Vendocs) - into which saved Documents, specifically Scanned Documents for individual Vendors, will be stored.
▪This option must be initialized before it appears on this menu.
▪See the Folders chapter for complete information.
✓Payments - Use this Payments Form for entering the Payments for (and Deposits on) the Purchases ordered from your Company's Vendors.
✓Purchase Orders - Used to create a printed Purchase Order for Parts and Services when ordering from a Company's Vendors.
✓Recurring Purchases - Used to define (and then to automatically post using the Run Automatic Payments function) the charges for ongoing Service Contracts, Leases, Mortgages, etc., for which your Company has contracted.
▪When the current Vendor is a Credit Card Provider, the Recurring Purchases option will not be listed, but the Register option (see below) will be included instead.
✓Register - Those Vendors who were identified as a Credit Card Provider in the Credit Cards Form, will have a slightly different Vendor Options Menu which has a Register option
▪The Register option displays this Credit Card Vendor's associated Credit Card Register.
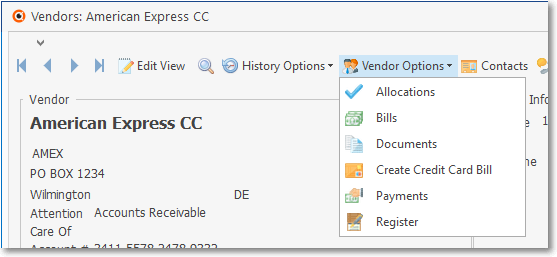
Vendors Form - Vendor Options Menu - (Credit Card) Register option
New Features on the Purchase Orders Form
❑Several Purchase Order processes have been added to and improved:
•System Maintained fields
✓Amount Billed - The Amount that has been Billed to date for the Detail Line Items entered on this Purchase Order
✓Amount Left to Bill - The Amount that has not been Billed for the Detail Line Items entered on this Purchase Order
✓Line Items Left to Bill/Receive - The number of Detail Line Items on this Purchase Order which have not been Billed and/or Received
•Bills - Offers a Drop-Down List of Invoice Number(s) for any Bills previously created from Detail Line Items on this Purchase Order that were Received and Billed using the Bill It Icon.
•A dedicated Ribbon Menu has been added to the Detail Line Items section of the Purchase Order Form.
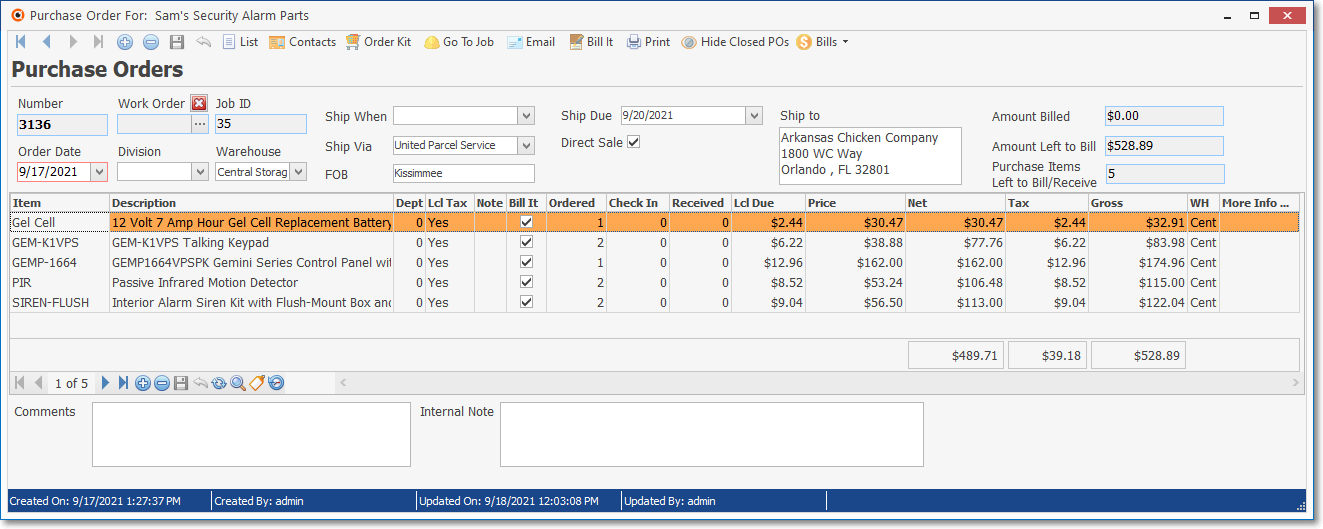
Purchase Order Form - Detail Line Items entered
•After Checking In Inventory, the User is allowed to repeatedly use of the Bill It function until all Item(s) are Received, or until the Ordered Quantity is modified to match the Received Quantity
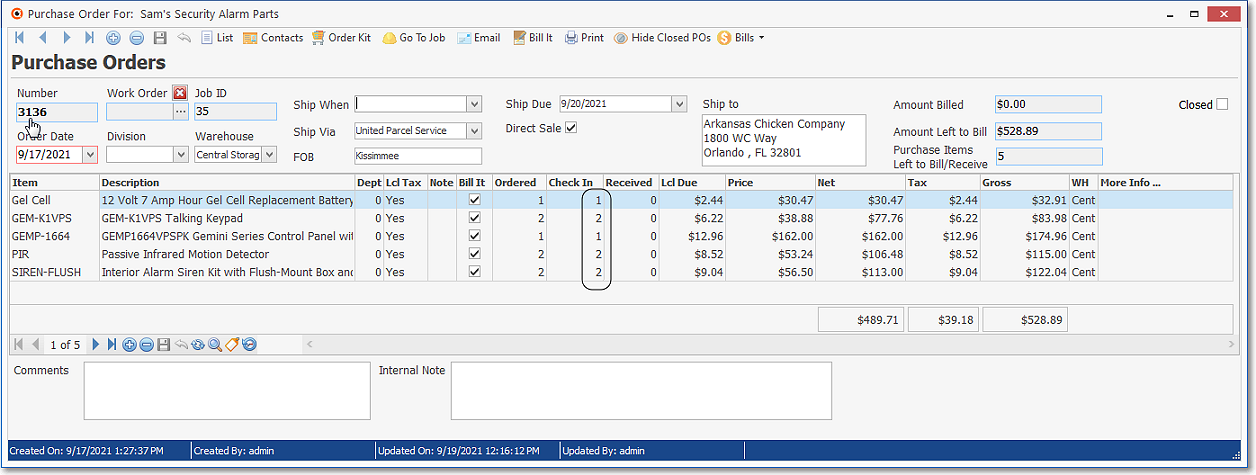
•When the Ordered Quantity matches the Received Quantity the Purchase Order may be marked as Completed.

Purchase Order Form - Check In the delivered item(s) moved to Received column
•At any time, the Bill It function may now be used as long as there are Items which were just Checked In and had not yet been Billed

Purchase Order Form - Actions Menu - Bill It Icon
✓As additional Items are received (fulfilling the back order), the Bill It Icon may be used again.
✓The system automatically tracks which Items have and have not been billed.
❑Understanding and Using the new PO Line Items To Bill dialog: When the Bill It Icon is selected, the PO Line Items To Bill dialog is displayed.
•PO Line Items To Bill - The Detail Line Items that have been Received - but have not yet been Billed - will be listed in the PO Line Items To Bill dialog
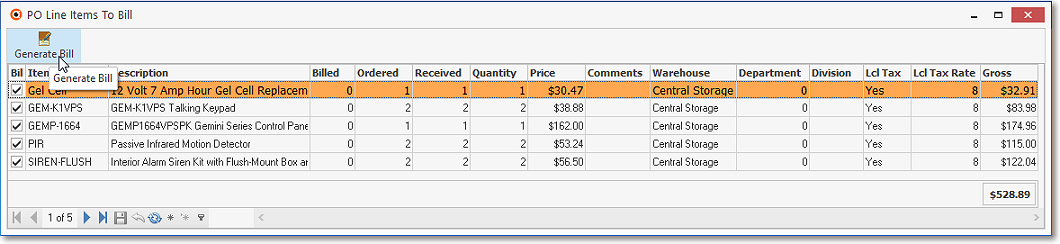
Purchase Order Form - selected the Bill It Icon - PO Line Items To Bill dialog displayed - Generate Bill option creates Bill
✓By default, all Detail Line Items will have a Check in the Bill it column in the PO Line Items To Bill dialog.
▪The User may Choose that certain Detail Line Items will not be billed by removing that Check in that Bill It column.
✓By default, the number in the Quantity column in the PO Line Items To Bill dialog will also equal the quantity in the Received column in the PO Line Items To Bill dialog.
▪The User may change number in the Quantity column on any Detail Line Item in the PO Line Items To Bill dialog, thereby changing the quantity that will be billed.
✓Once the required billing adjustments have been made, create the Bill using the Generate Invoice option on the PO Line Items To Bill dialog.
•Generate Invoice option - The Bill for all of the Detail Line Items that have been Checked In - but not previously Billed - will be created automatically.
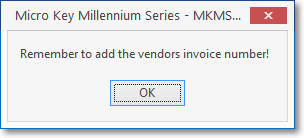
✓A Reminder pop-up will be presented to alert you that the Temporary Invoice Number inserted by the system must be changed to the actual Invoice Number for the Bill submitted by the Vendor.
•Back Orders - To better handle Back Orders, the Ordered Quantity may now be modified to match the Received Quantity when one or more Ordered Items will be unavailable (Back Ordered) from this Vendor for an extended period of time.
✓The recommended procedure for handing Back Orders is now:
1.Adjust - If none of an ordered item is going to be available in the near future from this Vendor:
a.Adjust the Quantity Ordered to match what if anything, has been Checked In (and therefore shown in the Received column )
b.![]() Click the Save Icon
Click the Save Icon
c.Then, use the Bill It Icon to record the Bill for what was received,
d.This action will automatically Close the Purchase Order,
e.Attempt to order the back ordered Quantity of those items from another Vendor.
2.Wait - Leave the Purchase Order open while waiting for the back ordered items:
a.Use the Bill It Icon to record the Bill for what was Received so far
b.Then, when those back ordered Items are eventually received, Check In those additional items at that time
c.![]() Click the Save Icon to move the Quantity that was just Check In to the Received column
Click the Save Icon to move the Quantity that was just Check In to the Received column
d.Use the Bill It Icon to record the Bill for what was finally received
e.This action will automatically Close the Purchase Order
3.Cancel - If none of an ordered item is going to be available in the near future from this Vendor, and no other items were ordered on this Purchase Order:
a.Delete the Purchase Order
b.Then attempt to order the item(s) from another Vendor