❑The requested items on your Purchase Order have been delivered:
What Do You Do?
1.Locate the Purchase Order
2.Check in those Items that were delivered (see the instructions below).
3.Create a Vendor Bill for those Checked-In items.
❑Locating the specific Purchase Order for the items that were delivered:
•Press F4 to open a Vendors Form.
•In the Vendors Form Select (see Vendor Search) the specific Vendor from whom item(s) were received from a previously issued Purchase Order.
•Select the Purchase Orders option on the Vendor Options Menu
•Click the List Icon on the Purchase Order Form
•Locate, then Double-Click on the required Purchase Order Number (or type the desired Purchase Order Number in the PO# field).
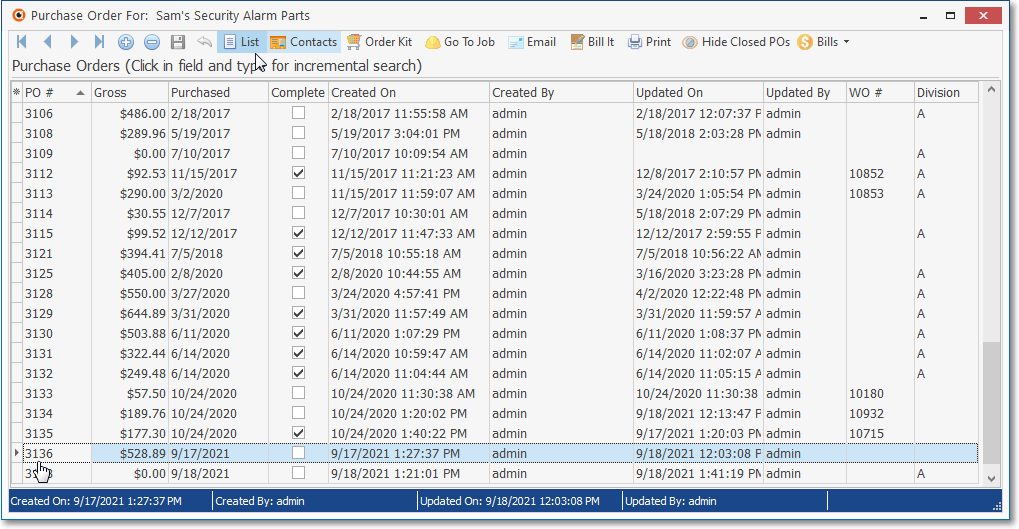
Purchase Order Form - List View
•The Selected Purchase Order will be displayed.
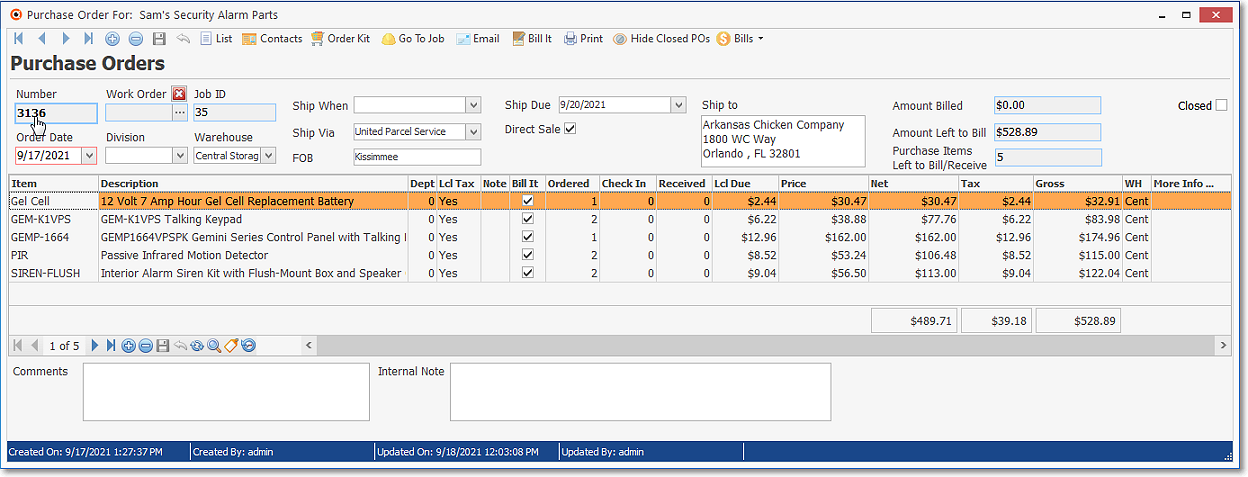
Purchase Order is displayed after its selection from the List View
➢Note: The Divisions Form allows a Company to identify a Default Warehouse for that Division
Thereafter, when Purchase Orders and/or Bills are created for a Vendor who was assigned to a Division (a Division assignment to a Vendor is optional), by default, any Inventory related Transaction posted to one of those Purchase Order and/or Bill documents will automatically be assigned to that Warehouse but that Default Warehouse assignment may be changed as needed.
❑Checking In Ordered Items:
Purchase Order Form - Check In the delivered item(s)
•Check In - For each item that was ordered, insert the Quantity of that ordered Item - which was actually delivered - into its associated Check In field.
![]() Click the Save Icon
Click the Save Icon
•What happens then?

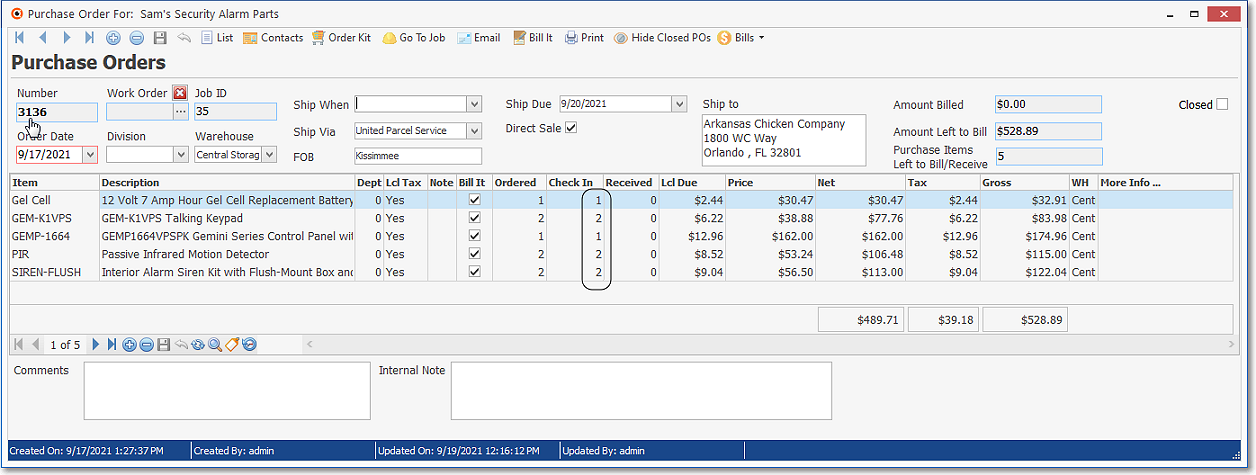
Purchase Order Form - Check In the delivered item(s) moved to Received column
✓The Quantity of Ordered Items that were entered in the Check In column will be moved to the Received column (see the illustration above), and the Quantity in the Check In column will be reset to zero ("0").
▪If the full Quantity that was Ordered was not received, remove the Check from the Bill it column field for any of these Detail Line Items.
▪Because the full Quantity that was Ordered was not received - but is expected to be delivered later - when those item(s) are delivered, enter that newly received Quantity in the Check In column and Check the Bill it column field.
▪Once that new Quantity entry is Saved, the new Quantity that was entered in the Check In column will be added to the current Quantity in the Received column, and the Quantity in the Check In column will again be reset to zero ("0").
✓Once all of the Ordered items have been (Checked In) Received, a message will be displayed with that information, with a request that the Purchase Order be marked as Completed (i.e., Closed).
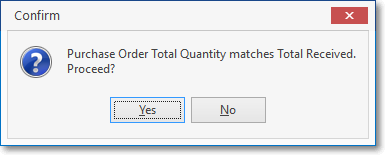
Mark PO Complete?.
✓At this point, in most cases you should Click Yes and a Check will be inserted into the Closed box at the top of the Purchase Order Form.
▪If for some reason, you still want to be able to modify this Purchase Order (e.g., need more of an item under this same PO number, a price dispute, previously back ordered items are expected, sales tax was charged and it shouldn't have been, etc.), answer No.
✓Then:
▪Ensure that there is a Check in the Bill it column field for every Detail Line Item that is to be billed.
▪Select the Bill It Icon to create the associated Bill for what has been Received up to now on this Purchase Order
•See "What Do You Do Next?" steps at the end of this chapter.
❖For General Ledger System and Inventory Tracking System Users:
The General Ledger Transactions (which are automatically posted in the background) for a Selected Detail Line Item of a Purchase Order which has items that have been Checked In may be displayed whenever required.

a)To do so, Click on the View Item History Icon.
b)The Detail For dialog will list each Debit and Credit transactions that were posted for Selected Detail Line Item.
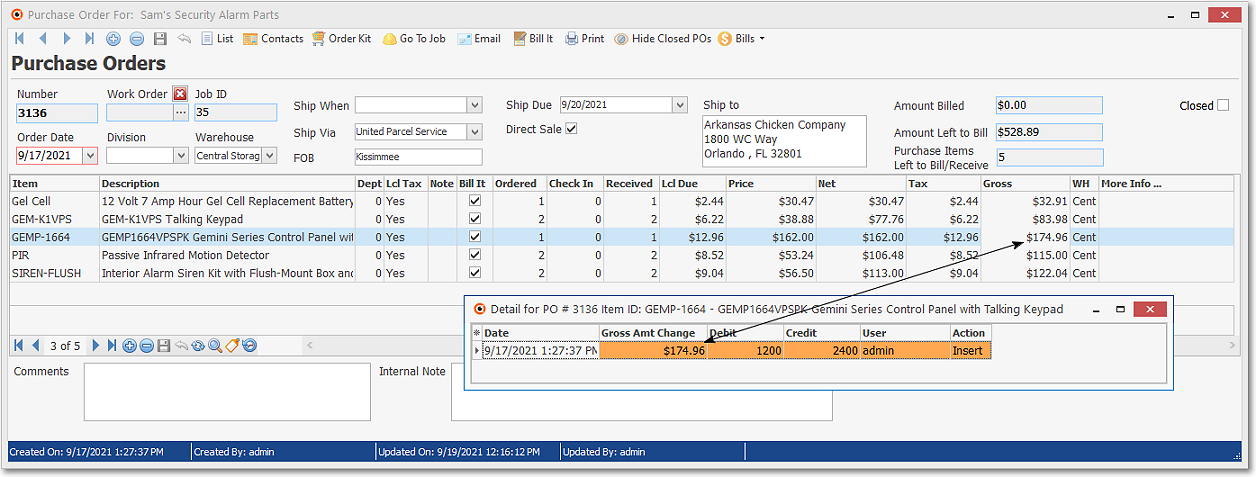
Purchase Order Form - Detail Line Item - GL Detail for PO
•If Inventory Items on a Purchase Order's Detail Line Item were not yet Checked In, that Detail Line Item may be deleted, even if the Purchase Order was created in a Closed Month.
•When Inventory Items, ordered using a Purchase Order, are actually Received, they must be Checked In.
✓By doing so:
▪Both the Inventory Item's " Pending " and " Available Pending " Count on the Sale-Purchase Item Form will be reduced by the Quantity that was Checked In
▪Both the Inventory Item's " On Hand " and " Available On Hand " Count on the Sale-Purchase Item Form will be increased by the Quantity that was Checked In
✓In the General Ledger System:
▪The Inventory Asset Account will be Debited (increased) for the Value - Including the Sales Tax that will charged, if any - of what was Checked In (Quantity multiplied by the Price plus Sales Tax, if any),
▪The Inventory Purchases Liability Account will be Credited (increased) by the same Value.
❑What Do You Do Next?
•Bill It - Once all of the delivered items have been Checked In, and no additional ordered items are expected, the next step is to Bill this Purchase Order.

Purchase Order Form - Actions Menu - Bill It Icon
✓When all Ordered Items have been Received for a Purchase Order\, and those Received Items have been recorded on a Bill from the Vendor (using the Bill It button on the Purchase Orders Form), that Purchase Order will be marked as Closed automatically.
✓You should not manually Close a Purchase Order (you can Close the Form but not the Purchase Order itself) until all of the expected Ordered Items have all been Received and Checked In (or have been permanently Back Ordered - see the "Dealing with Back Orders" discussion immediately below).
❑Dealing with Back Orders
•If any ordered items are temporarily back ordered (and/or will not be shipped by this supplier within a reasonable time period), there are a few choices:
a)Adjust - If none of an ordered item is going to be available in the near future from this Vendor, Adjust the Quantity Ordered to match what if anything, has been Checked In (Received).
i.Use the Bill It Icon to record the Bill for what was actually received.
ii.This will automatically Close the Purchase Order.
iii.Then, attempt to order the back ordered Quantity of those items from another Vendor.
b)Wait - Leave the Purchase Order open while waiting for the back ordered items.
i.Just use the Bill It Icon to record the Bill for what was Received so far.
ii.Then, when those back ordered Items are eventually received, Check In those items at that time, and use the Bill It Icon to record the Bill for what was finally received.
iii.This will automatically Close the Purchase Order.
c)Cancel - If none of an ordered item is going to be available in the near future from this Vendor, and no other items were ordered
i.Delete the Purchase Order
ii.Then, attempt to order the item from another Vendor.