❑Each entity (e.g., person, business, government agency) who qualifies as a Vendor must have specific Information entered for several reasons:
•Each supplier of parts, services, and commodities must be identified so they can get paid (you can't write a check to "no one").
•Others to whom a Payment must be issued (e.g., Employees, Sales Taxing Authorities, Sub-Contractors) must also be identified.
•Many Reports can be created based on a selection of Vendor Transactions (e.g., Payments made, Checks to be Printed, Recurring Purchases Due to be Billed), or listed and/or sorted by their Vendor Classification Codes.
•Be sure to create a Vendor for each of the Departments of Revenue (each Taxing Authority) to which your Company must remit Sales Tax (see the Calculate & Remit Sales Taxes chapter for more information).
❑To access the Vendors Form, Click the Vendors Icon on the Payables Tab or Press the F4 function key.

Vendors (F4) Icon on the Payables Tab
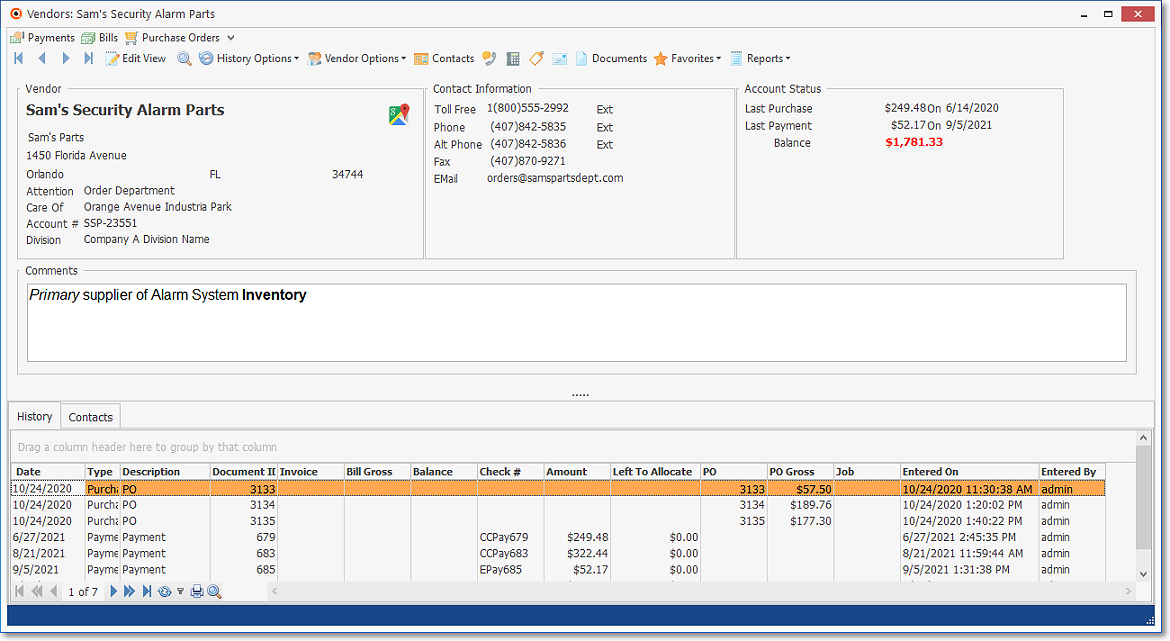
•Vendors Form - The Vendors Form contains the Ribbon Menu, the Vendor record section (the Browse View), and the Account History Grid, plus an Edit View use for data entry (see more information on each of these parts below).
 Sewcu
Sewcu
Vendors Form showing Ribbon Menu - Browse View - the History Grid
✓Google Maps® - Click the ![]() Icon to open a Digital Map Display showing the exact location of this Vendor.
Icon to open a Digital Map Display showing the exact location of this Vendor.
•Once the Vendor Form is displayed, to locate a specific Vendor record, Press F2 to open the Vendor Search dialog.
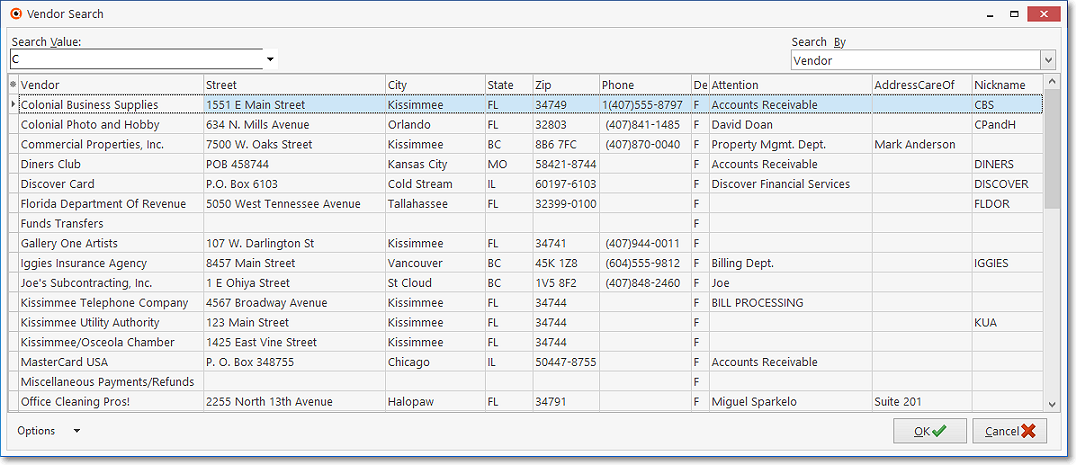
Vendor Search dialog is displayed by pressing F2 while viewing a Vendor Form
❑Ribbon Menu - The Ribbon Menu on the top of the Vendors Form has two sections:
![]()
1.Navigation section with the Edit View Icon, a Search Icon, a History Options Icon, the Vendor Options Drop-Down Menu which provides access to most Daily Procedures (e.g., Entering Bills, Posting Payments, setting up Auto Purchases), the Contacts Icon, and Action options (see 2. below)
2.Actions section with its Calls, Dial, Label, Email, Documents, Favorites, and Reports Icons,
•You may also Customize a Quick Access Tool Bar (samples of which are highlighted in Yellow below) using the Add or Remove Buttons option (Down-Arrow ˆat the top of this Form), and when defined, those options will appear above the regular Ribbon Menu on the top of the Vendors Form

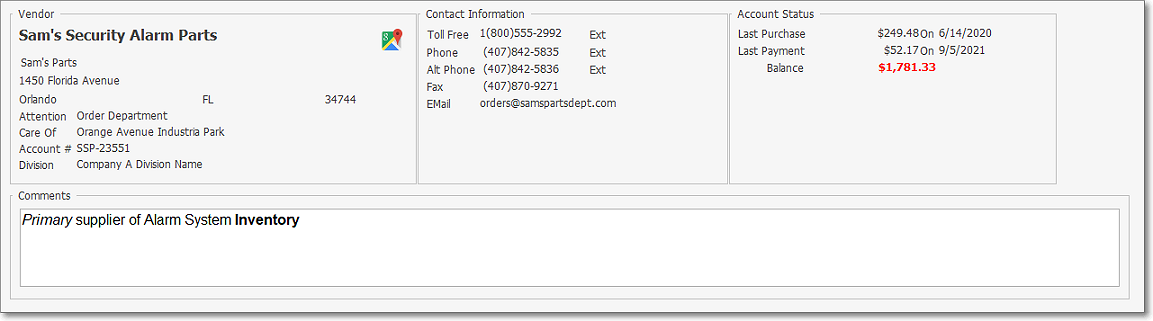
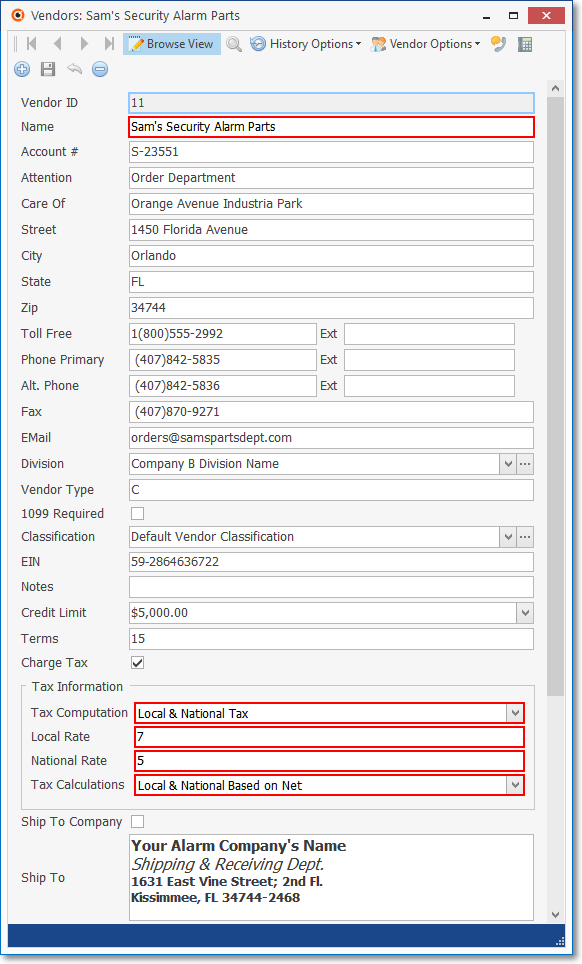
❑Record Information section - This is the "Browse View" of the Vendors Form
❑Account History Grid - A filtered tabular view of the Account History for the current Vendor.

•The Ribbon Menu at the bottom of the Account History Grid provides record Navigation Icons plus Refresh, Filter Builder, Print and Search options
![]()
❑Edit View - The Edit View on the Vendor Form is used to add, update, and/or delete the actual Vendor record.
•Click the Edit View Icon to display the Edit View of the Vendors From.

Edit View Icon on the Vendor Form
•Once the Edit View is displayed (as shown in the illustration below), the Edit View Icon changes to a Browse View Icon which is used to return to the Vendors Form's Browse View format.
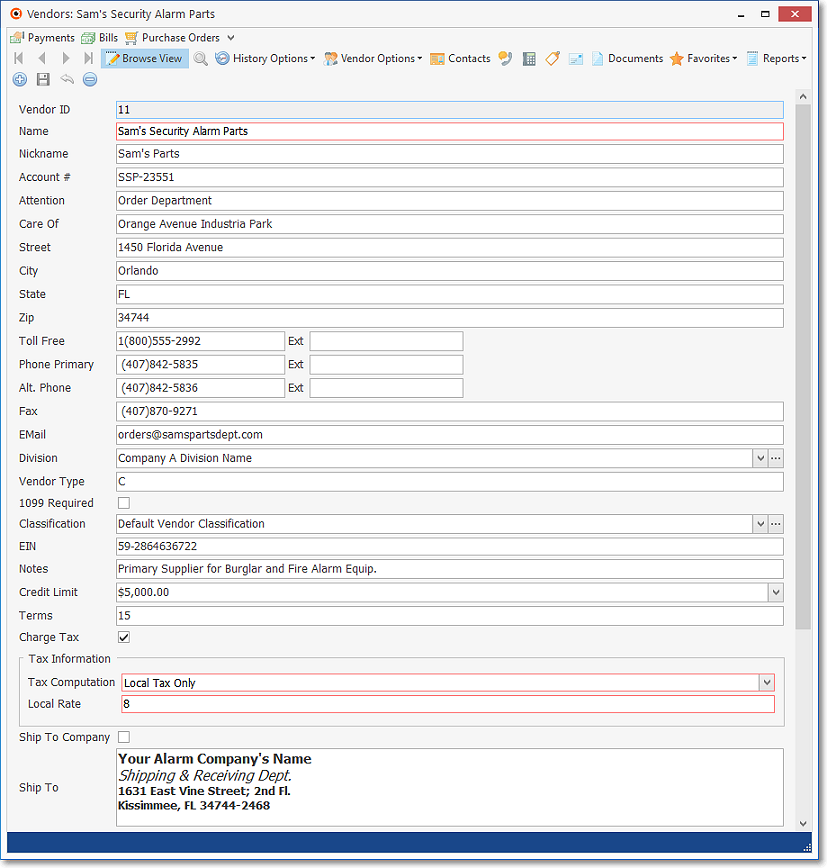
Vendors Form - Edit View - US Sales Tax configuration
Vendors Form - Edit View - Canada Sales Tax configuration