❑These Vendor Classification Codes are designed to allow you to separate your Vendors into groups that are based on your Sales Tax Payment obligations (although you may choose additional/other reasons to define these codes).
•Depending on the Vendors from whom you make your Purchases, where they are located, and if they will (or will not) assess Sales Taxes on the Purchases, you may be required to separately pay certain Sales Taxes directly to your state's Department of Revenue - particularly for items that are not Purchases For Resale (purchases for resale are often taxed at the retail level when sold, and so may be exempt at the wholesale level - check your local Sales Tax related rules).
✓Vendor Tax Information - identifying the Tax Rate(s) that must be charged - is entered in the Edit Tab on the Vendors Form.
✓The Taxes Billed Report provides a list of all the Bills entered (within a specified Date Range) and which - and for how much - the Invoice Items on these Bills were taxed.
•However, if this Sales Tax Tracking process is not needed in your situation, you may classify each of your Vendors based on the Service, Type, Need, or whatever else you deem appropriate.
❑Entering Vendor Classification Codes:
a)From the Backstage Menu System Select Maintenance and Choose General and Click the General Maintenance option which displays the Maintenance Menu, or
b)From the Quick Access Menu, Select Maintenance and Choose General Maintenance to display the Maintenance Menu.
•Once the Maintenance Menu is displayed, Select Payables and Choose Vendor Classification Codes.
✓The Vendor Classification Codes Form will be displayed.
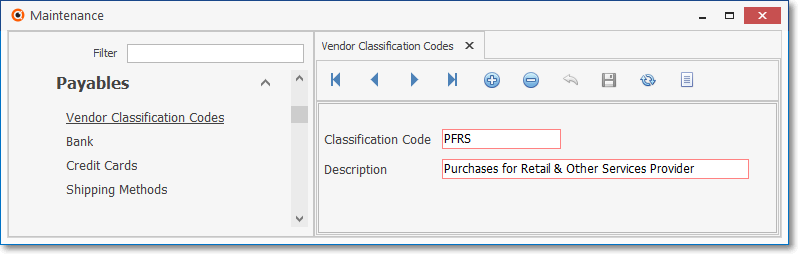
Vendor Classification Codes Form
✓This Vendor Classification Codes Form may be Re-sized by Dragging the Top and/or Bottom up or down, and/or the Right side in or out.
•Navigation Menu - The Navigation Menu is located at the top of the Vendor Classification Codes Form.

✓This Navigation Menu provides the normal Record Movement, Add, Delete, Cancel, Save, and List options.
•Record Editing section - The details of the currently selected record are displayed below the Navigation Menu at the center (Main Body) of the Vendor Classification Codes Form.

•To define the Vendor Classification Codes :
✓Click the ![]() Icon to start the Vendor Classification Codes entry in the Record Editing section.
Icon to start the Vendor Classification Codes entry in the Record Editing section.
✓Classification Code - Enter a Classification Code to define the sales taxing, purpose and/or products category of this Vendor.
✓Description - Enter a description of the Classification Code assigned above.
✓Click the ![]() Icon to record this Vendor Classification Code entry.
Icon to record this Vendor Classification Code entry.
✓Any number of Vendor Classification Codes may be defined.
![]() List Icon - The Navigation Menu also has a List option which provides a tabular view of these Vendor Classification Codes records.
List Icon - The Navigation Menu also has a List option which provides a tabular view of these Vendor Classification Codes records.
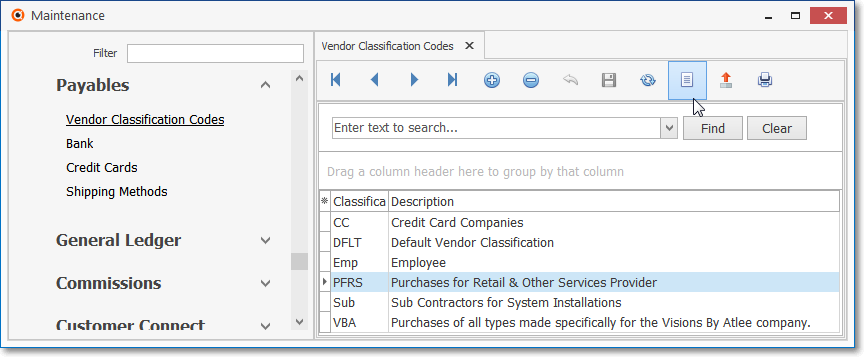
Vendor Classification Codes Form - List View
✓Click the List Icon to display the associated Grid Data.
✓The columns of Grid Data may be rearranged, filtered, sorted, and exported as a PDF file and/or an Excel formatted file.

✓Find - Enter text to search for a specific record, then Click the Find option.
✓Clear - To remove the text to search for entry, Click the Clear option

Navigation Menu shown with the List Options for Export & Print
✓Click the List Icon again to Close the List View and return to the Record Editing View.
❖See the Grids & Lists - Print Preview - Export Data chapter for complete information on using the List View, including its Export & Print options.