❑As part of a prior Start-up Task in the General Ledger New User's Start Up Procedures described in that chapter:
•You should have:
a)Used your Company's old General Ledger program (or did it manually) to create a Trial Balance, Income Statement, and Balance Sheet report for the last Closed Month.
b)Saved these three "last Closed Month reports" which were based on that last Closed Month's Ending Date of your Company's old General Ledger program (or manual system).
❑This Start-up Task which was briefly described in the General Ledger New User's Start Up Procedures chapter requires you to:
•Print specific Accounts Receivable and Accounts Payable module reports (as explained in the "Required Reports" discussion below) which are being created to identify what Financial Transactions have been entered in MKMS after the Ending Date of the last Closed Month in your Company's old General Ledger.
✓A set of these reports will be printed for each month which had any Financial Transactions posted in the MKMS Accounts Receivable and Accounts Payable modules for those months since the Ending Date of the last Closed Month in your Company's existing (old) General Ledger (whether manual or software based).
•Later, once the General Ledger Setup Wizard has been run - a summary of the Financial Transactions that have occurred since that Ending Date will need to be recorded in this MKMS General Ledger System
✓This is accomplished by making a series of General Journal entries.
✓The contents of these "Required Reports" is used to Summarize the Financial Transactions that will be required for those General Journal entries.
•The ultimate goal is to bring the new MKMS General Ledger System up-to-date.
✓To accomplish this, a summary of the Financial Transactions which had been entered in the Accounts Receivable and Accounts Payable modules after that Ending Date of the last Closed Month in your Company's existing (old) General Ledger, must also be posted (through the General Journal) into the new MKMS General Ledger System
✓The result will be that - once these General Journal entries have been completed, the new MKMS General Ledger System will be up-to-date (with "Today").
Required Reports
❑In the Accounts Receivable module, print the following reports and perform the associated tasks as outlined below:
1.Unallocated Receipts/Credits Report - Print this report, then use Allocate (or use the Post Pending Credits & Deposits process) to apply as many of these Deposits and Credit Memos as possible to the appropriate Sales Invoices.
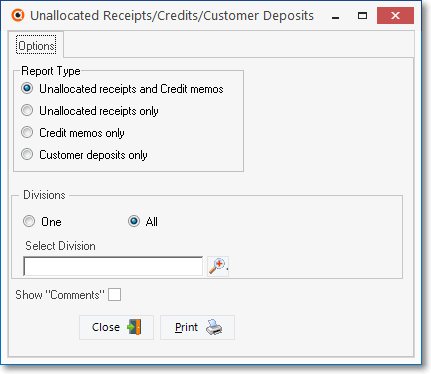
Open Credits & Deposits Report dialog
2.Unallocated Receipts/Credits Report - After you have allocated as many Receipts and Credit Memos as possible, Reprint the report, then save this copy.
✓If you have allocated all of the Receipts and Credit Memos, there will be no records remaining to be reported, so just note that fact.
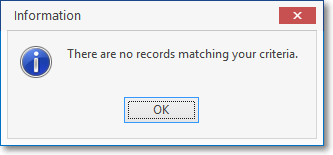
There are no records matching your criteria
➢Note: Follow the the screen illustrations provided below to get the easiest to use, and most concise reports that will serve your needs, paying particular attention to the Dates selected and the Options recommended!
3.Cash Receipts Report - Normally, you will deposit all Receipts into the same Bank account when using the (new) General Ledger System.
✓Perhaps later, you may transfer monies from that master Bank account to subordinate accounts like a Payroll or Savings account.
✓If all monies received from Subscribers are initially deposited into the same Bank account, or you deposit into multiple accounts but use the same Batch Number for any Receipt - regardless of Bank (which is not recommended, and not a good idea) - use the options shown in the illustration below to create the required Cash Receipts Report.
▪Print for Specified Dates,
▪By Date Paid,
▪Pay special attention to the Start Date and End Date fields.
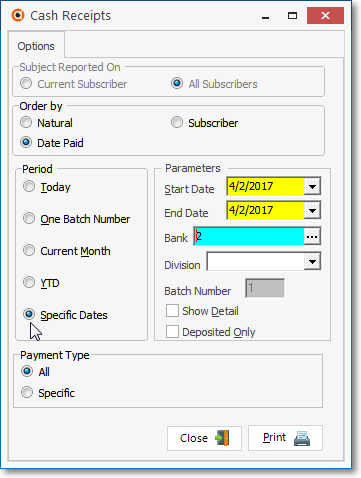
Cash Receipts Report Options for one Master Bank Account
✓If all Receipts from Subscribers are initially deposited in more than one Bank account, use the options shown in the illustration below to create the required Cash Receipts Reports.
▪Normally, you should use a different Batch Number for each Bank to which you are posting Receipts.
oThis enables you to distinguish which Receipts will be deposited in what Bank as you review the Cash Receipts Report.
oThis is because Receipts with the same Batch Number should be deposited in one Bank.
▪So, if you use a separate Batch Number when recording the Receipts that are to be deposited into each Bank, print the Cash Receipts Report for the whole month using the options listed above.
oMake a Note of every Batch Number that was used that month.
oThen printing all of these batches separately will allow you to know which Receipts went to which Banks and When (the dates) they were deposited.
oSave this report!
▪Then, print the Cash Receipts Report as follows:
oPrint for One Batch Number,
❖See the Defining your Company's Batch Numbers discussion in the E-Payments chapter for detailed information; and the "Batch Number Assignment" discussion in the Receipts chapter for more information about Batch Numbering.
oBy Date Paid,
oEnter that Batch Number,
oPay special attention to the Start Date and End Date fields, which should span the entire month (In case multiple day's Receipts were included in one deposit with one batch number spanning these days).
oRepeat this until all of the batches are printed for the month.
oSave each copy.
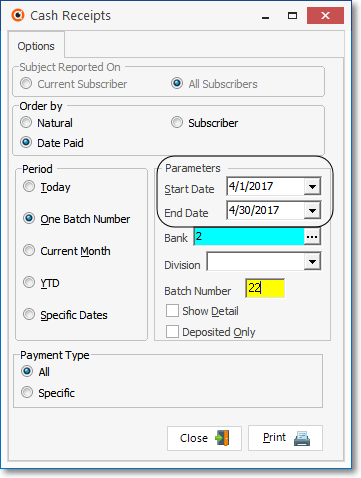
Cash Receipts Report Options for multiple Bank Accounts
✓Print the Summary version for All Departments and pay special attention to the Start Date and End Date fields which should include the entire month.
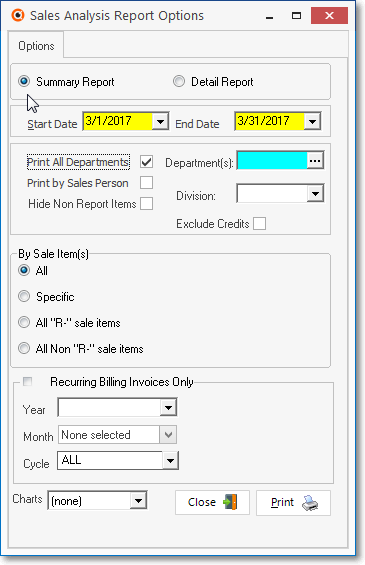
Sales Analysis Report - Options tab
5.Sales Taxes Invoiced Report - If you reimburse the Sales Taxing Authorities on an "as Billed" basis, AND you must charge a Local and a National Sales Tax, print this Sales Taxes Invoiced Report.
✓If you reimburse the Sales Taxing Authorities on an "as Billed" basis and only charge a Local (State) Sales Tax, you do not need to print this report because those Sales Taxes that were Invoiced are already included in the Sales Analysis Report data (that was printed above).
✓If you must print this report, Print the Summary version for All Divisions
✓Pay special attention to the From and To Date Range which should cover the entire month being printed.
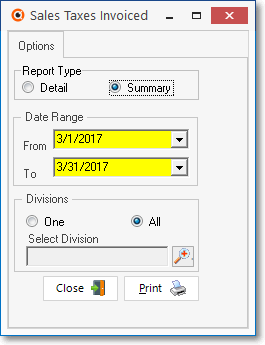
Sales Taxes Invoiced Report - Options
6.Sales Taxes Collected Report - If you reimburse the Sales Taxing Authorities on an "as Collected" basis, print this Sales Taxes Collected Report.
✓Print the Summary version for All Divisions and All Payment Types
✓Pay special attention to the From and To Date Range which should cover the entire month being printed.
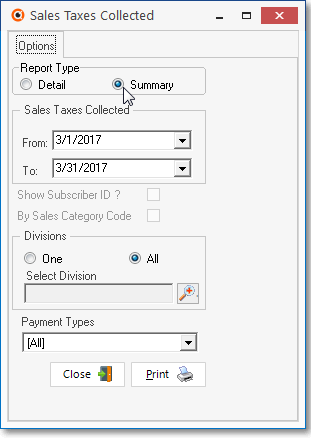
Sales Taxes Collected Report - Options
7.Close the Month (except for the current month) Close the month in Accounts Receivable module.
✓In many cases, you will have already printed the recommended reports outlined in the Close the Month chapter.
✓If you have not done so, also print those reports, but they do not need to be saved with this batch of reports which will specifically be used later to Summarize the Start Up Transactions.
❖Repeat this report printing and month closing process until you have completed printing the reports and closing the months for all the months which had transactions posted to them after the Ending Date in the old General, but were made prior to the current month.
❑In the Accounts Payable module, print the following reports and perform the associated tasks as outlined below:
1.Unallocated Payments/Credits - There is no Options dialog presented, just Print the report to see if any Unallocated Payment records exist.
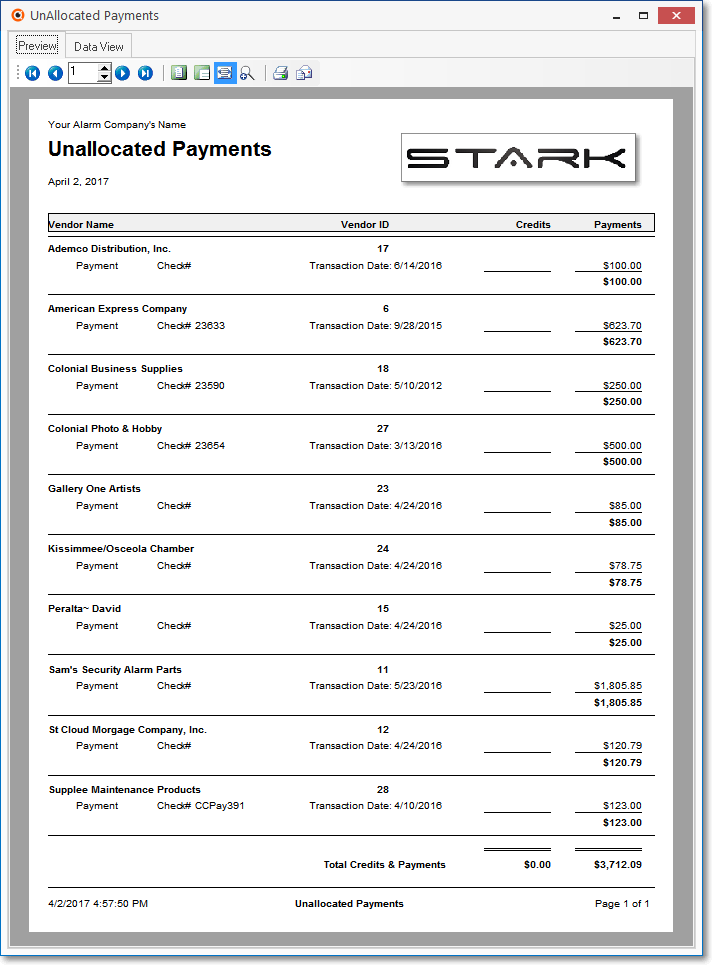
Unallocated Payments - Preview tab
✓After you Print this report, Apply as many of these Unapplied Payments and Credit Memos as possible to the appropriate Bills.
2.Unallocated Payments/Credits - Once you have allocated as many of the Unapplied Payments and Credit Memos as possible, Reprint the report, then save this copy.
✓There may be no records remaining to be reported.
There are no records matching your criteria
➢Note: In the screen examples below, to get the easiest to use, and most concise report versions:
Please pay particular attention to the Dates selected and the Options recommended!
3.Print Checks - To ensure that there are no unprinted Checks remaining in the Check Printing Queue.
✓Print the Checks for All Bank Accounts - one Bank at a time - from which your Company draws checks.
✓Print your normal Check format, Print For All Vendors.
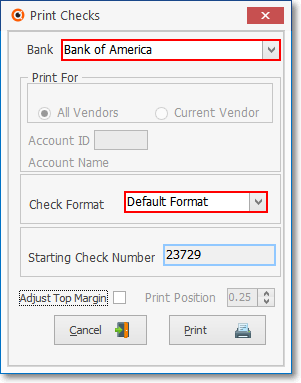
Print Checks dialog
4.Unprinted Checks Report - There should be none, if you printed all unprinted checks.
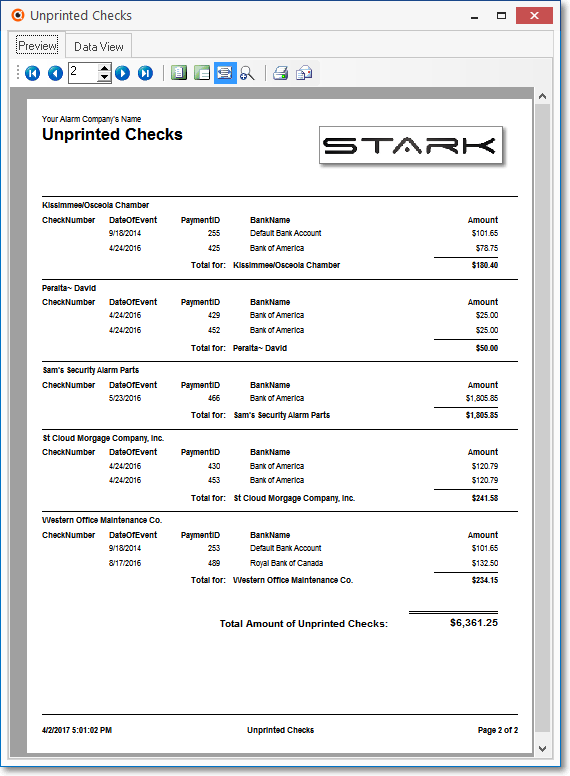
Unprinted Checks Report - Preview tab
✓If all Checks have been printed, this will be your response.
There are no Checks to be Printed
5.Check Register - Print the Check Register Report following the instructions below:
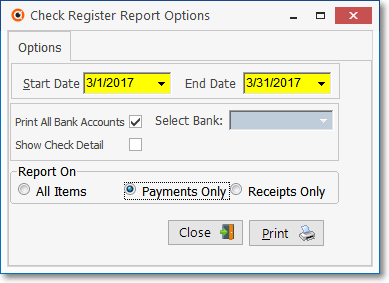
Check Register Report Options - Options tab
✓Print for All Bank Accounts.
✓Print for Payments Only
✓Pay special attention to the Start Date and End Date Date Range which should cover the entire month being printed.
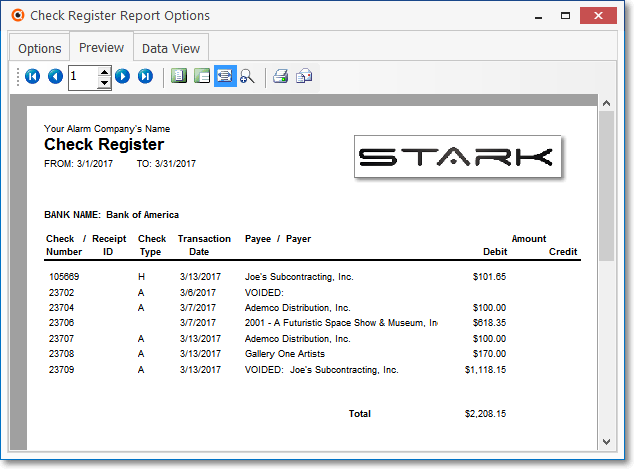
Check Register Report - Preview tab
6.Purchase Analysis Report - Use the Summary version.
✓Print the Summary version using the options highlighted in the illustration below!.
✓Pay special attention to the From and To Date Range which should cover the entire month being printed.
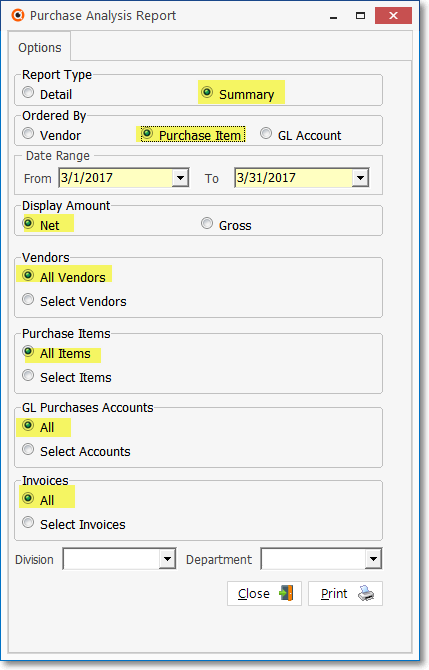
Purchase Analysis Report - Options tab
✓Print the Summary version!.
✓Pay special attention to the From and To Date Range which should cover the entire month being printed.
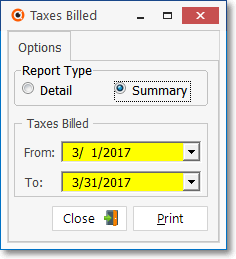
Taxes Billed Report - Options tab
8.Close the Month (except for the current month) in the Accounts Payable module.
✓In many cases, you will have previously printed the recommended reports outlined in that Close the Month chapter.
✓If you have not done so, also print those reports, but they do not need to be saved with this batch of reports that will be used later to Summarize the Start-up Transactions.
❖Repeat this report printing process ( except for the Unallocated Payments/Credits and the Print Checks reports) until you have completed printing the reports for all the months which were after the old General Ledger's Month Closed Ending Date noted above, but were prior to the current month.
❑What's Next?
•Summarize the Start Up Transactions using these reports.
•Post the Summarized Transactions.