❑Once you've made Payments and Allocated them to Bills, and/or used the Disbursements Form to streamline that process, and/or ran your Automatic Recurring Payments process, it's time to those Print Checks.
•There are two ways to access the Print Checks dialog:
a)From the Backstage Menu System Select Reports and Choose Payable Reports, or
b)From the Quick Access Menu, Select Reports and Choose Payable Reports.
✓Then, Select Print Checks.
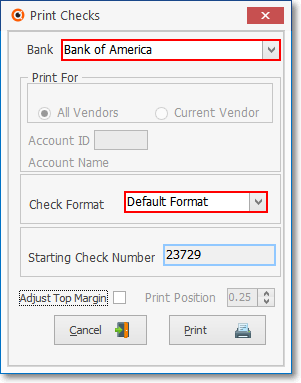
Print Checks dialog
•Bank - As Payments are posted and Allocated, and/or when you use the Disbursements Form, the Bank from which those Payments are to be withdrawn must be identified
✓By default, the Bank entered in this field will be the Bank that was identified as the Default Bank in the Company Options - General tab within the User Options Form.
✓You may use the Drop-Down Selection List to Choose a different Bank from which you will withdraw these Payments, if appropriate.
•Print For - If you have a Vendors Form open, the system assumes the currently selected Vendor is the one for whom you want to Print Checks.
✓All Vendors - This is the default if you do not have a Vendor Form open (see illustration above).
✓Current Vendor - This is the default if a Vendor Form is currently open (see illustration below).
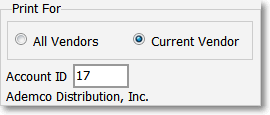
▪The Account ID and Vendor Name will be displayed automatically.
▪If a Vendor Form is currently open, you may, if necessary, Click on the All Vendors button.
•Check Format - The Default Format is for most users in the USA and elsewhere.
✓Use the Drop-Down Selection List to Choose Canadian Format, if required.
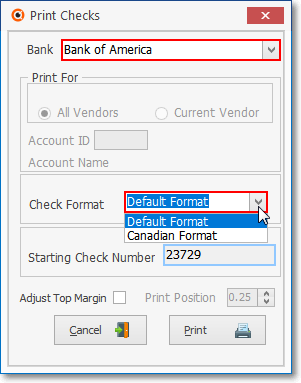
Check Format field
•Starting Check Number - The next available check number to be used will be displayed automatically by the system.
✓The Bills that are being Paid on each Check will be listed on the Check Stub, and ordered by Due Date then Invoice Number.
✓Up to 28 Bills may be Paid on each Check (see Important Note below!)..
➢Important Note: When using Run Automatic Payment feature, it is important to remember that a maximum of 28 items (Bills) may be paid to a Vendor on one Printed Check.
Therefore, if the Automatic Payment option was selected when paying for more than 28 items to a Vendor, remember that two (or more) Checks will be printed for that Vendor.
Why is this important?
a)Most Companies use pre-printed & pre-numbered Checks,
b)So, it's important to know that you may have one or more Vendors who will be issued more than one Check during the Print Check Process.
c)A simple solution is - in anticipation that more than expected Checks may be printed - to always insert more Checks in the Printer than you think will be required.
d)You won't have to Void any Checks that are accidentally printed on "Plain Paper", and
e)Any excess Checks may simply be returned to stock for later use.
•Adjust Top Margin - If you are using a custom printed form that requires a Top Margin adjustment, Check this box.
✓Print Position - Enter the required adjustment .
•Print - Click the Print button to Preview or Print these Checks.
✓If there are no Unprinted Checks, a message indicating that will be displayed.
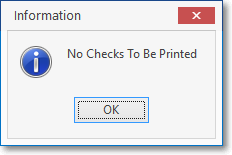
No Checks To Be Printed
✓Confirm that you do want to continue the Check Printing process.
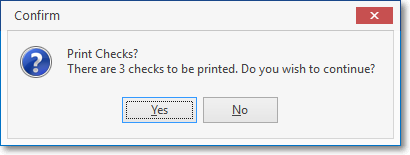
Print Checks?
•You may Preview the Checks on screen prior to actually printing them.
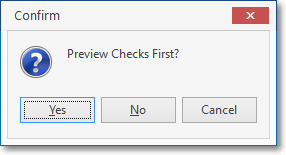
Preview Checks First?

Print Checks - Print Preview - Sample Check
✓Yes - The selected Checks will be displayed on screen for you to Preview.
▪Click the Print Icon on the top left of the display to Print a Sample of these Checks.
▪Do not put the real Check documents in the Printer.
▪Once you have viewed the Checks, Click the Close button.
▪This will return you to the Print Checks dialog.
✓Choose Print again - but this time do not request a Preview!.
▪This will Print the actual Checks to the selected Printer in which you have inserted your Check forms.
✓No - The selected Checks will be printed once you Choose the appropriate Printer.
✓Cancel - The Print Checks process will be aborted.
•Select the appropriate Printer in which you have inserted the correct set of blank Checks (there is no Print To File option available).
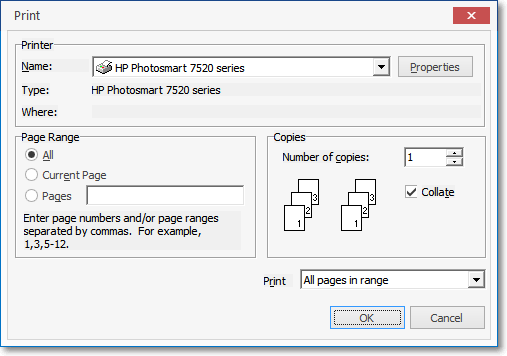
Print dialog
•Once they are Printed, you will be asked to Confirm that all of the Checks have printed correctly.
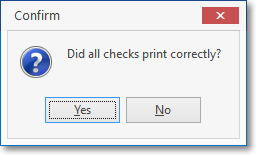
Did all checks print correctly?
✓If you answer Yes, the transactions will be internally finalized.
•Reprinting Checks using the Void Bad Checks dialog:
✓If you answered No - some or all of the checks did not print correctly - you must identify which check numbers must be Voided (identifying, by number, which ones were not printed correctly).
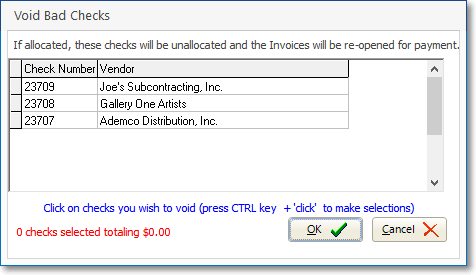
Void Bad Checks dialog
▪Press Ctrl+Left-Click to Choose each check number that must be Voided.
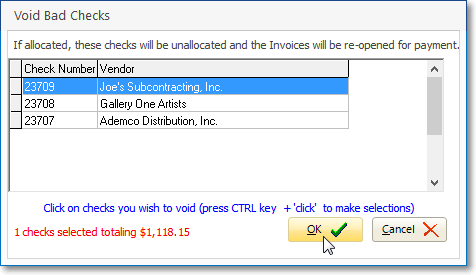
▪When you have Selected which check numbers must be Voided, Click OK to proceed.
▪The check numbers will be inserted into the Voided Check Numbers list.
▪The Payments for these Voided Checks may be Reprinted (with new check numbers), whenever required.
▪However, if no Checks were actually destroyed (Perhaps you forgot to put check paper in the printer? Again?), simply Click the Cancel button at the bottom of the dialog.
✓Are there any Checks to be Reprinted? - If you did Choose Cancel, but need to reprint one or more of the checks:
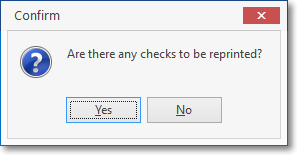
Are there any checks to be reprinted?
▪Answer Yes
✓Select the the Check Number(s) to be reprinted using the Select Checks For Reprint dialog:
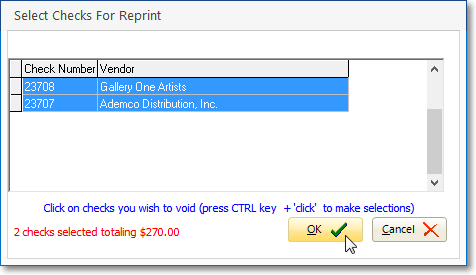
Select Checks For Reprint dialog
▪Press Ctrl+Left-Click to Choose the check numbers that must be Reprinted.
▪Click OK to proceed.
▪Click the OK button to Confirm that the Checks are ready to be Reprinted.
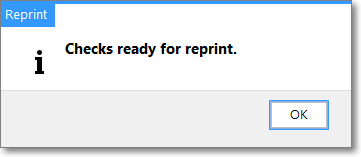
Checks ready for reprint.
✓Select the appropriate Printer to Reprint the Checks that you have Selected.
Printer Selection Dialog