❑Earned versus Deferred Revenue is a somewhat complex concept.
•Basically, within the context of generally accepted accounting procedures, every Sales Invoice that is issued would normally be considered "earned" when it is created.
✓However, in the case of Recurring Revenue, those Invoices are frequently not "earned" when they are "billed" to the Subscriber.
✓This is because the Invoices for this Recurring Revenue are Created, and often Dated up to a month in advance of when the billed Period of Service, for which they are being Invoiced, actually begins.
✓See the Deferred Revenue Report chapter for more information on this concept.
1.That Deferred Revenue Report computes the Deferred Recurring Revenue that existed as of a User specified Date
▪That Deferred Revenue Report uses the Bills in Advance Company Setting option, the Sale Date on the Recurring Revenue Invoice, and the Billing Cycle Billing Day (which is defined in the Billing Cycle record) to determine when Recurring Revenue is Deferred before it is Earned within any Month.
2.This Earned Revenue by Month Report tells your Company how much of that previously Deferred Revenue has subsequently been Earned in the specified Month (or Year).
✓It will itemize the Amounts of the previously Deferred Revenues that have now been earned during the chosen Accounting Period (e.g, within either a designated Month, or a designated Year)
✓It will be provided in either a Detailed, or a Summarized format, as requested by the User.
✓It also uses the Billing Cycle Billing Day (which is identified in the Billing Cycle record) to determine when Recurring Revenue is Earned within the Month.
✓For Subscribers who are billed Annually and received One Month Free for paying Annually:
➢Note: The Bill in Advance feature is now set individually for each Billing Cycles, thus allowing each Billing Cycle to be Billed in Advance or not be Billed in Advance - as needed - based on each Company's business model.
▪If they are Bill a Month in Advance: the -1 Quantity (the Free Month) gets "earned" in the first month of the actual service coverage period.
▪Otherwise the -1 Quantity (the Free Month) gets "earned" in the month of the Sale Date.
✓For General Ledger System Users, the associated General Ledger Accounts, and the Earned Revenue Values for each, are included in this Earned Revenue Report.
❖For General Ledger System Users - When a Recurring Revenue Item is billed automatically, read the "Automating the calculation of Earned and Deferred Revenue" discussion in the Deferred Revenue Setup chapter for more important information.
•There are two ways to access the Earned Revenue Report dialog:
a)From the Backstage Menu System Select Reports and Choose Receivable Reports, or
b)From the Quick Access Menu, Select Reports and Choose Receivable Reports.
✓Then, Select the Earned Revenue by Month option.
❑Earned Revenue tabs - There two three tabs on the Earned Revenue dialog.
•Options - Initially only the Options tab is shown (until you make your Options selections and Select Print).
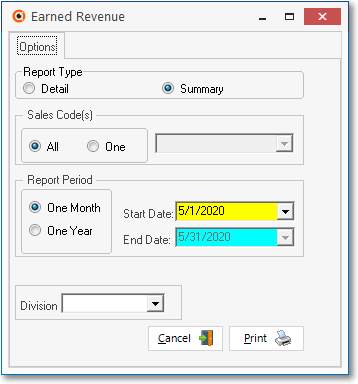
Earned Revenue by Month Report - Options tab
•Report Type - Choose either a Detailed, or a Summarized format
✓Detail - Click this button to view a report formatted as shown immediately below:
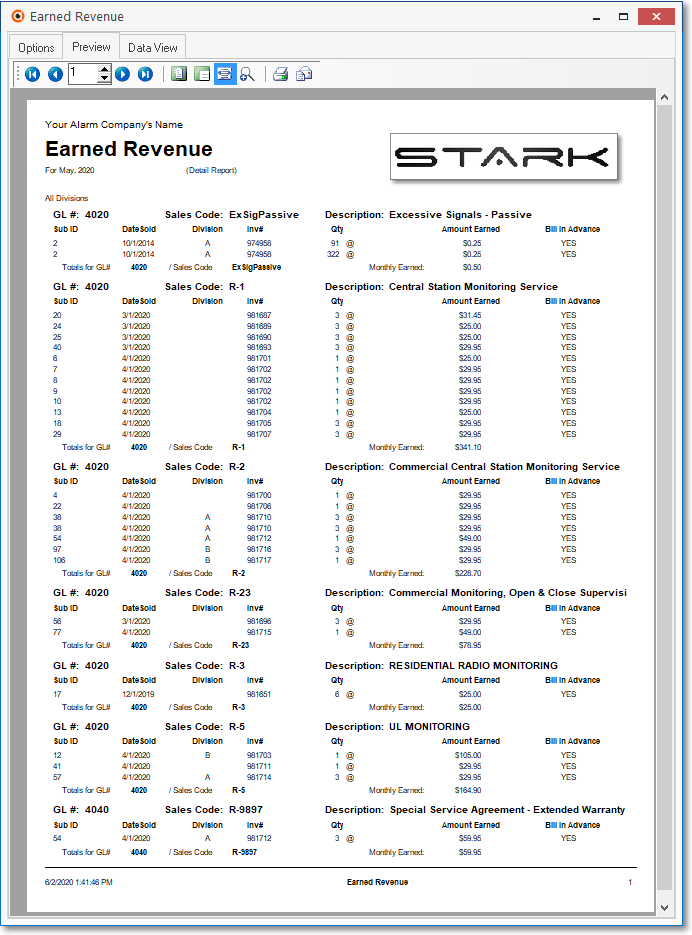
Earned Revenue by Month Report - Preview tab - Detail for One Month
✓Summary - Click this button to view a report formatted as shown immediately below:
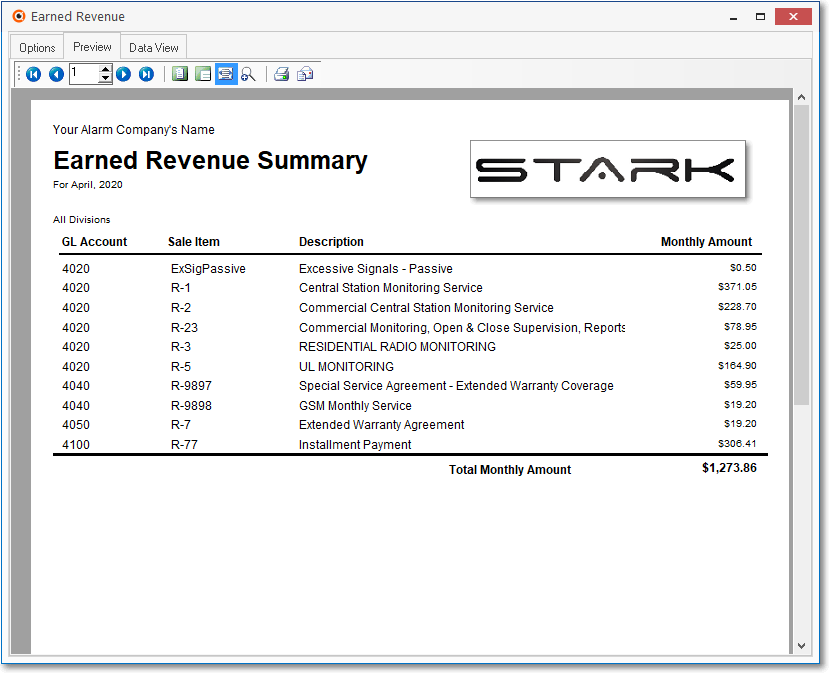
Earned Revenue by Month Report - Preview tab - Summary for One Month
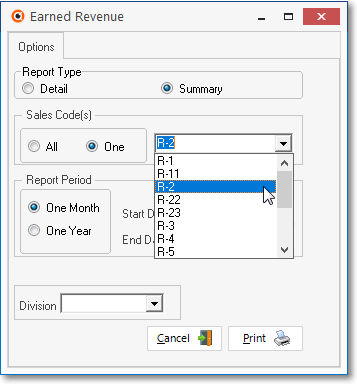
•Sales Code(s) - Specify whether All or one Recurring Revenue Sales Category will be listed.
✓All is the default, but you may Click the One button and use the Drop-Down Selection List provided to Choose one Recurring Revenue Category to be reported.
•Report Period - Choose whether a One Month or One Year is to be reported
✓By default One Month is selected and the Date Range representing the most recently completed Month is inserted automatically.
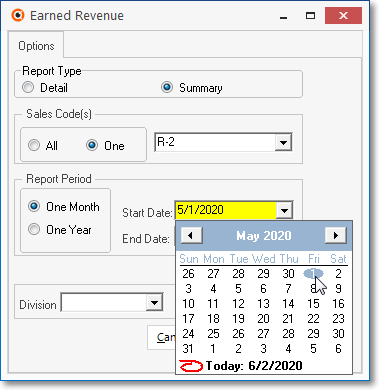
✓One Year - If this will be an annualized report, Click the One Year button.
▪If One Year is selected, the Date Range representing the most recently completed Year is inserted automatically.
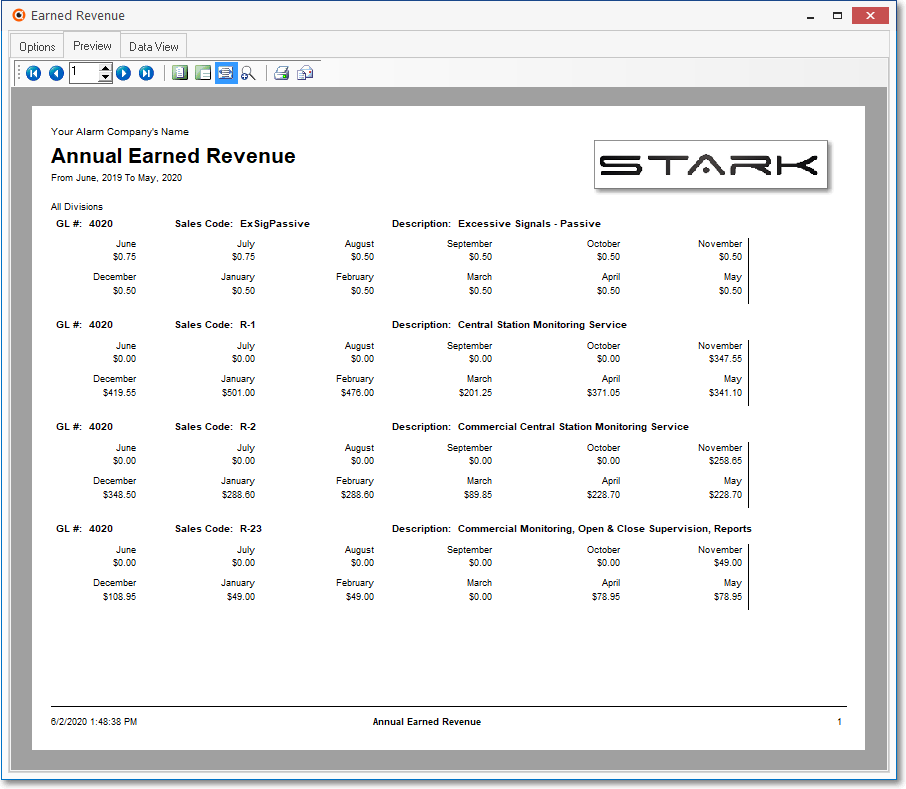
Earned Revenue by Month Report - Preview tab - Summary for One Year
✓Date Range - Then, whether reporting for One Month or One Year, if it will be different than the default (i.e., the most recently completed Month or Year based on whether One Month or One Year was chosen), identify the Date Range to be used by entering the Start Date and End Date of that Date Range using the Drop-Down Date/Calendar Selection Boxes provided.
•Division - By default all Earned Revenue from all Divisions and Division Groups will be reported
✓To limit this Earned Revenue Report to listing those Earned Revenues from one Division or Division Group only, use the Drop-Down Selection List provided to Choose that Division or Division Group.
•Print - Click the Print button ![]() to Preview and optionally Print this Earned Revenue Report.
to Preview and optionally Print this Earned Revenue Report.
✓To Exit this Report dialog, Click the Cancel button ![]() toward the bottom of the Options tab.
toward the bottom of the Options tab.
•Preview - The Preview tab presents the report which resulted from the Options you've selected.
✓Up Arrow/Down Arrow - hi - Moves the report one line up, or one line down, respectively.
✓Page Up/Page Down - Moves the report to the previous or next page, respectively.
Earned Revenue by Month Report - Preview tab - Detail for One Month
✓Home - ![]() - Using either the screen Icon or your Keyboard's Home key, moves the report to the top of the first page.
- Using either the screen Icon or your Keyboard's Home key, moves the report to the top of the first page.
✓End - ![]() - Using either the screen Icon or your Keyboard's End key, moves the report to the bottom of the last page.
- Using either the screen Icon or your Keyboard's End key, moves the report to the bottom of the last page.
✓Arrows - The arrows allow you to move back and forth, from page to page.
✓Number - Indicates the page number you are viewing.
▪You may also type in a specific page number, Press 8 Enter and that page will be displayed immediately.
▪If you enter an invalid page number, it will be ignored.
✓Fit To Page - Click the first button after the arrows to size a full page of the report to fit the screen.
✓Zoom To 100% - Click the second button after the arrows to display the page at 100% (of the printed view).
✓Fit To Page Width - Click the third button after the arrows to size the page of the report to fit the full width of the screen.
✓Zoom To Percentage - Click the fourth button after the arrows to re-size the page of the report by percentage.
![]()
▪When you Click the Zoom To Percentage button, the Percentage selector will be displayed.
▪You may then Click the Up or Down ‚ arrow to set the exact amount of Zoom you want.
Earned Revenue Report - Preview tab - with Summary Recap and GL data
✓Print - Click the Print button to Print (to a File or a Printer) ![]() the displayed Earned Revenue Report.
the displayed Earned Revenue Report.
▪See Printing to a File for additional information ion how to save this report in several different file formats.
✓Email - Click the Email button ![]() to send the Report to an Email Address of your choosing.
to send the Report to an Email Address of your choosing.
✓To Exit the Preview tab and Close this Report dialog Form, Click the Close box ![]() on the right at the top of the Preview tab.
on the right at the top of the Preview tab.