❑Warehouses - As the Inventory Tracking and Job Costing System is implemented, there is an obvious need to identify the Inventory Items that will be Purchased (for Installations and Resale) and where those Inventory Items will physically be stored (i.e., in your Company's Warehouse Locations).
•Any number of Warehouse Locations may be identified.
✓Warehouse Locations may be buildings, sheds, someone's Home or Truck, etc., anywhere Inventory Items are normally stored.
✓And each Warehouse Location must be identified as either Level 1 (primary) or Level 2 (secondary) Warehouse.
•Some Companies consider each of their Service and Installation Vehicles (i.e., the Company's Trucks) to be a Warehouse Location (because the vehicles often have a substantial number of Inventory Items stored in them).
✓These Service and Installation Vehicles must also be defined as either Level 1 (primary) or Level 2 (secondary) Warehouse Locations, based on each individual Company's internal policy.
➢#1 Note: The specific Inventory Items which are stored in any of these Locations may be listed (viewed, printed, or printed to a file), using the Inventory By Warehouse report.
➢#2 Note: When first implementing the Inventory Tracking & Job Costing module:
a)Define (or execute the ADI Inventory Import procedure) the Inventory Items that are to be tracked
b)Print the Inventory Worksheet report to get an Inventory List which may make it easier to conduct an Inventory Count.
c)Count the "in-stock" Inventory Items to quantify what's On Hand
d)Use the Warehouse Inventory Form (which lists the Inventory Items currently stored at the selected Warehouse Location) to Adjust those Quantities to match that Inventory Count
❑Entering Warehouse Information:
•To define your Company's Warehouse Locations:
a)From the Backstage Menu System Select Maintenance then Select the General sub-menu and Choose General Maintenance, or
b)From the Quick Access Menu, Select the Maintenance sub-menu and Choose General Maintenance
✓On the (General Maintenance's) Miscellaneous Menu Select the Inventory sub-menu and Choose Warehouse

Warehouse Form
✓This Warehouse Form may be Re-sized by Dragging the Top and/or Bottom up or down, and/or the Right side in or out.
•Navigation Menu - The Navigation Menu is located at the top of the Warehouse Form.

✓This Navigation Menu provides the normal Record Movement, plus Add, Delete, Cancel, Save, List, Warehouse Inventory, and Transfer options.
•Record Editing section - The details of the currently selected record are displayed below the Navigation Menu at the center (Main Body) of the Warehouse Form.
•To define a Warehouse to be used for identifying where the Inventory Items are stored:
✓Click the ![]() Icon to start a Warehouse entry in the Record Editing section.
Icon to start a Warehouse entry in the Record Editing section.
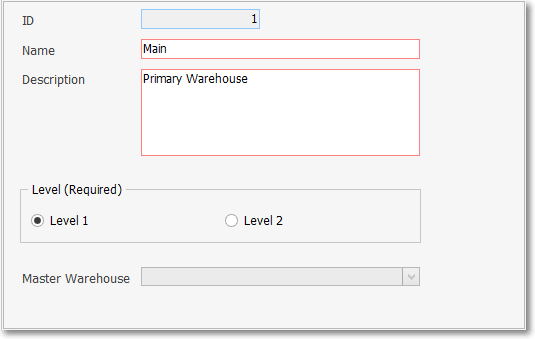
✓ID - This is the record number and it will be assigned by the system.
✓Name - Enter a Name for this Warehouse Location.
▪It may be up to 40 characters in length and include upper and lower case letters, numbers, spaces, and common punctuation marks.
✓Description - Enter a Description of this Warehouse Location (e.g., based on its address, the direct phone number, for a specific supervisor, what is generally stored there).
▪It may be up to 70 characters in length and include upper and lower case letters, numbers, spaces, and common punctuation marks.
✓Level (Required) - Choose the Warehouse Level for this Warehouse Name
a)Level 1 - Click this button (this is the default selection) to indicate that this is one of the Primary Inventory Warehouse Locations, or
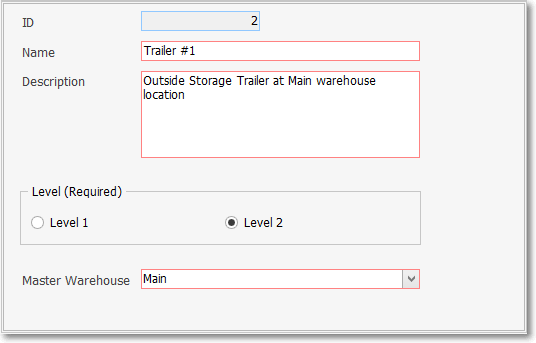
b)Level 2 - Click this button to indicate that this is not a Primary Warehouse Location and therefore is secondary to (e.g., inside; supplied by; associated with; a special purpose room within) another warehouse facility which has been designated as a Level 1.

✓Master Warehouse - If Level 2 was selected:
▪Use the Drop-Down Selection List provided in this field to Choose the Level 1 Warehouse to which this Location is assigned.
✓Click the ![]() Icon to record this Warehouse.
Icon to record this Warehouse.
•Any number of additional Primary and/or secondary Warehouses may be identified, as required.
❑Special Buttons on the Warehouse Form:
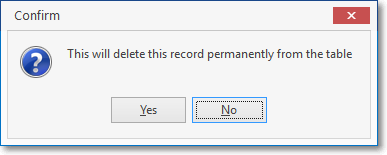
•Delete - Click the Delete Icon on the Navigation Menu to remove a Warehouse Location record.
✓Confirm the Delete request.
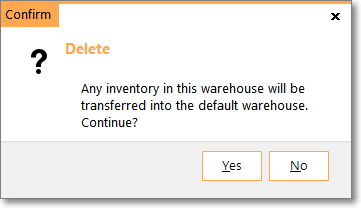
✓If any existing Inventory (quantities) at the Warehouse Location that is to be deleted is present in-stock there, a confirmation message will be displayed asking you to transfer this Inventory to the default warehouse,
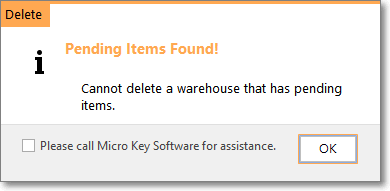
✓If any pending Inventory (quantities) are scheduled to be delivered to the Warehouse Location that is to be deleted a warning message will be displayed and the deletion process will be canceled,
![]() List Icon - The Navigation Menu also has a List option which provides a tabular view of the records.
List Icon - The Navigation Menu also has a List option which provides a tabular view of the records.
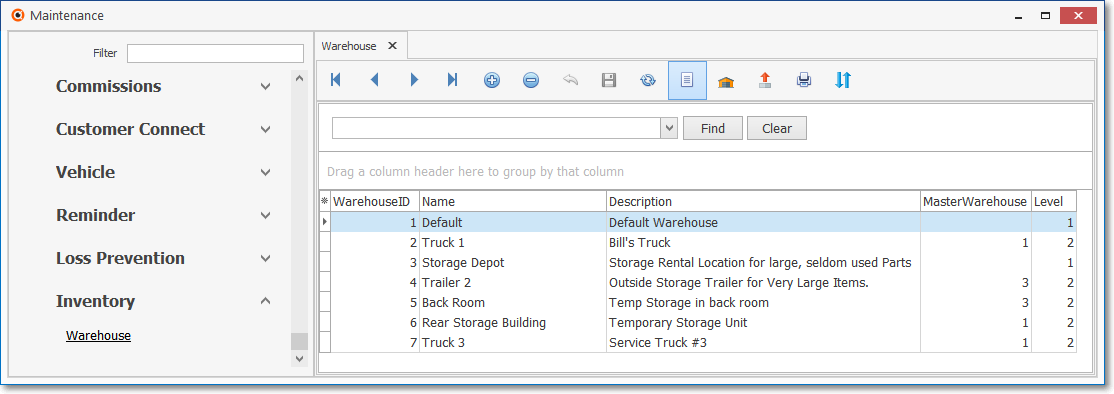
Warehouse Form - List View
✓Click the List Icon to display the associated Grid Data.
✓The columns of listed Grid Data may be rearranged, filtered, sorted, and exported as a PDF file and/or an Excel formatted file.

✓Find - Enter text to search for a specific record, then Click the Find option.
✓Clear - To remove the text to search for entry, Click the Clear option

Navigation Menu shown with the Icons for List, Export and Print
![]() List Icon - Click the List Icon again to Close the List View and return to the Record Editing View.
List Icon - Click the List Icon again to Close the List View and return to the Record Editing View.
![]() Export Icon - Click the Export Icon to create (one of there types of) a spreadsheet compatible file containing the Grid Data as it is currently organized and filtered.
Export Icon - Click the Export Icon to create (one of there types of) a spreadsheet compatible file containing the Grid Data as it is currently organized and filtered.
![]() Print - Click the Print Icon to display the Print Preview Form from which a custom report may be designed and "printed" as an Adobe® PDF File.
Print - Click the Print Icon to display the Print Preview Form from which a custom report may be designed and "printed" as an Adobe® PDF File.
❖See the Grids - Print Preview - Export Data chapter for complete information on using the List View, including its Export & Print options.
•View Inventory - Click the View Inventory Icon at the top of the Warehouse Form (see below) to display the Warehouse Inventory Form which lists the Inventory Items currently stored at this specific Warehouse Location.

❖See the Warehouse Inventory chapter for complete information about using the Warehouse Inventory Form
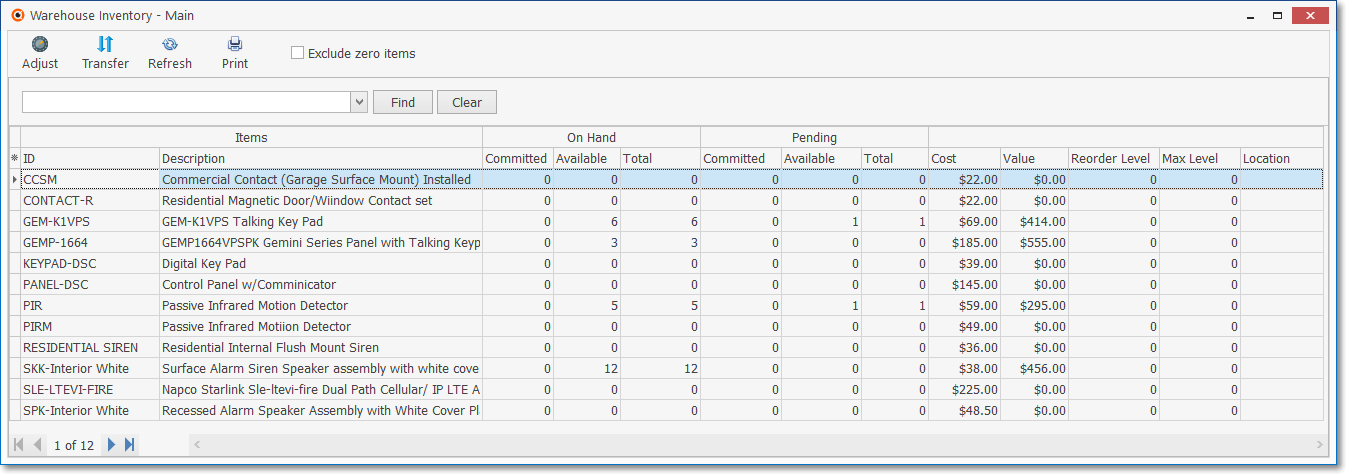
✓All defined Inventory Items will be listed.
✓The Quantity of Inventory Items that are stored at the currently selected Warehouse location is provided.
✓Exclude zero items - Check this box to eliminate from this list any Inventory Items with a Quantity of zero ("0") in all On Hand (i.e. Committed, Available, Total),and Pending (i.e., Committed, Available, Total) fields.
✓Close - Click the Close ![]() box on the top of the Form to exit the Warehouse Inventory Form.
box on the top of the Form to exit the Warehouse Inventory Form.
•Transfer - This Multi-Item Transfer option provides the ability to Transfer one or more Inventory Items from the currently selected Warehouse, to another Warehouse of the Users choosing.

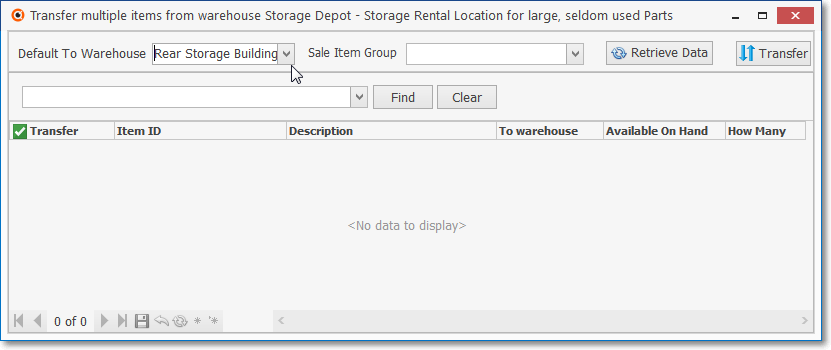
✓Click the Transfer Icon on the Warehouse Form (see mouse pointer in illustration above) to display the Transfer multiple items from warehouse dialog.
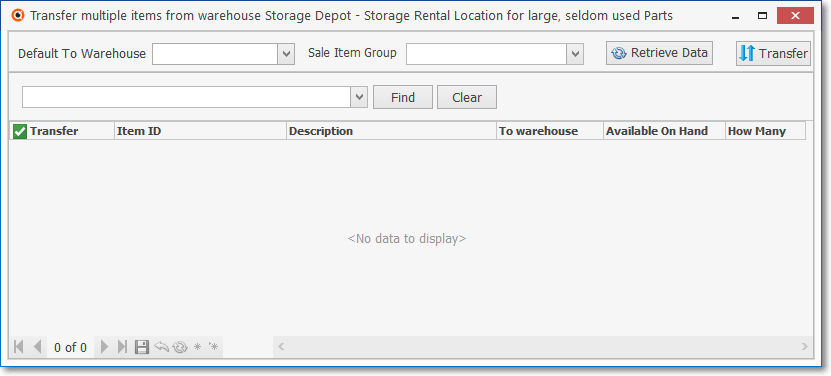
Transfer multiple items from warehouse [name] - [description] dialog
✓Refresh - Click the Refresh Icon to display a list of the Inventory Items in the currently selected Warehouse.
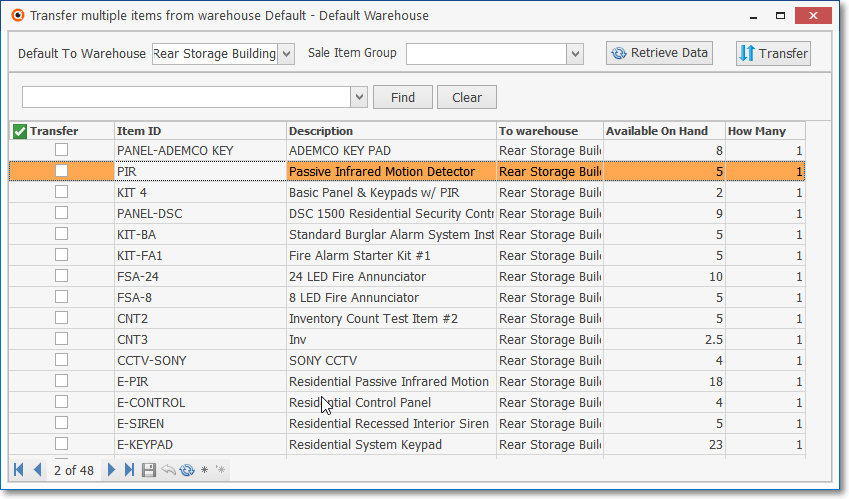
✓Default To Warehouse - Use the Drop-Down Selection List provided to Choose the Warehouse to which the Inventory Items (to be chosen) will be Transferred.
Transfer multiple items from warehouse - Default To Warehouse field
✓Sale Item Group - To limit the list of Inventory Items that will appear in this Transfer multiple items from warehouse Grid, the User may use this Drop-Down Selection List to Choose the Sale Item Group in which the Inventory Items to be Transferred are assigned.
✓Retrieve Data - It you selected an Sale Item Group, Click the Retrieve Data Icon again to re-populate the Grid.
Transfer multiple items from warehouse dialog - Retrieved Data in Grid
✓Transfer - Check the Transfer box of each Inventory Item(s) that are to be Transferred
✓To warehouse - The Drop-Down Selection List provided in this To warehouse field may be used to Choose a different Warehouse to which this specific line item is to be Transferred.
✓How Many - Enter the Quantity that is to be Transferred
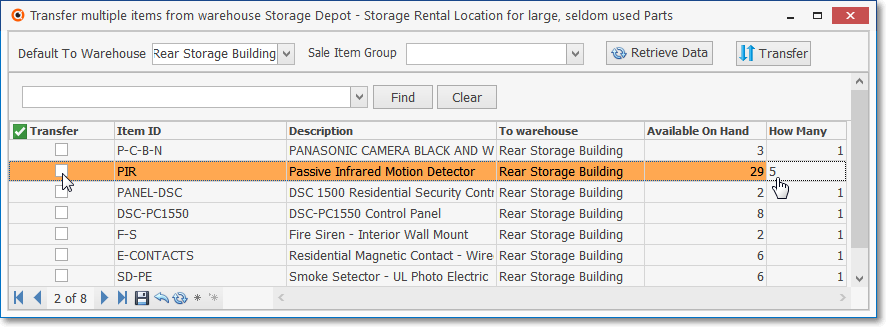
Transfer multiple items from warehouse dialog - Transfer & How Many columns
✓Transfer Icon - Click the Transfer Icon to execute the Multiple Inventory Item Transfer.
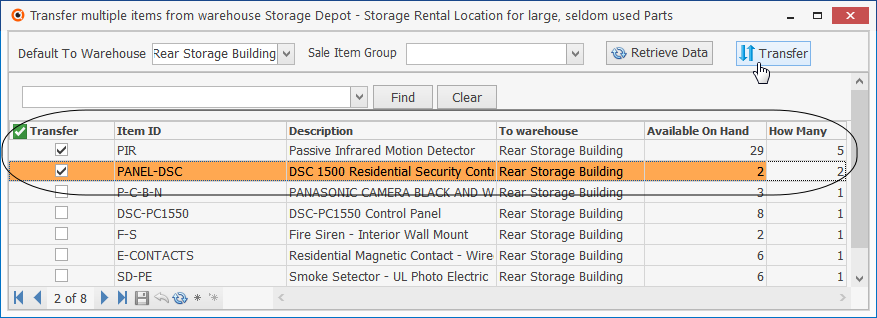
Transfer multiple items from warehouse dialog - Transfer Box / How Many column / Transfer Icon
✓Confirmation - An Information message will be displayed when the Inventory Transfer has been completed.
✓The Inventory Quantities at the receiving Warehouse will be updated automatically

❑What's Next?
•Read the Warehouse Inventory chapter for complete information about using the Warehouse Inventory Form shown above.
•Go to the Inventory and Job Maintenance chapter.