❑The Signal Processing Screen provides for several Processing Steps, has Data Lookup Icons, various Information tabs, and Action Options which provide immediate access to additional functions and information often required by an Operator, while he or she is processing an Alarm Signal.
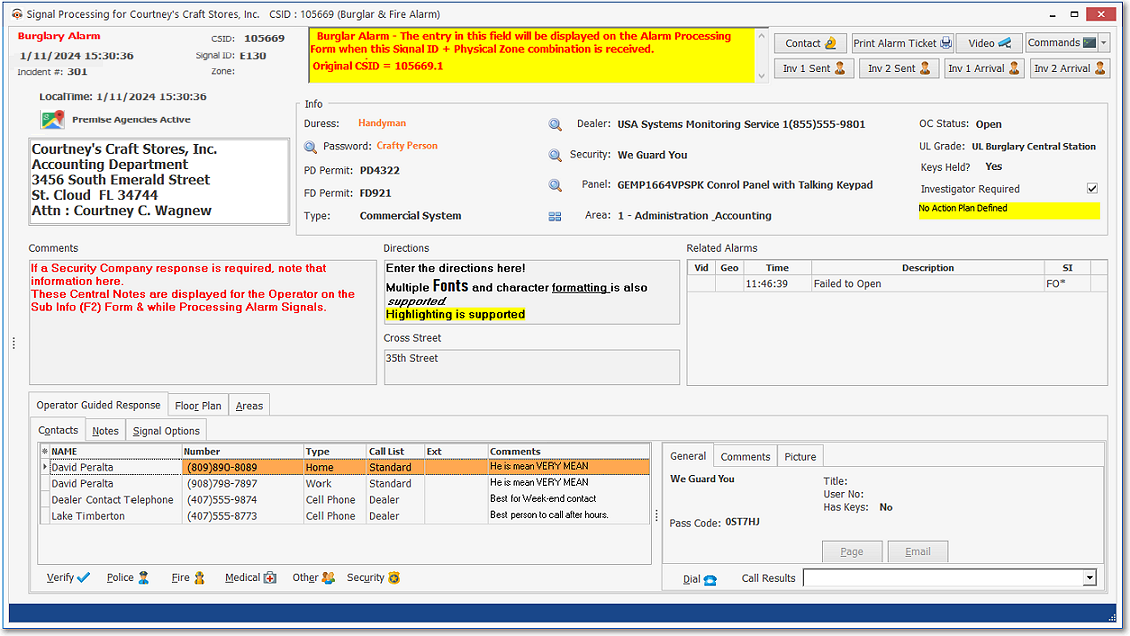
Signal Processing Form with Operator Guided Response tab
•Not all tabs will appear on all Signal Processing Screens.
✓For example, the Floor Plan, Areas, and Temp Notes tabs will only be presented when there is actual data entered for these options.
•Press the Alternate Key and the Title's underlined letter of an Information tab (e.g., Alt+O > Contacts; Alt+A > Areas; Alt+S > Signal Options) at the same time - to display that Information tab.
•Loss Prevention - Alt+L will open the Loss Prevention dialog if the Operator is currently Processing an Alarm Signal.
❑Process & Information tabs - A Summary: These Process & Information tabs may not appear on the Signal Processing screen in the order listed below, or may not appear at all, based on the available data.

•Some tabs will only be presented when it is time to use them, or displayed only when there is actual data to be viewed (or entered) within a particular Process & Information tab.
1.Floor Plan - When a Floor Plan image is on file for the CSID of the Subscriber whose Alarm Signal is being processed, the Floor Plan tab will be available.
2.Areas - When Areas are defined for a Subscriber whose Alarm Signal is being displayed on the Signal Processing screen, the Areas tab will be available for selection.
3.Contacts - Lists the People To Call available for, and in the proper order to be called for, the current Alarm Signal.
4.Notes - This multipurpose tab allows the Operator to:
a.Enter a comment, and/or
b.Use the Quick Notes feature to enter a Note, and/or
c.View the up-to-the-minute Current Signal's History log.
5.Temp Notes - If the Subscriber has previously entered Temporary Notes (one or more Notes that were set to be displayed based on a predetermined date and time range), those Temp Notes will be available for review within the Temp Notes dialog.
a.When an Alarm Signal is initially displayed on the Alarm Signal Processing screen, if there are any active Temporary Note, it will automatically be shown to the Operator.
6.Signal Options - Allows the Operator to:
a.Place an Alarm Signal on Hold to await further information, and/or
b.Reset the Open or Closing schedule, and/or
c.Define the reason this event is resolved indicating that all required and necessary processing steps have been Completed.
7.Loss Prevention - Though not displayed as a tab, Pressing Alt+L will activate the Loss Prevention dialog if the Operator is currently Processing an Alarm Signal.
❑Action Option buttons: There is a set of Action Option buttons which are available to the Operator while Processing an Alarm Signal.

Action Option buttons
•Contact - This option displays a Select Contact dialog
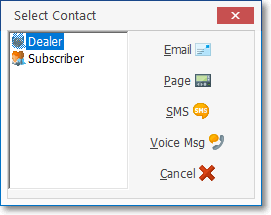
Select Contact dialog
✓Choose to whether a Dealer or Subscriber Contact is required.
✓Select either an Email or a Page communication is needed.

Completed Manual Email dialog
✓Complete the Manual E-Mail (SMS,Voice Message, or Manual Page) information, as appropriate.
✓Click Send.
•Print Alarm Ticket - Displays for Printing, an Alarm Ticket of the Alarm Signal being processed.
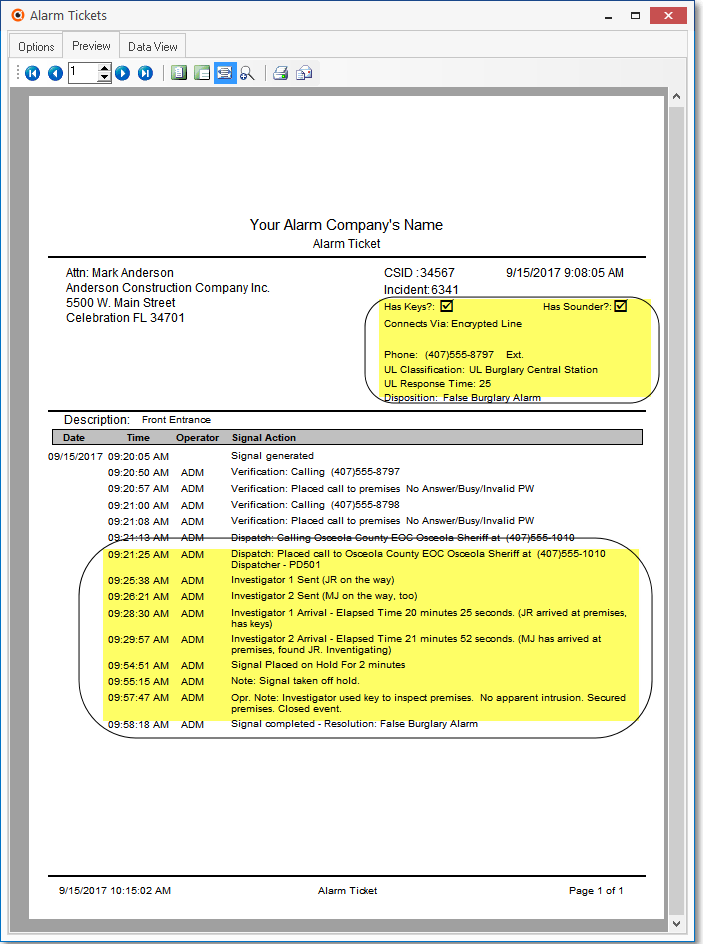
Alarm Ticket - Preview - UL Dispatch information
•Video - Displays for Viewing any Video available for the Alarm Signal being processed.
•Commands - A list of the External Services (that were previously defined specifically for Subscribers) will be presented on a Menu (viewed by Pressing the Down Arrow 6) and may be accessed as needed.
•Inv 1 Sent - This option displays the Investigator 1 Sent dialog
✓It is used in conjunction with processing a Priority Levels 1-7 Alarm Signal that was received from a Subscriber who was assigned a UL Classification,
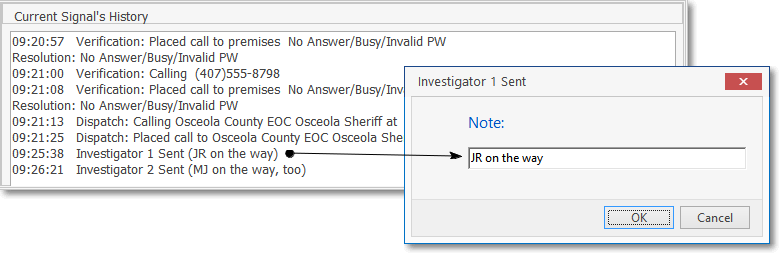
Investigator Sent dialog
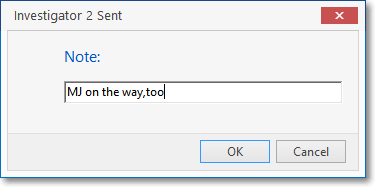
•Inv 2 Sent - This option displays the Investigator 2 Sent dialog
•Inv 1 Arrival - This option displays the Investigator 1 Arrival dialog
✓Once the Investigator Arrival Information is entered and saved, the elapsed time between Dispatch and Arrival is calculated and recorded.
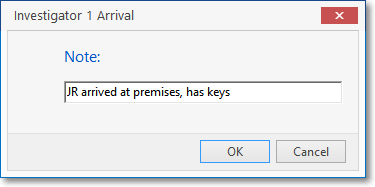
Investigator 1 Arrival
•Inv 2 Arrival - This option displays the Investigator 2 Arrival dialog
✓Once the Investigator Arrival Information is entered and saved, the elapsed time between Dispatch and Arrival is calculated and recorded, along with the Investigator's Name, in the Signal History table.
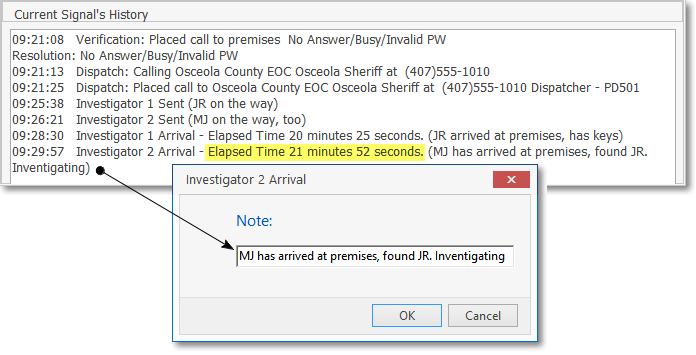
Investigator 2 Arrival dialog - Elapsed Time calculated automatically
•Once the Alarm Signal is completed, all of the processing information is stored in the Signal History table.
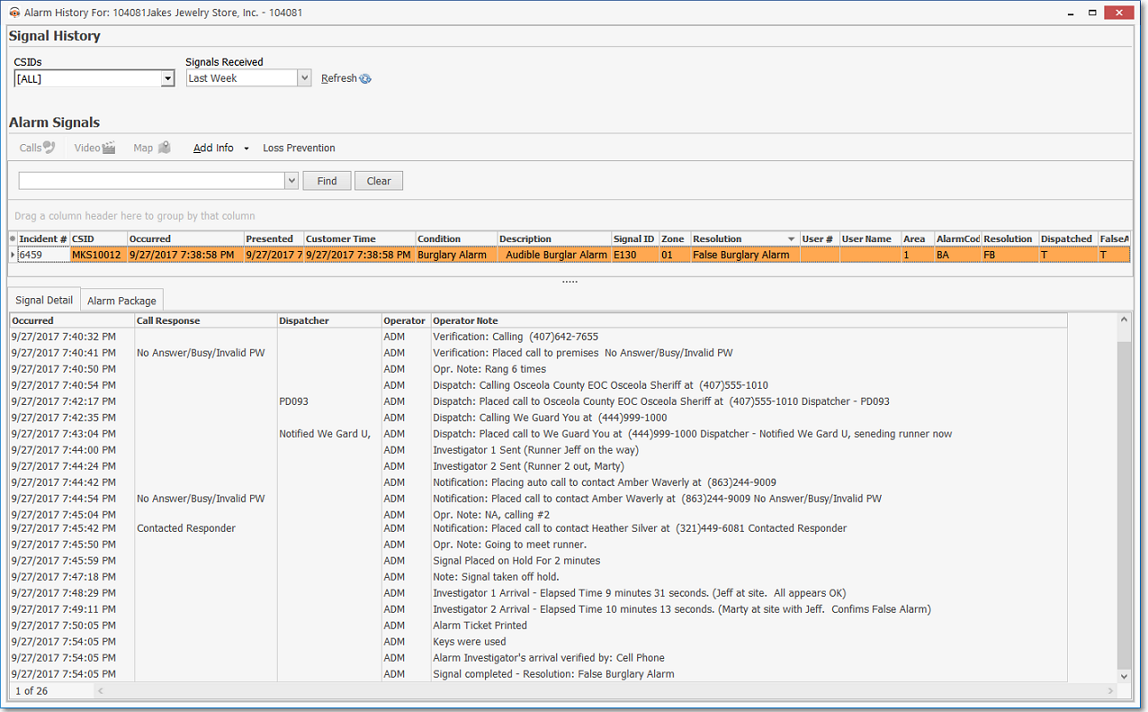
Signal History record of Completed Alarm Signal that required UL® specific processing
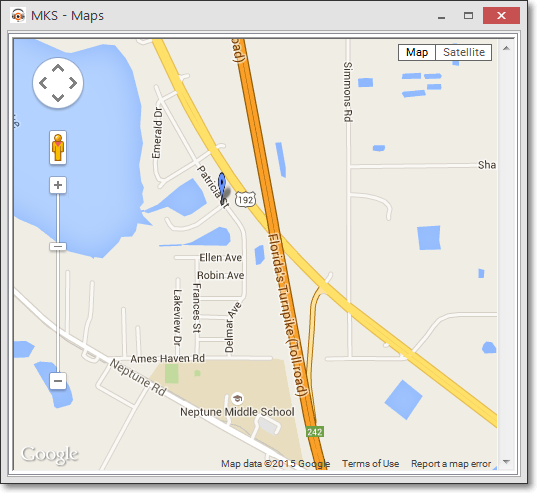
•Map - Displays a Map indicating the location of the Subscriber whose Alarm Signal is being processed.
❑Converting to Manual Mode - Manual Mode allows the Operator to switch to the Operator Guided Response user interface.
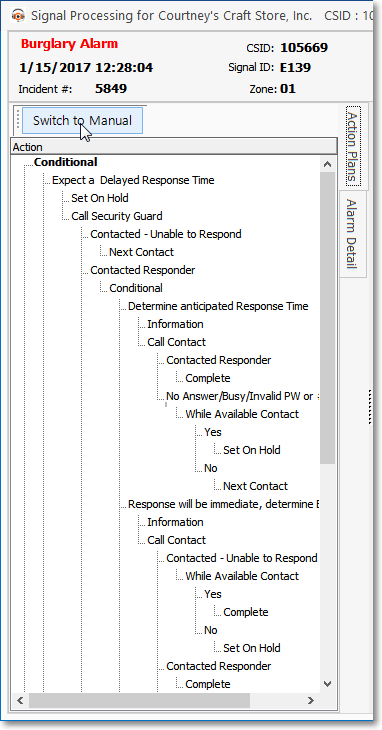
Signal Processing - Action Plans - Switch to Manual option
•If an Action Plan is active for the Alarm Signal currently being Processed, and the Operator needs to exit from the system's control of that Action Plan,
✓Click the Switch to Manual button above the Action Plans tab, or Press Ctrl+Shift+M.
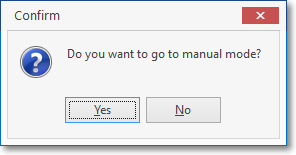
✓Click the Yes button to Confirm the switch to Manual Mode.
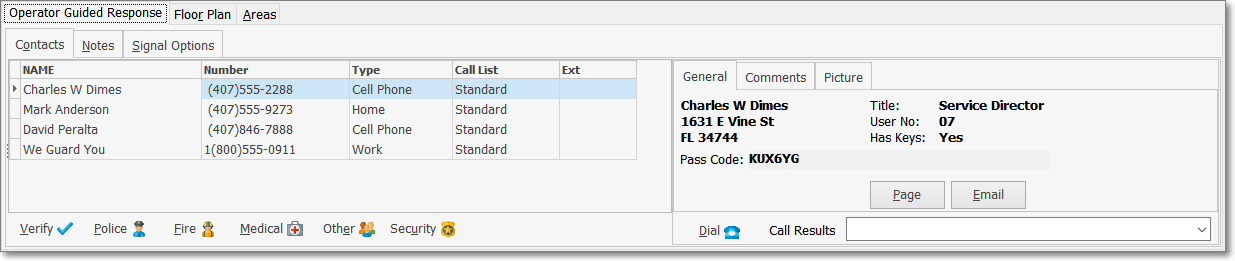
Operator Guided Response view with Contacts, Notes & Signal Options tabs
•The Action Plan user interface will be converted to the generic Operator Guided Response view with the Contacts, Notes and Signal Options tabs available.
✓Normally, while an Operator is Processing an Alarm, and the processing of that Signal is being guided by an Action Plan, and she/he must put that Signal On Hold, when that Signal is retrieved from the Alarm Stack for further processing, it will revert to the Operator Guided Response processing methodology.
✓The Contacts, Notes, History, Temp Notes, and/or Signal Options tabs - whenever appropriate - may now be accessed, as needed.
•However, when (if) the Signal is Placed on Hold, and the RestartActionPlanFromOnHold option (in the Company Setting tab on the Users Options Form) is set to True ("T"), the processing guidance will revert to the beginning step defined in that Action Plan.