❑Why enter Insurance Information?
•To record the insurance related information required for the issuance of an Alarm Certificate.
•To create Alarm Certificates on demand (see below).
•To know who to contact when Alarm System damage - and subsequent repair - was due to an Insured Cause.
❑To enter and/or view a Subscriber's Insurance information, open a Subscribers Form.
•Press F-2 Search on the Navigation section of the Subscribers Form to locate the appropriate Subscriber record,
•Locate the appropriate Account then open the Options Menu on the Navigation section of the Subscribers Form, Select the General sub-menu, then Choose the Insurance option.
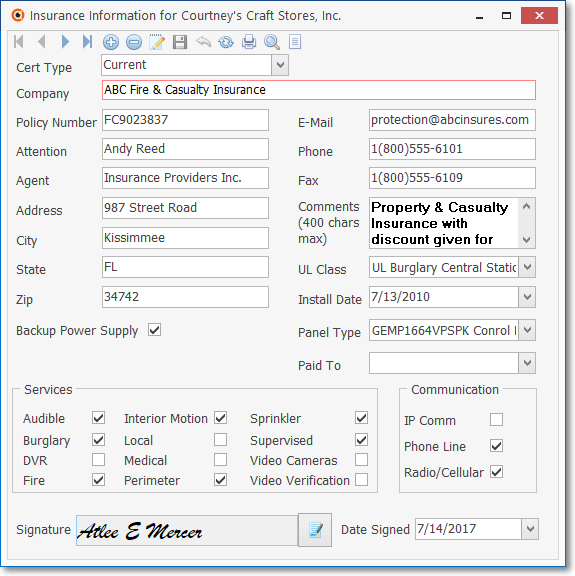
Insurance Information Form - Current format
•Click the ![]() Icon to start the entry
Icon to start the entry
•Cert Type - This selection will set the Printed Certificate Type as the Company-Wide choice.
✓By default, the Printed Certificate Type will initially be set to Current which will include the UL® Classified Accounts's required information, E-Signature and Date Signed fields.
▪Companies who are not installing any UL® Classified Systems may prefer the simpler Legacy Printed Certificate Type.
▪Use the Drop-Down Selection List provided to Choose the Legacy Printed Certificate Type, if desired.
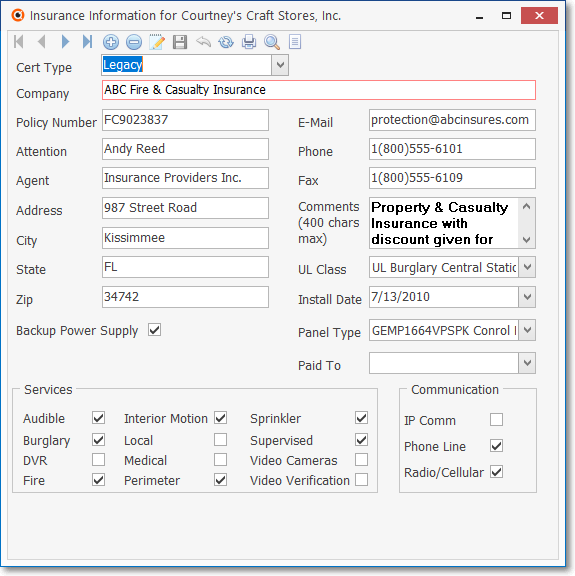
Insurance Information Form - Legacy format
•Company - Enter the Insurance Agent's company name.
•Left Column fields:
✓Policy Number - Enter the policy number.
✓Attention - Enter the appropriate contact information, usually the Agent's actual name.
✓Agent - Enter the Agency's business name.
✓Address - Enter the Agency's mailing address.
✓City, State and Zip - Enter the appropriate information.
✓Backup Power - Check this box in the Subscriber's Alarm System is includes a backup battery power supply.
•Right Column fields:
✓E-Mail - Enter the customer service E-Mail address.
✓Phone - Enter the Agency telephone number (If you have not Checked Remove Phone Formatting in User Options Form's Company Options tab, Formatting - parentheses and dashes - are applied automatically by the system - you do not have to type them)
✓Fax - Enter the Agency's fax line (If you have not Checked Remove Phone Formatting in User Options Form's Company Options tab, Formatting - parentheses and dashes - are applied automatically by the system - you do not have to type them).
✓Comments - Enter any appropriate Comments or Notes.
▪Any Comments entered here will be included on the Alarm Certificate (see below) for this Subscriber.
✓UL Class - Using the Drop-Down Selection List, Choose the UL® Certification, or None, as appropriate.
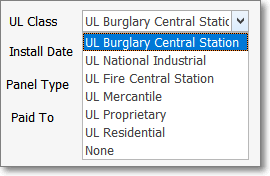
❖UL® Categories:
1.UL® Central Station fire alarm systems,
2.UL® Central station burglar alarm systems,
3.UL® proprietary burglar alarm systems,
4.UL® national industrial burglar alarm systems,
5.UL® mercantile burglar alarm systems,
6.UL® residential burglar alarm systems, and account number.
✓Install Date - This Date is inserted by the system (using the On Line Date entered in the Central Station Data section of the Monitoring tab); but may be adjusted, when appropriate, using the provided Drop-Down Calendar/Date Entry field.
✓Panel Type - Use the Drop-Down Selection List provided to Choose the Installed Equipment Code representing the Control Panel programmed with the Primary CSID.
✓Paid To - Use the Drop-Down Calendar/Date Entry field to enter the Date through which this Subscriber has Paid (for all Monitoring related Services).
a)Click on the Date field and type the desired Date using a MM/DD/YYYY format; or
b)Use the Drop-Down Calendar/Date Entry field provided to Choose the desired Date
•Services which will also be included on the Alarm Certificate (see below) for this Subscriber.
✓Audible - Check this box when an Audible Alarm is installed.
✓Burglary - Check this box when Burglary Alarm protection is provided.
✓DVR - Check this box when protection includes a .D.V.R.
✓Fire - Check this box when Fire Alarm protection is provided.
✓Interior Motion - Check this box when Interior Motion protection is provided.
✓Local - Check this box when this protection is provided with a Local Alarm only.
✓Medical - Check this box when Medical Alert protection is provided.
✓Perimeter - Check this box when Perimeter protection is provided.
✓Sprinkler - Check this box when there is a Sprinkler System installed.
✓Supervised - Check this box when system Supervision is provided.
✓Video Cameras - Check this box when there are Video Cameras installed.
✓Video Verification - Check this box when Video Verification is provided.
•Communication features which will also be included on the Alarm Certificate (see below) for this Subscriber.
✓IP Comm - Check if Monitoring is provided by use of an I.P. Communication technology.
✓Phone Line - Check if Monitoring is provided by use of a Telephone line.
✓Radio/Cellular - Check if Monitoring is provided by use of a Radio and/or Cellular backup system.
•Signature (Only available when using the Current format) - Click the E-Signature ![]() Icon to open the Select Signature List from which you may Choose the appropriate (previously defined) Electronic Signature.
Icon to open the Select Signature List from which you may Choose the appropriate (previously defined) Electronic Signature.
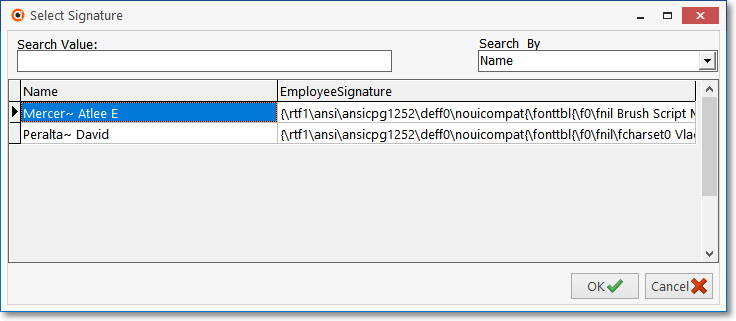
Insurance Form - Signature field - Select Signature list
✓Select the Employee's Electronic Signature which should be used to attest to the accuracy of the Alarm Certificate produced using this Insurance Information.
•Click the ![]() Icon to record this Insurance Information.
Icon to record this Insurance Information.
•Any number of Insurance Policies may be identified for each Subscriber because various risks may be covered under separate policies.
❑Using the Print, Search and Grid options on the Navigation Menu:
![]()
•Print - Click the Print Icon on the Menu bar at the top of the Insurance Form to produce an Alarm Certificate. (i.e., Certificate of System Installation)
✓Alarm Certificates may be produced for each Insurance Policy providing Property & Casualty Insurance.
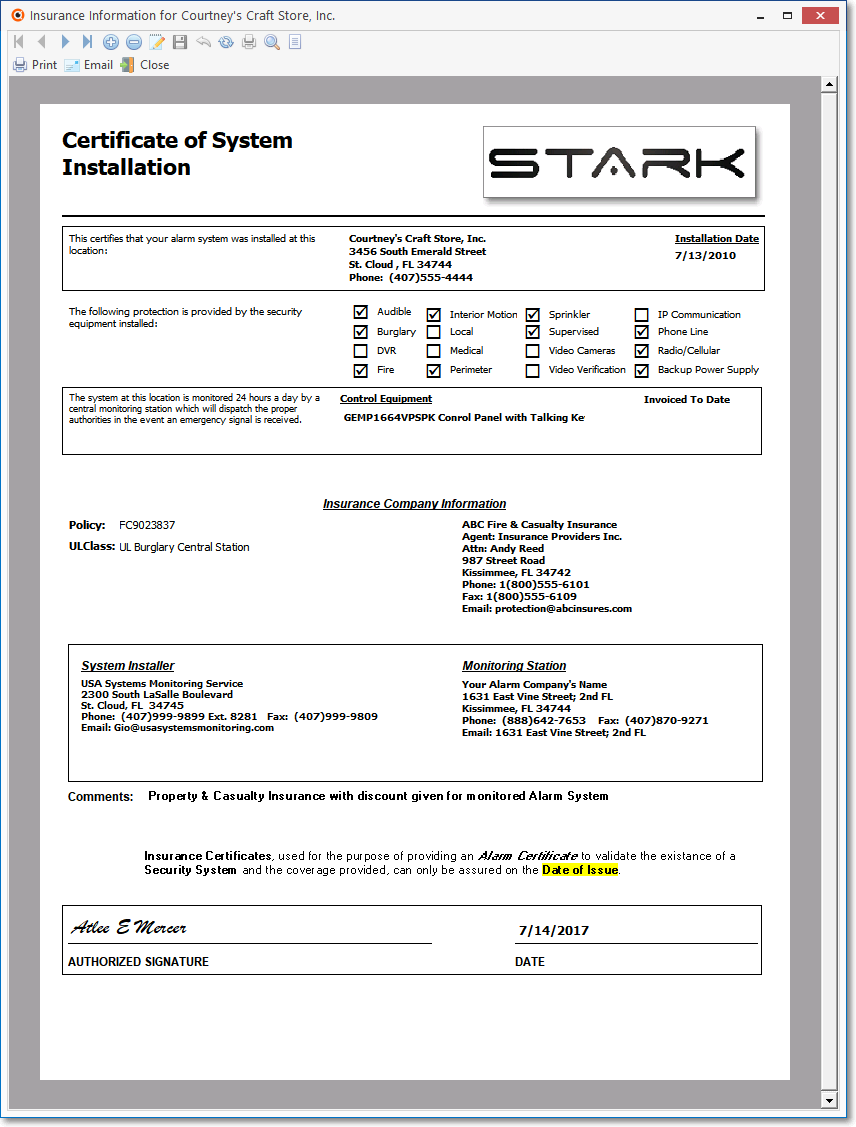
Alarm Certificate - Print Preview - Current format
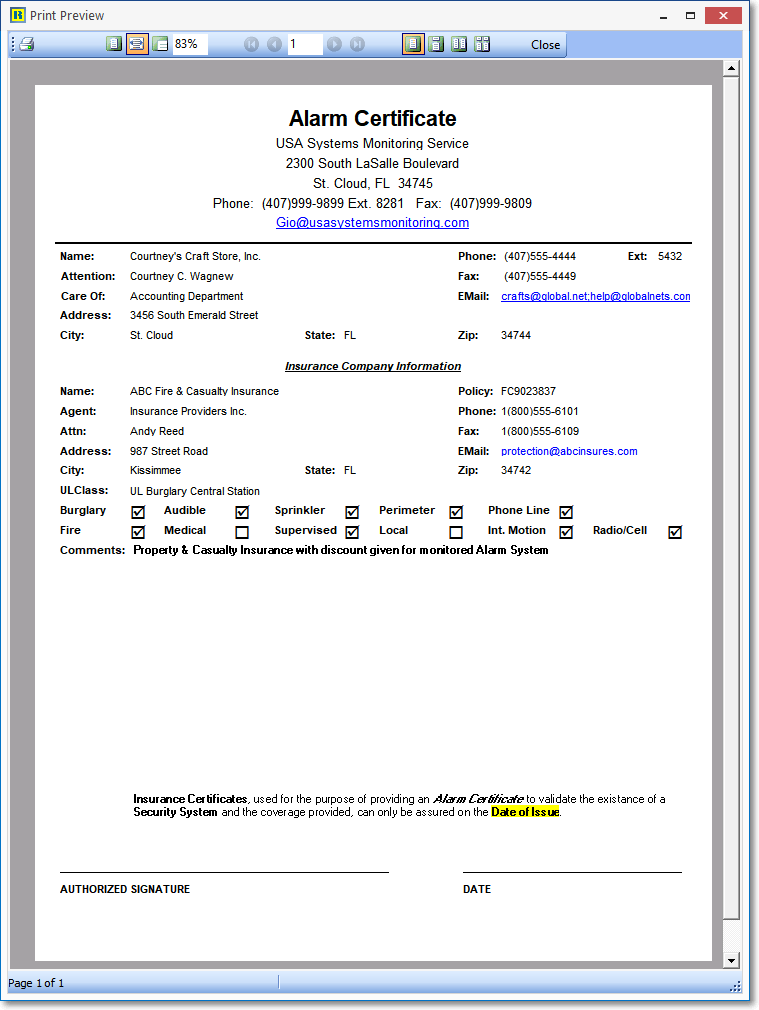
Alarm Certificate - Print Preview - Legacy format
▪Alarm Certificate options:
a)Print - Click the Print option to open the Print dialog from which you may produce (Print and/or create a PDF file of) an Alarm Certificate.
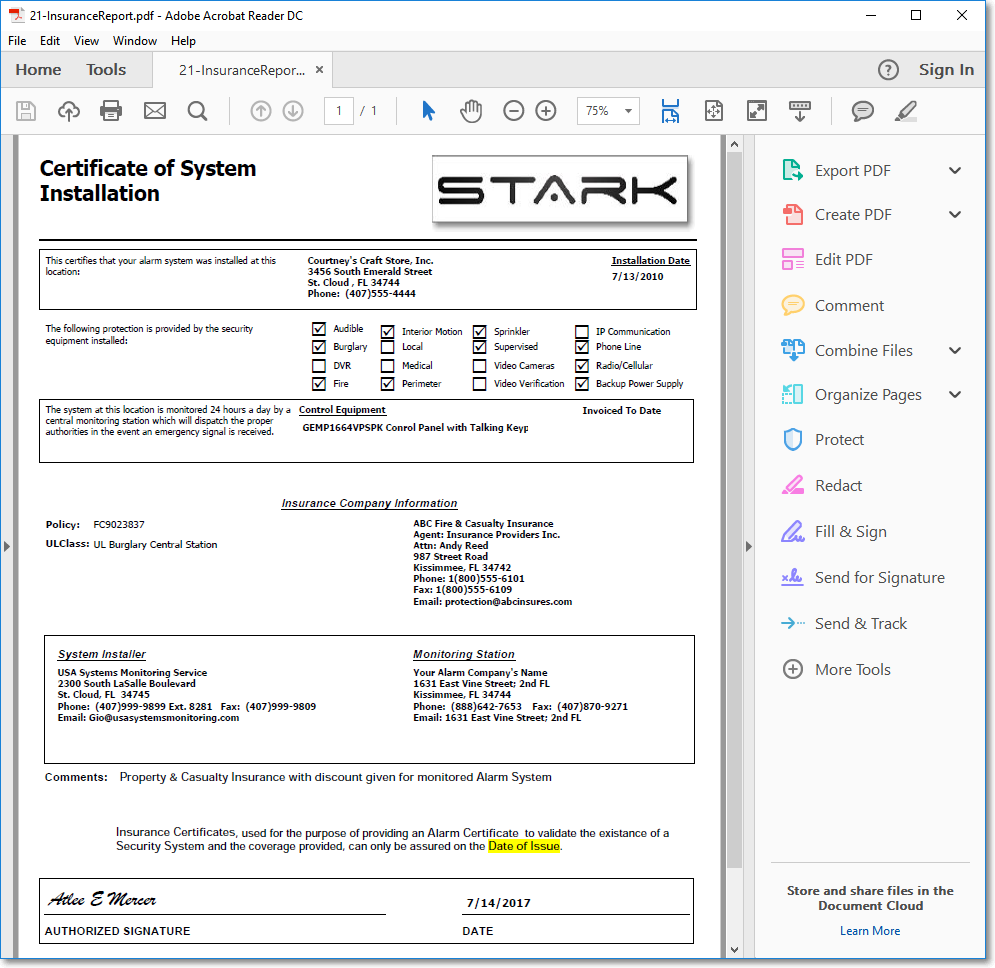
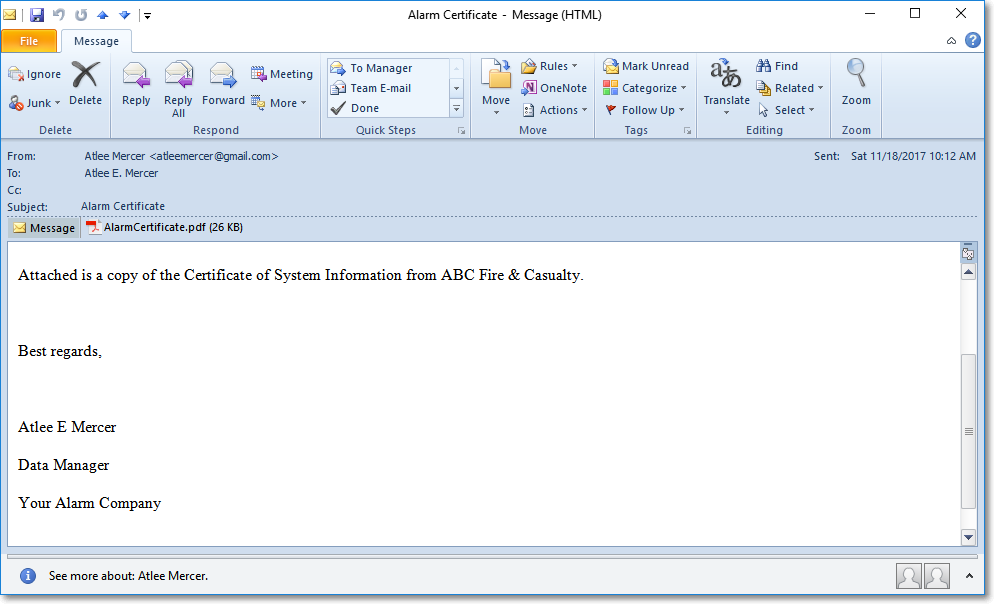
b)Email - Click the Email option to open the Outlook® (or whatever Email application you are using) dialog where an Email address and message may be entered which, when sent, will include a PDF copy of the Alarm Certificate.
c)Close - Click the Close option to return to the Insurance Information Form.
•Search - Click the Search button to open the Search Insurance dialog to locate a specific Insurance Company Policy.
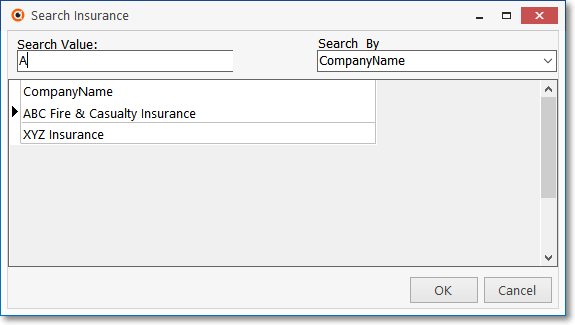
Search Insurance dialog
✓See the "Using the Generic Search dialog" section in the Advanced Search Dialog chapter for more information about this Search dialog.
•List - Click the List Icon to open a tabular view of the Subscriber's Insurance information
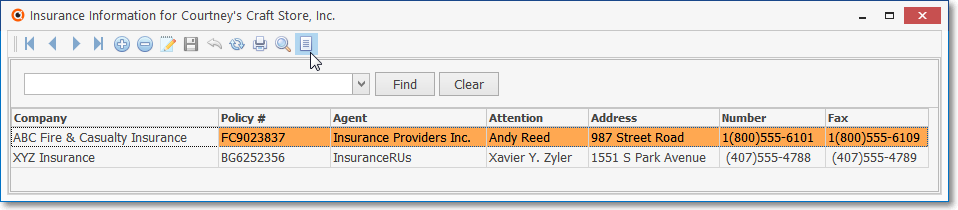
Insurance Form - Grid View
•The columns of the Insurance Data Grid may be rearranged, filtered, sorted, and exported as a PDF file and/or an Excel formatted file by following the instructions in the Grids & Lists chapter.
✓An incremental search for any data item within the Insurance Data Grid may be executed as needed:

▪Find - Enter text to search for a specific record, then Click the Find option.
▪Click on the desire record to view and/or make the changes as needed.
▪Clear - To remove the text to search for entry and redisplay the entire list, Click the Clear option
✓Click the List Icon again to return to the Edit View.