❑The ePay Review dialog provides a fully functional data grid listing with All (or a selected set) of the previously created Payment Gateway Payment Transactions, as needed, which may then be Printed as a report, and/or Exported (or Emailed) as an Excel® style Spreadsheet (or as a comma delimited file, or even a text file).
•Receipts from Credit Card or Bank transactions posted during an Fully Automatic Recurring Billing process are recorded in this ePay Review report Gird.
•However, when any of those expected Credit Card and/or Bank Payment Transactions are declined during the Fully Automatic Recurring Billing and/or the Recurring Billing process, they are recorded in this Resubmit/Receipt declined transactions from recurring invoices Gird.
✓To review and re-process any of these declined Payment Transactions, Select the Resubmit/Receipt declined transactions from recurring invoices option on the ePay Review Form's Menu.

Resubmit/Receipt declined transactions from recurring invoices option on the ePay Review Form
❑Understanding the Resubmit/Receipt declined transaction from recurring invoices Grid:
•Select the Resubmit/Receipt declined transaction from recurring invoices option on the ePay Review Form's Ribbon Menu
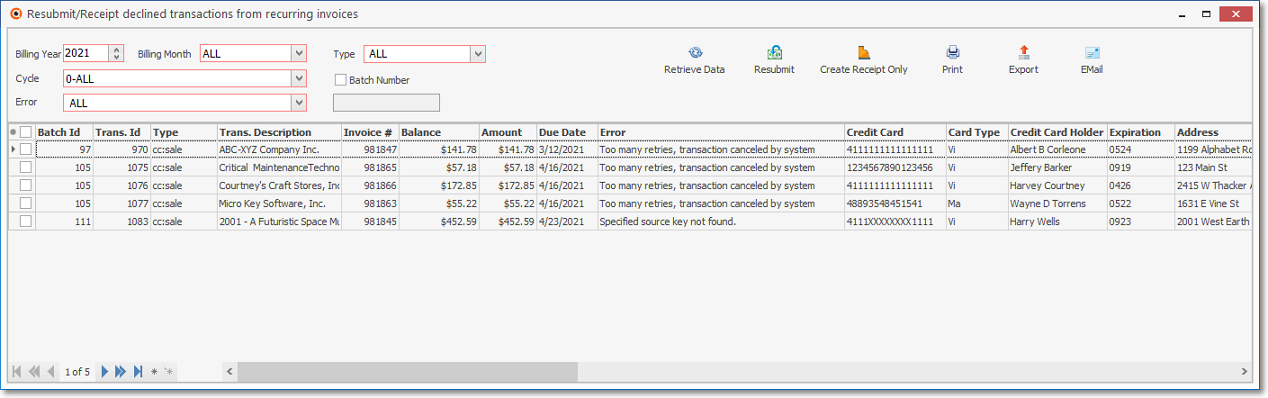
Resubmit/Receipt declined transaction from recurring invoices
•Setting Up the Resubmit/Receipt declined transaction from recurring invoices dialog's data grid Options:
✓Billing Year - By default, this will be the current year. Enter a different year if required.
✓Billing Month - By default, this will be All which means that all months are to be reported.

Billing Month - Drop-down Check List
▪Use the Drop-Down Check List to Choose what months are to be reported.
✓Type - By default, this will be All which means that both Credit Card and Bank transactions are to be reported.
▪Use the Drop-Down Check List to Select whether Credit Card or Bank transactions are to be reported
✓Cycle - By default, this will be 0-All Billing Cycles are to be reported.
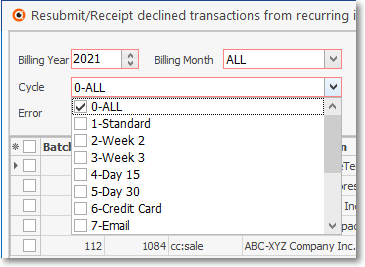
Cycle - Drop-down Check List
▪Use the Drop-Down Check List to Choose what Billing Cycles are to be reported.
✓Batch Number - By default All Batch Numbers will be reported.
▪Check this box and enter a specific Batch Number to be reported.
✓Error - By default, this will be All which means that All Error Messages will be reported.
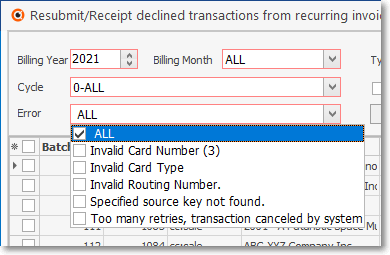
Error - Drop-down Check List
▪Use the Drop-Down Check List to Select which Error Messages will be reported.
•Retrieve - Once you have made the selections listed above, Click the Retrieve Icon to populate the Grid.
❑Re-Processing declined transactions
•Resubmit - Check the box on the left of each declined transaction record which is to be resubmitted to your Company's Payment Gateway.
✓Click the Resubmit Icon.
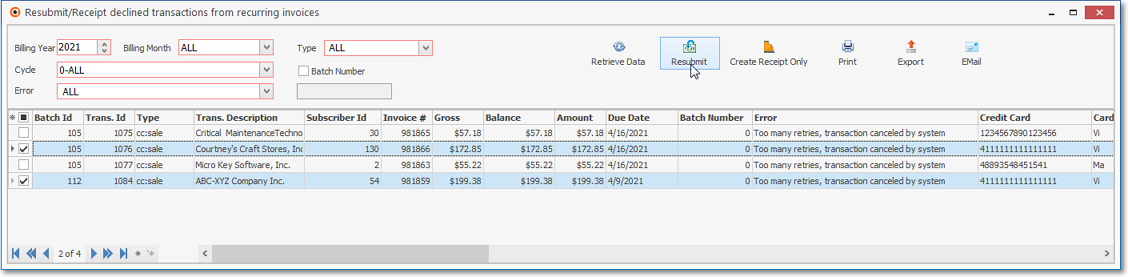
Resubmit/Receipt declined transaction from recurring invoices - Resubmit Icon
✓Click Yes to the Confirm the Resubmit Request.
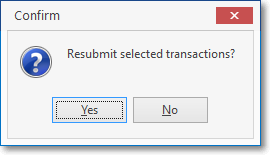
Confirm Resubmit
•Create Receipt Only - In some cases, the required Payment has been provided differently (e.g., included in a subsequent or previous ePay transaction, paid directly by Subscriber, etc.).
✓Check the box on the left of each declined transaction record that is to have a Receipt record created for this Payment Transaction.
✓Click the Create Receipt Only Icon.
•Print - Once the data has been formatted, filtered, sorted and configured as needed, a copy of this Resubmit/Receipt declined transaction from recurring invoices Grid's data may be printed (see Understanding the Print Preview Dialog chapter).
•Export - Once the data has been formatted, filtered, sorted and configured as needed, Click the Export Icon to make an Excel spreadsheet, Text or comma delimited copy of this Resubmit/Receipt declined transaction from recurring invoices data grid data.
•EMail - Once the data has been formatted, filtered, sorted and configured as needed, Click the EMail Icon to send this data as a PDF attachment to an Email address of your choosing.
•Radial Menu Lookup options - Right-Click on any declined transaction record to display its Radial Right-Click Menu
✓Select the Go To Subscriber, or Go To Invoice option to open and view the associated Subscriber, or Invoice Form
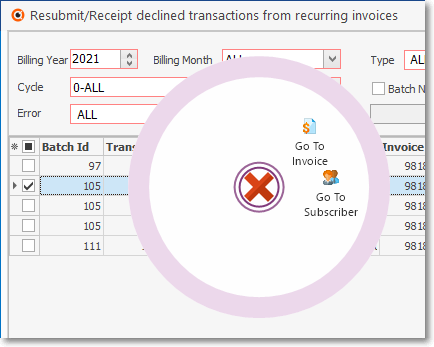
Declined transaction Radial Right-Click Menu
•Columns - Select which columns of data are to be displayed:
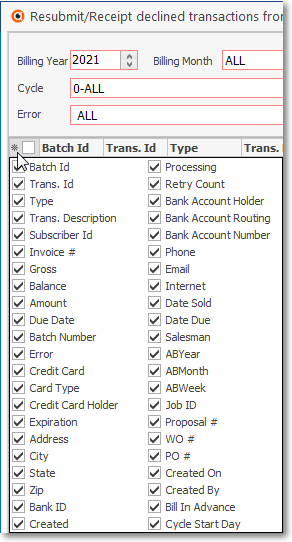
Available Columns
✓Click the asterisk (¬) at the left of the data grid's Header row (see the mouse pointer in the illustration above) to display a list of all of the column names - and associated data - which may be displayed.
✓By default, all Column Names will be Checked.
✓Remove the Check mark (Click on the Check to remove it) to hide that column of data from the data grid.
•Sorting the List - Setting the Order in which this Resubmit/Receipt declined transaction from recurring invoices data grid is Listed within the Form:
✓The default sorted order of the declined transactions List is based on the Batch Id - which is ordered from lowest to highest (1 - 9, a-z, then A - Z).
✓Thereafter, the column that determines the sorted order of the List may be easily changed, whenever needed.
•Filtering the List - This Resubmit/Receipt declined transaction from recurring invoices dialog's data grid may also be filtered, as needed to define/identify the data that is actually needed.
✓See the Grids & Lists and the Filter Builder Dialog chapters for more information about formatting and printing (and exporting) the dialog's data grid