❑The Inventory Used on a Job will be identified on this Inventory Used sub-tab by using any combination of these two methods:
1.Inventory Items that were used to fulfill a Job Task may be identified on a Work Order that was created specifically for that purpose. To do so:
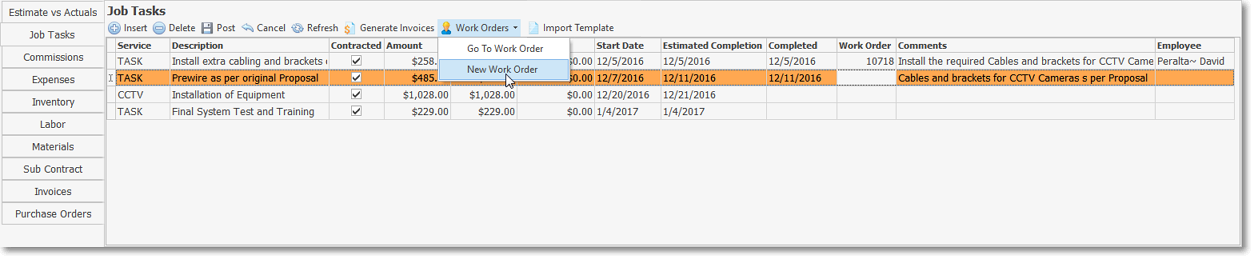
Job Costing Form - Job Task tab - New Work Order option
a)Use the New Work Order option on the Job Task Tab to create that Work Order.
b)There the Inventory Items that were used are identified in the Inventory/Materials Drop-Down Info Box on that Work Order Form.
c)By doing so, those Inventory Items will automatically be inserted in this Inventory Used sub-tab.
2.Inventory Items that were used may also be identified by using the Use Inventory option available on the Inventory Reserved and/or the Item List sub-tabs (which opens the Job Invoice Multi Usage dialog) that will automatically insert those Used Inventory Items into the Inventory Used sub-tab.
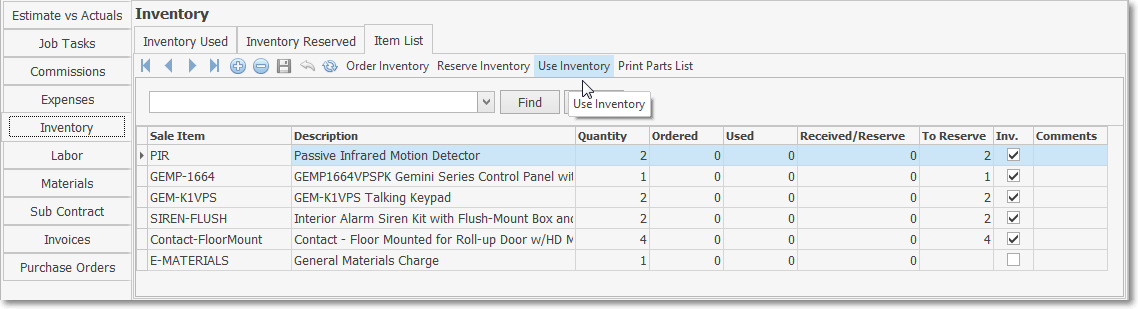
Job Costing Form - Inventory tab - Item List tab - Use Inventory option
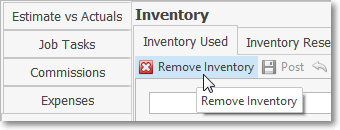
❑Removing an Inventory Used Line Item from the Inventory Used sub-tab when necessary:
•Click the Inventory Tab on the Job Costing Form.
•By default, the Inventory Used sub-tab will be displayed.
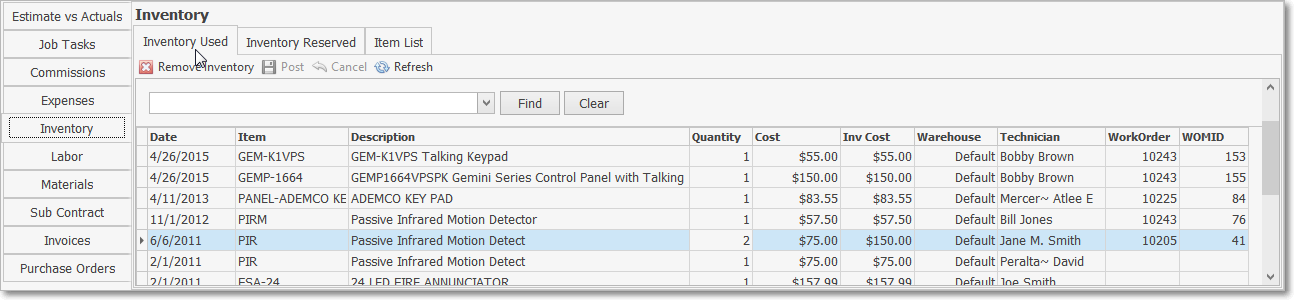
Job Costing Form - Inventory tab with Inventory Used sub-tab selected
•Select the Inventory Line Item that is to be removed.
Job Costing Form - Inventory tab - Inventory Used sub-tab - selected Inventory Line Item (that is to be removed)
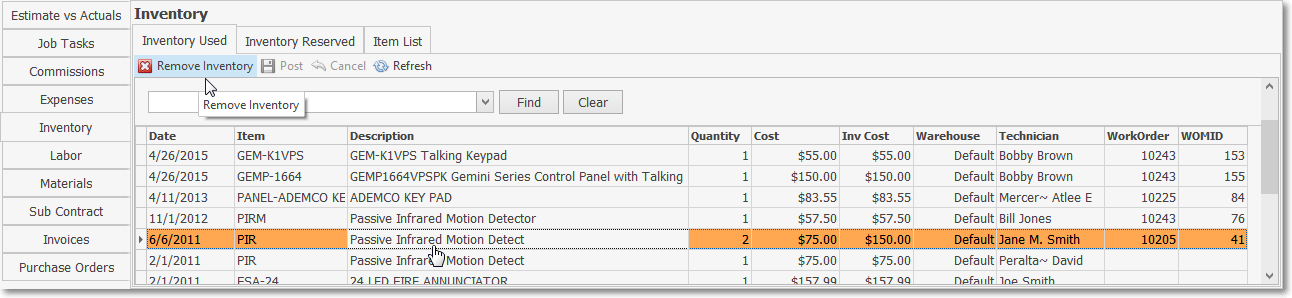
•Click on the Remove Inventory Icon.
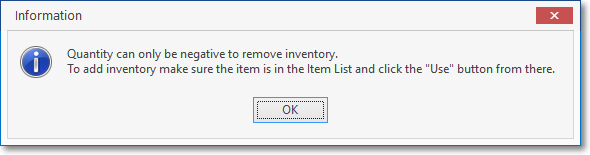
➢Note: The Remove Inventory process requires the creation of a new line item with the original Inventory Item but a Quantity with a negative value.
•A new Inventory Line Item will be inserted
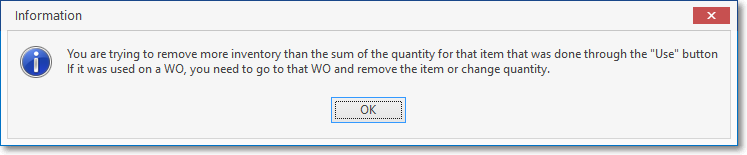
✓The selected Inventory Item that is to be removed must have been inserted by a Work Order or by using the Use Inventory button on the Inventory Reserved and/or the Item List sub-tabs
✓Complete the fields listed below making sure that the Quantity is entered as a negative value.

✓Date - By default, Today is entered.
▪Use the Drop-Down Calendar/Date Entry field to Choose a different Date, if needed.
✓Item - Use the Drop-Down Selection List to Choose the Inventory Item to be removed
▪Only Inventory Items that were previously entered as an Inventory Used Line Item will be listed.
✓Description - By default, it will be the Description previously defined for the Selected Sale-Purchase Item.
▪The default Description may be modified, if appropriate.
✓Quantity - Enter the Quantity that is to be removed (the Quantity must be entered as a negative - minus - value).
✓Cost - By default, it will be the current COGS Value of this Sale-Purchase Item and can not be changed.
✓Inventory Cost - The result of the Cost (COGS Value) multiplied by the Quantity entered.
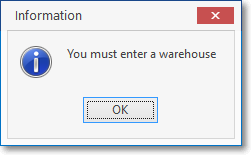
✓Warehouse - Use the Drop-Down Selection List to Choose the Warehouse location to which this Inventory Item was returned (this is mandatory and will cause an error if not entered).
▪If a Warehouse is not identified, an reminder message will be displayed.
✓Technician - Use the Drop-Down Selection List to Choose the Technician who removed or returned this Inventory Item.
▪If a Technician is not identified, an reminder message will be displayed.
✓Click the Post ![]() Icon to record this Inventory Removal.
Icon to record this Inventory Removal.