❑Quick Account Setup - When a Technician or Alarm Dealer calls in to test the installation of a New Account:
➢Note: The Add New Account dialog - accessible using the On Test (F5) in MKMSCS and/or Place an Account on Test in MKMS - will store certain User selections (i.e., Salesman. Town Code, Communicator Format, Alarm Group) as the default for those fields. Any of those default fields may be reset by simply making a different selection for that field.
•Click the New Account button on the Panel Tests Form to open the Add New Account dialog.a
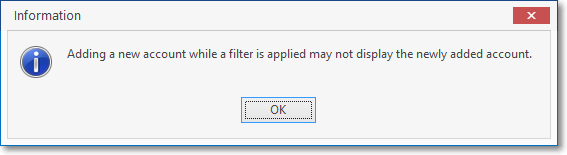
✓As a reminder, when adding a new account, that New Account will not displayed (e.g., the newly added account is not be listed)
✓To access it, the User must select it using the Add Test option in the Place an Account on Test Dialog.
•Subscriber Information:
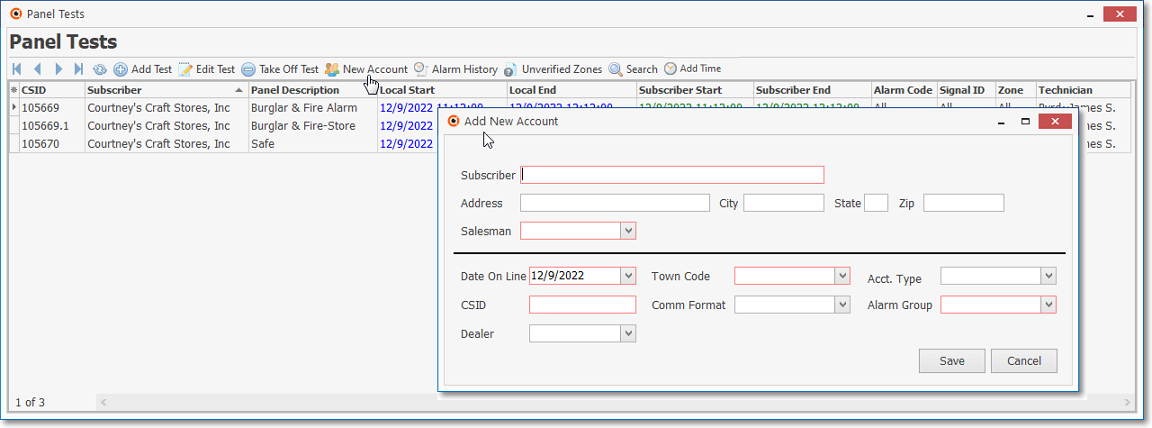
Quick Account Setup Form
✓Subscriber - Enter the Subscriber's name.
▪Entering a Business Name
oEnter the Name as it would be listed in the Telephone Directory
oIf a prefix is part of the name but that name is not normally alphabetized by that prefix (such as the word "the"), enter the name followed by a tilde ("~") and the prefix.
oExample: "ABC Company~The"
▪Entering an individual Person's Name
oLast Name is entered first
oType a tilde ("~")
o(The tilde tells the system that everything after it is the Employee's first name and middle initial.)
oEnter the First Name and Middle Initial
oFor Prefixes (Mr., Mrs., Ms., etc.), enter them after the Tilde and before the first name
oFor Suffixes (MD., Jr., III, etc.), enter them after the last name and before the tilde.
oExample: "Smith, MD~Dr. James T."
✓Address - Enter their Street Address.
✓City - Enter the City.
✓State - Enter their 2 character State (or Province) code.
✓Zip - Enter their Zip Code.
✓Sales Person (One of the stored Defaults) - Use the Drop-Down Selection List to Choose the Sales Person for this Account.
▪This list will display all of the Employees defined for your Company.
▪This is because a Subscriber record must have an Employee ID assigned to it.
▪So you must Select one, even if you are not currently sure who the appropriate person is.
▪Later, if appropriate, this information may be easily changed by the Accounts Receivable or Sales department.
•Monitoring Information:
✓Date On Line - By default, Today will be inserted but may be changed when appropriate.
✓Town Code (One of the stored Defaults) - Use the Drop-Down Selection List to Choose the Town Code for this Subscriber's responding authority.
✓Acct. Type - Use the Drop-Down Selection List to Choose the appropriate Account Type.
✓CSID - Enter the CSID for this new Account.
✓Comm Format (One of the stored Defaults) - Use the Drop-Down Selection List to Choose the Communicator Format they will be installing.
✓Alarm Group (One of the stored Defaults) - Use the Drop-Down Selection List to Choose the Alarm Processing Group to which this Subscriber will be assigned.
✓Dealer - If this Subscriber is being added by an Alarm Dealer for whom your Company provides Central Station Monitoring Services, use the Drop-Down Selection List to Choose that Dealer.
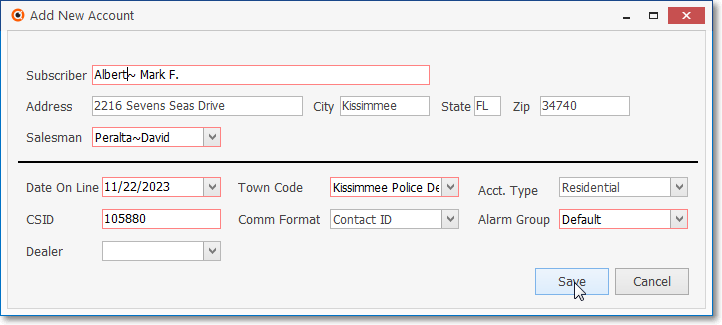
Quick Account Setup Form - with data
•Save - Click the Save button to enter the new Subscriber information.
✓Confirm that this New Account is to be added to the database
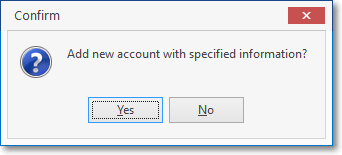
Add new account with specified information?
✓An informational pop-up with confirm that the New Account was saved.
New Account Successfully Added