❑This Proposal Loss Report provides a Grid (list) of those Proposals which were determined to have been lost (i.e., ultimately rejected by a Prospect or Subscriber) and includes - among other information - the Date of, and Reason for each rejection and this data may be printed, emailed, and/or exported, as may be required.
•This List of Lost Proposals can have a unique set of User designated data columns, be reformatted, re-sorted, and rearranged;
✓It may then be produced as a Report and/or Exported as a spreadsheet file containing those redesigned data grid contents.
✓The Proposal Loss Report includes (based on the options chosen below) the potential Value of Rejected Proposals as well as the weighted Value based on a previously assigned Closing Confidence Level.
•To view or print this Proposal Loss Report:
a)From the Backstage Menu System Select Reports and Choose Prospect And Proposal and Select the Proposal Loss Report option, or
b)From the Quick Access Menu, Select Reports and Choose Prospect And Proposal and Select the Proposal Loss Report option
❑ Setting Up the Proposal Loss Report dialog's data grid Options:
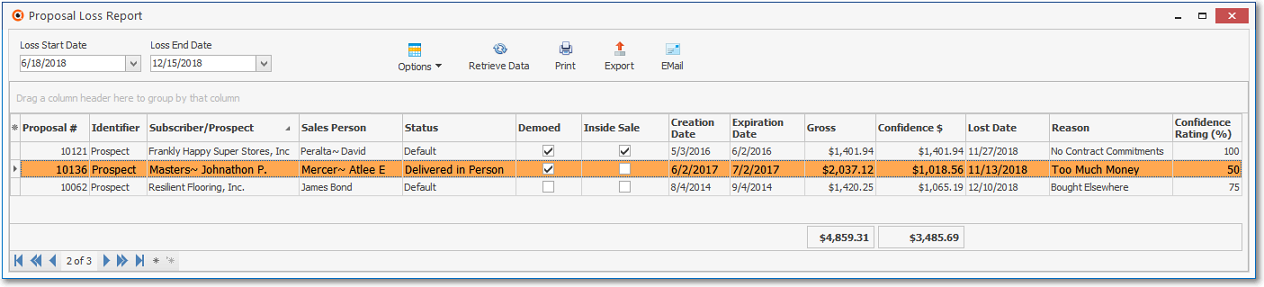
Proposal Loss Report dialog
•Select Dates fields - By default, the Date Range is 180 Days ago to Today.
✓Using the Drop-Down Calendar/Date Entry fields provided, Choose which type of Date Range to be reported:
a)Click on the Date field and type the desired Date using a MM/DD/YYYY format; or
b)Use the Drop-Down Calendar/Date Entry field provided to Choose the desired Date
✓Loss Date Start - Use the provided Drop-Down Calendar/Date Entry field to change the starting date, when required.
✓Loss Date End - Use the provided Drop-Down Calendar/Date Entry field to change the ending date, when required.
•Options - Use this Drop-Down Selections List to Choose how you want to Save, Load, or Manage the selections made for this
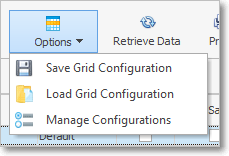
Proposal Loss Report - Options Menu
a.Save Grid Configuration - After reformatting the Grid as desired, the realignment may be recorded as a new Grid Configuration.
▪To do so, select Save Grid Configuration
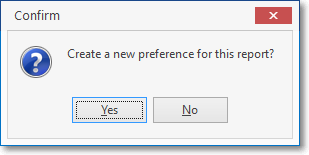
1)Confirm that you want to name and save the current Grid Configuration
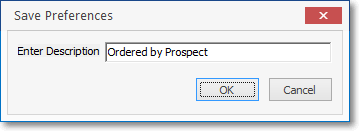
2)Enter a unique name for this new Grid Configuration
3)Acknowledge it
b.Load Grid Configuration - Any of the previously defined Grid Configurations may be requested, as needed
▪To do so, select Load Grid Configuration
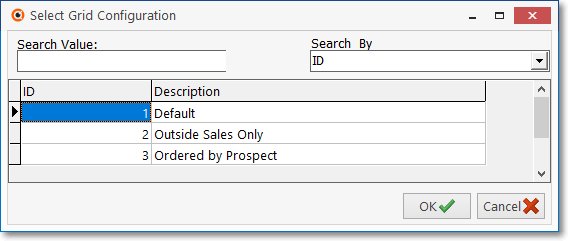
1)Click on the required Grid Configuration presented in the Select Grid Configuration dialog
2)Click the OK button
3)The Proposal Loss Report Grid will be reformatted to match the selected Grid Configuration
c.Manage Configuration - This selection opens the Manage Report Configurations dialog:
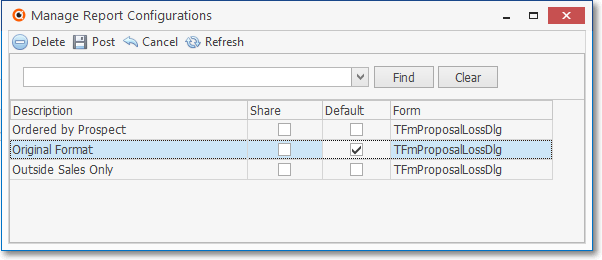
Proposal Loss Report - Options Menu - Manage Report Configurations
▪This Form will list all of the previously saved Proposal Loss Report Grid Formats
1)Default - Check this box to identify your preferred default arrangement of the Proposal Loss Report Grid
2)Share - Check this box to identify those Grid Formats which you would lie to share with other Users
3)Post - Select Post to record this information
•Retrieve Data - Once the appropriate Date Range is specified:
✓Click the Retrieve Data Icon to load that set of Proposal records into the Proposal Loss Report.

Retrieve Data
•Select columns to be displayed - Choose the columns of data which are to be included in this data grid

Select Columns to Display
✓Click the asterisk (¬) at the left of the data grid's Header row (see the mouse pointer in the illustration above) to display a list of all of the column names - and associated data - which may be displayed.
✓By default, all Column Names will be Checked.
✓Remove the Check mark (Click on the Check to remove it) to hide that column of data from the data grid.
❖Also see the Understanding and Using the Confidence % and Confidence $ fields discussion in the Proposal chapter.
•Setting the Order in which the data in the grid is Listed within the Proposal Loss Report dialog (Report):
✓The default sorted order of the Proposal Loss Report List is based on the Subscriber/Prospect Name - which is ordered from lowest to highest (1 - 9; a - z).
✓Thereafter, the column that determines the sorted order of the List may be easily changed, whenever needed.

Proposal Loss Report dialog - Sorting by Column
✓To do so:
▪Click another column's Header Name (the mouse points to the sorting arrow within the Loss Date Header Name in the illustration above) to change the sorted order to by on that column of data, with the sorted order automatically set from lowest to highest (a-z or 1 - 9).
▪To change this newly selected column's sorted order from highest to lowest, Click that column's Header Name again.
▪An Arrow next to the Header Name indicates the column that is determining the sorted order of the Grid Data.
o~ indicates lowest to highest (1 - 9; a - z
o€ indicates highest to lowest ( 9 -1 or z - a).
•Grouping the data in the grid - The Proposal Loss Report List may be separated into Groups based on a selected column's Header Name.
✓Click the Header Name (i.e., "Identifier" was selected in the illustration below) and Drag that Header Name to the "Drag a column header here to group by that column" message area at the top of the Grid.
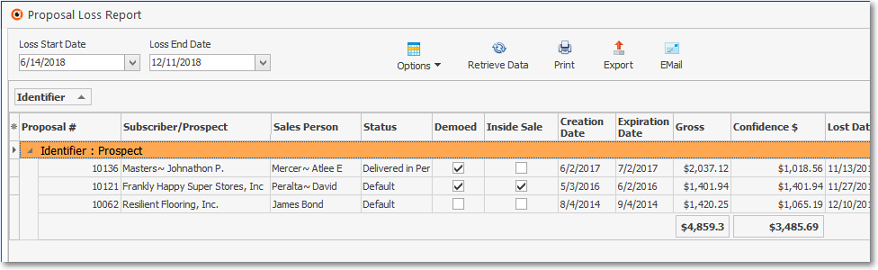
Proposal Loss Report (Grid) dialog - Grouping by "Identifier" Column
✓See the Grids & Lists - Print Preview - Exporting Data chapter for much more information about Grouping the Proposals (Grid) Form's Data.
❑Other Options:
•Go To Options - Right-Click on any line item within the Grid to open the Radial Right-Click Menu to access the Go to Subscriber/Prospect option (which will open the associated Subscriber or Prospect Form), and/or Proposal option (which will open the associated Proposal Form).
•Print - When the Proposal Loss Report has been formatted as needed, the User may Click the Print Icon to create a Print Preview.
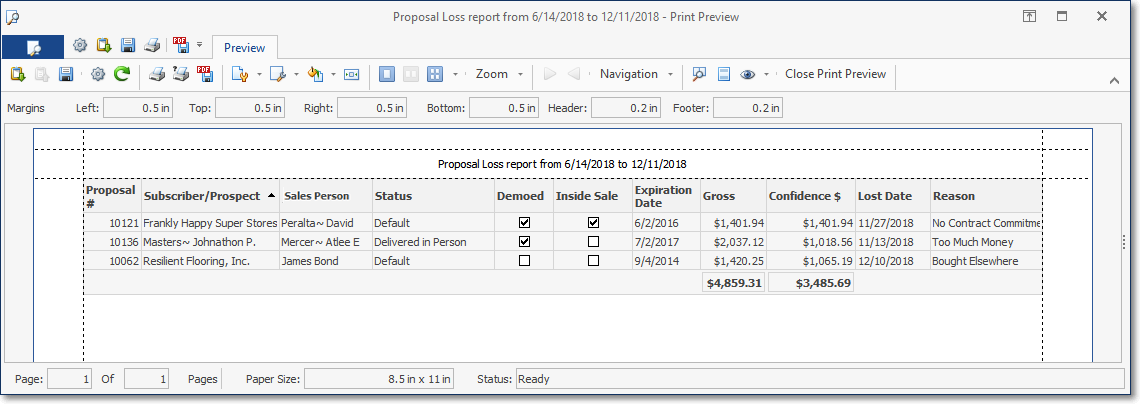
Proposal Loss Report (Grid) dialog - Print Preview
•Export - Once the data has been formatted, filtered, sorted and configured as needed, Click the Export Icon to display the standard Windows® Save As dialog.
✓See the data grid chapter for more information.
•EMail - Once the data has been formatted, filtered, sorted and configured as needed, Click the EMail Icon to send this data as a PDF attachment to an Email address of your choosing.