❑The Payment Batch / File Generation dialog - accessed by selecting the Show Batch List option on the Auto Draft Form - provides a list of all the Payment Batch Files previously generated within a specified Date Range,
•From this Payment Batch / File Generation Form you may also view the status of each Payment Transaction, and/or Print, Email, or Export the contents of the Payment Batch File Detail (its Grid)
•You can generate the text file - formatted as required by your Bank (or other Manual Payment Gateway) - that is used by to transmit the Payment Transactions recorded in the Payment Batch files for any Manual Payment Gateway used by your Company..
➢Note: In previous versions on MKMS, the generation of a Payment Transactions text file for a Manual Payment Gateway was done from the Post Auto Drafts Form,
a)Now the Post Auto Drafts Form creates a generic Payment Batch file when the Generate Payment Batch option is selected,
b)However, to generate the specialized Payment Transactions text file required by a specific Manual Payment Gateway,
oThe “Payment Batch / File Generation” dialog is accessed from the Post Post Auto Draft Form
oHere a User may see a list of, and select any Payment Batch file and then generate that required specialized Payment Transactions text file (see below).
•Details on how to Generate the specialized Payment Transactions text file required by a specific Manual Payment Gateway

Payment Batch / File Generation dialog is accessed from either the Auto Bill or Post Auto Draft Form
1.Open “Post Auto Drafts” Form
2.Click the “Show Batch List” option to open the Payment Batch / File Generation dialog
3.Select the Payment Batch for which you want to generate the text file
4.Click the Generate File option
5.Identify the location and File Name
6.Upload/Send the file to your Company's Manual Payment Gateway
▪The process that creates the output file knows the file format based on the Processor(s) assigned to the Payment Batch when it was created.
▪If you need to change the file type generated for a specific Processor, go to the Payment Gateway maintenance form and select a different File Format.
✓There is also a way to unset Payment Batches which have been added to an output file by mistake.
▪To do so, Select these batches and select the “Unset to Regenerate File” option.
▪The result is that these Unset Batches can now be included in a new (correct) output file
✓All these actions are logged.
❖Users can see what has been logged by running the Audit Report and selecting “ePay Batch File” as the Form Name.
❑Using the Payment Batch / File Generation dialog:
•Payment Batch File Grid displays a list of Payment Batch Files based on the selected Date Range and the Generated State chosen below
✓ Ribbon Menu - Provides the functions required to view and process these Payment Batch File records

✓Start - The first Date of the Date Range of the Batch Files that are to be listed. By default this will be set to Today.
▪If required, use the Drop-Down Calendar/Date Entry field provided to Choose another Start Date
✓End - The last Date of the Date Range of the Batch Files that are to be listed. By default this will be set to Today.
▪If required, use the Drop-Down Calendar/Date Entry field provided to Choose another End Date
✓Batch Generate State - By default, All will be inserted.
▪Alternately, use the Drop-Down Selection List to Choose Not Generated or Generated, if required.
✓Retrieve Data - Once the Date Range has been chosen and the Generate State selected, Click Retrieve to display that list of Payment Batch Files.
✓View Detail - To see the list of individual Payment items in a specific Payment Batch Files, Select that Payment Batch Files and then Click the View Data option.
✓Generate File - Generate a text file in the appropriate format to send to the Payment Processor (e.g., Bank or Payment Gateway) assigned to this Payment Batch File.
▪Check the box on the left of any Payment Batch File(s) that are to be included on the Generated File.
▪Click on the Generate File option.
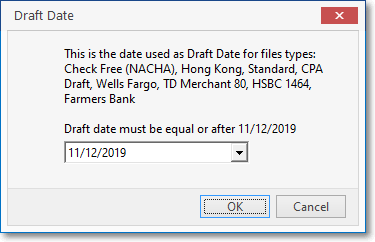
▪Draft Date - Certain Payment Processor (i.e., Payment Gateway) file formats will require the entry of a Draft Date.
oThis Draft Date must be on of after the date on which the Billing Cycle's Auto Draft process was run for this Payment Processor.
▪Once the selected Payment Batch File(s) are generated, the associated File Generated box will be Checked by the system
oThe Generated File creation is logged into the Audit table.
oUse the Audit Reports \ Audit Report option to see all of that logged information.
✓Unset to Regenerate File - Change the File Generated status of a Payment Batch File record which previously had a file Generated..
▪If, after thePayment Batch File(s) are generated, you realize you selected a Payment Batch File incorrectly,
▪Check any Payment Batch File(s) which were Checked as Generated in error, then Click the "Unset to Regenerate File" option
▪This will remove the File Generated Check and allow that file to be Generated at a later time.
✓Print - Once the Detail Grid has been sorted, filtered,and rearranged as desired, Print the selected Columns in the Payment Batch Files Detail (Grid).
✓Export - Create and save an Excel® (text, or comma delimited) file containing the selected sorted, filtered,and rearranged Columns in the Payment Batch Files Detail (Grid).
✓EMail - Email - to an Email address entered during this process.
▪The PDF file containing the selected sorted, filtered,and rearranged Columns in the Payment Batch Files Detail (Grid) will be attached to the Email.
▪The PDF file's name will be constructed as follows: EMailGrid_YearMonthDayExacttime - example. EMailGrid_20191017092511)
•Payment Batch Grid's Columns:

✓ID - Internal record of the Payment Batch file
✓Description - System's description of the Payment Batch file
✓Created - Date that this Payment Batch file was created
✓Status - The current status of this Payment Batch file
✓Count - The number of Payment Transactions contained in this Payment Batch file
✓Processor - The Payment Gateway assigned as the Payment Processor for this Payment Batch file
✓File Generated - Checked if this Payment Batch file had a File Generated
✓Electronic - Checked if this Payment Batch file was created as an Electronic file.
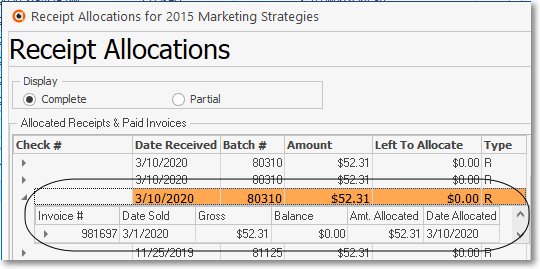
•Payment Batch File's Payment Transaction Detail (Grid) - This list displays the Payment Transactions recorded in the selected Payment Batch File
✓Records cannot be directly modified or deleted (but see "Payment Batch File Detail (Grid) - Special Purpose Options" below )
✓Records may be viewed, sorted, filtered,and rearranged, as needed
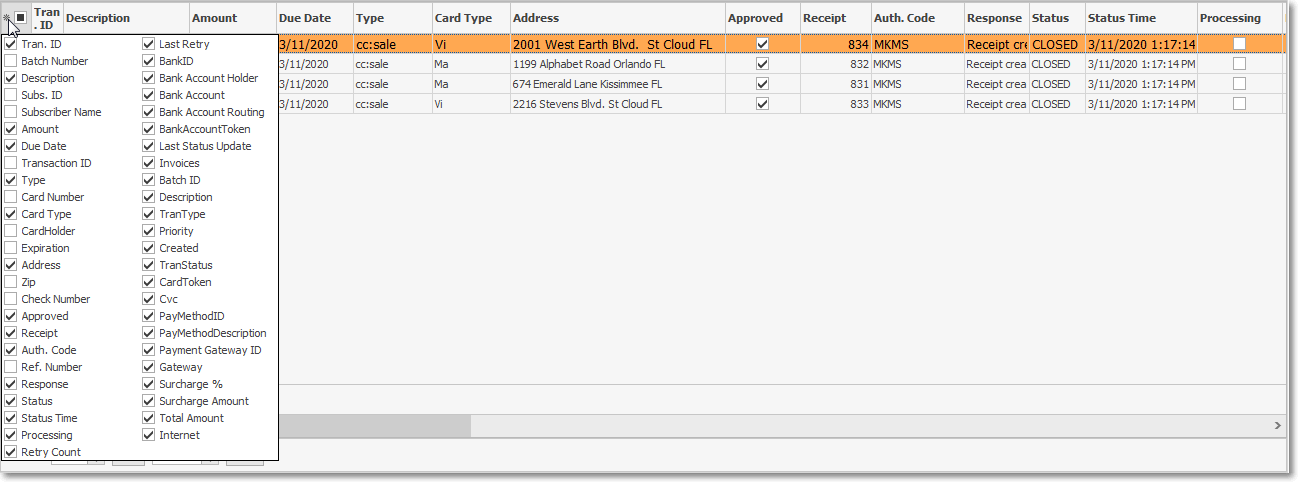
✓Check the Columns to be displayed in this Grid:
Payment Batch / File Generation dialog
Payment Detail Grid Column
✓Click the asterisk (¬) at the left of the data grid's Header row (see the mouse pointer in the illustration above) to display a list of all of the column names - and associated data - which may be displayed.
✓By default, all Column Names will be Checked.
✓Remove the Check mark (Click on the Check to remove it) to hide that column of data from the data grid.
•Payment Batch File Detail (Grid) - Special Purpose Options: Email on Approve, Approve/Receipt, Reject/Bounce, and Email Receipt (see the instructions below)

Payment Batch / File Generation dialog - Detail Grid - Ribbon Menu (circled) and the special purpose Email on Approve, Approve/Receipt, Reject/Bounce, Email Receipt options on top
✓Using the Special Purpose Options which allow a User to Approve and/or Deny a Payments Transaction that are currently in a Payment Batch file which already had an Export File Generated for the associated Manual Payment Gateway (e.g., Batch File records without a Check Mark in the Electronic column).
▪Email on Approve - Check this box to have the system send a Email to the Subscriber when the selected Payment Transaction is approved
1)When "Email on Approve" is Checked and the User Clicks the "Approve/Receipt" button, the system approves the Payment Transaction and creates the Receipt.
2)If it has not been emailed before (by referring to the Customer History to see if the Receipt had been previously emailed), it then emails that Receipt to the Subscriber..
▪Approve/Receipt - Follow the steps outlined below to identify a payment transaction as Approved and generate a Receipt for that payment transaction.

1)Check the Box in the first column in the Payment Batch File Detail (Grid) of the Payment Batch / File Generation Form for each item to be Approved
2)Click the Approve/Receipt option
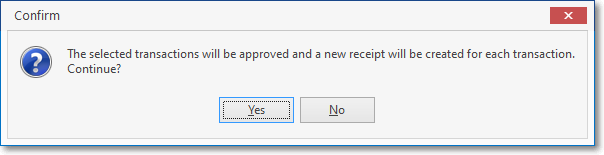
The selected transactions will be approved and a new receipt record will be created for each transaction
3)This will Create the related Receipt
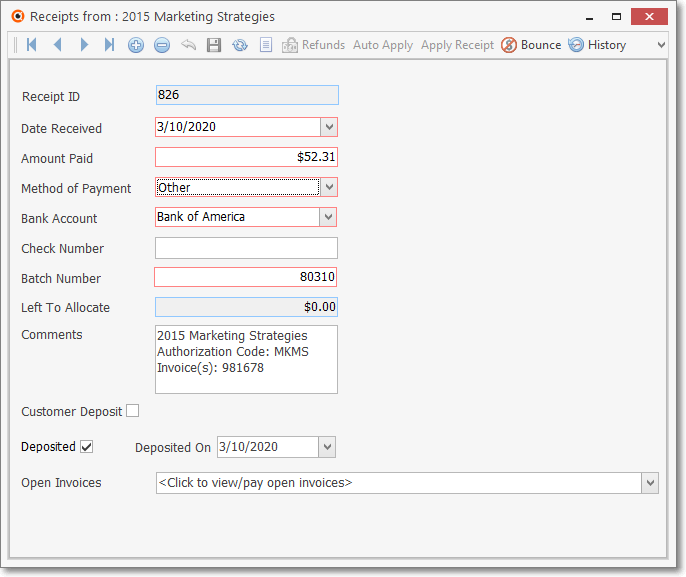
4)This Receipt will be Allocated to the appropriate Invoice(s)
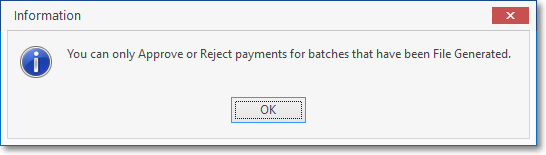
oThis option will only work on the payment transactions within a Payment Batch File which has had a File Generated.
▪Reject/Bounce - Follow the steps outlined below to identify a payment transaction as Rejected or Bounced and generate a Receipt for that payment transaction.
1)Check the Box in the first column in the Payment Batch File Detail (Grid) of the Payment Batch / File Generation Form for each item to be Rejected
2)Click the Reject/Bounce option
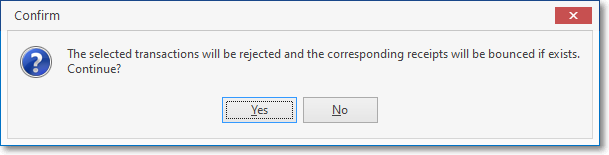
The selected transactions will be rejected and the corresponding receipts will be bounced it exists
3)Any corresponding Receipt record will be marked as Bounced
4)That Receipt will be UnAllocate from the appropriate Invoice(s)
▪Email Receipt - Click this option to have the system send an Email Receipt for all selected Payment Transaction(s) to the appropriate Subscriber(s)
➢Note: During the Fully Automated Recurring Billing process:
▪When the Receipt is generated, a Payment Notification email will automatically be sent to the Subscriber if Company Setting "email_receipt_notification" is set to True ('T') and the Payment Gateway is electronic (i.e., InnoEPay, Authorize.net, and Forte.net)
▪Alternately when it is a Manual Payment Gateway and the Generate Receipts box is not Checked. the email will be sent when the User reviews the results file returned from the Payment Processor (Bank) specifying which Payment Transactions were successful (Approved) and which ones were rejected (Denied)
✓(Ribbon Menu) - Use these basic record movement options to locate a specific detail line item in the Payment Batch File Detail (Grid), when required.
•Import Payment File Results
✓Some Manual Payment Gateway(s) will send a result file with the approval status for all the transaction that were sent to them for processing,
✓MKMS provides a Payment Import Form which you can use to import this file and run a process the will locate each one of the transactions in the imported file and update their approval status to what the file indicates.