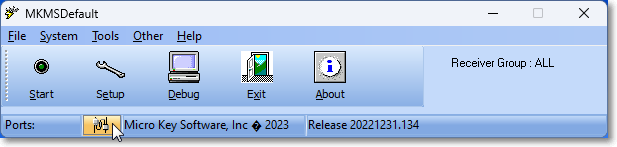
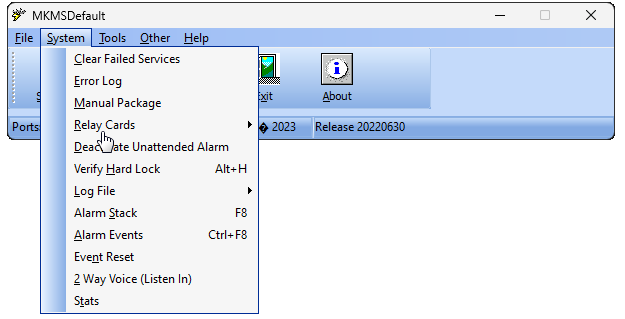
❑The System menu provides access to many critical functions for SPA.

SPA System menu options
•Clear Failed Services - This option allows you to remove any Failed Service records, of lost connection to your Receivers, from the Failed Services table.
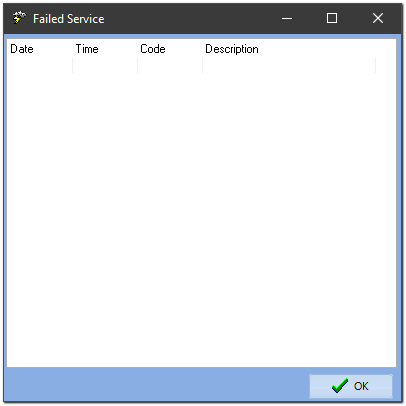
Failed Service display accessed with the Failed Service icon on the SPA Menu
✓Cliock the Connections icon on the bottom of the SPA Desktop to view the Failed Connection with any Receiver.
✓A view of these Failed Connections is available at the bottom of the SPA System Menu by Clicking the Failed Service icon (see above).
✓Once you have identified and resolved the connection issue, you may clear the Failed Service dialog.
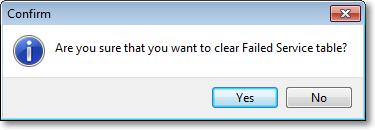
✓To clear the Failed Services table, on the SPA System Menu, Click the Clear Failed Services option and Confirm that this is what you want to do.
•Error Log - The Error Log records any conditions relating the SPA to the MKMS database situations.
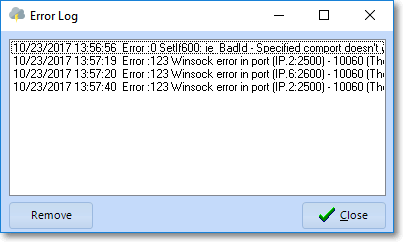
Error Log option displays the Error Log dialog
✓Errors - Each SPA to the MKMS database Error is displayed.
▪Click on any error line to Select that message.
✓Remove - Click the Remove button to delete the Selected error line.
✓Close - Click the Close button to return to the Main Menu.
•Manual Package - This option is only available when SPA is Started.
✓Otherwise, the Manual Package option will be grayed out.
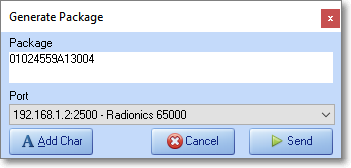
Manual Package option displays Generate Package
✓Package - This field allows you to test the format of a specific Receiver Transmission data package.
▪This must conform to the requirements of the Receiver including length and any required non-printable ASCII characters.
✓Port - Use the Drop-Down Selection List to Choose the appropriate port.
▪This allows you to send a sample Receiver transmission to SPA to the specific SPA Port you want to test.
▪By using the feature, you do not actually have to send a signal from a Control Panel to the Receiver.
✓Add Char - To place an ASCII character into the data package, at the end of your entry so far.
▪Click the Add Char button.
▪Enter the ASCII Character decimal number (1 - 255).
▪Click the OK button to insert the character.
▪The character is appended at the cursor position of the data package entered so far.
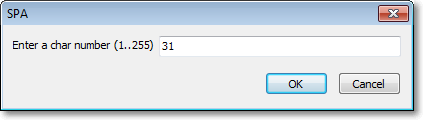
▪You may continue to type information and then use the Add Char button again, as required.
✓Cancel - Click the Cancel button to abort the Manual Package entry.
✓OK - Click the OK button to transmit the entry.
▪The data package entered will be translated by SPA, and inserted into the Alarm Stack.
▪The Generate Package Form will Close.
•Relay Cards - This option displays nothing unless you have one or more Relay Cards installed.
✓This option will list each Relay Card that is defined and show the Output Number and the DEC Address.
✓See SPA Setup - Relay Cards for more information.
•Deactivate Unattended Alarm - This option does nothing unless you have one or more Relay Cards installed.
✓This option is used when you need to deactivate a Relay Card that has implemented an Action relating to an Unattended Alarm situation.
•Verify Registration - Confirm that the system is Registered.

•Log File - This option allows you to view, reset, save a copy of, or update the current SPA Log File.
✓The Log Files options:
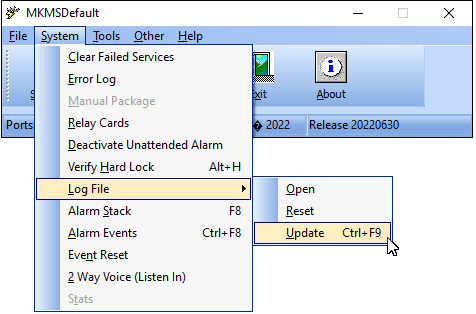
1.Open - View the current Log File in the Windows® Notepad utility - do not edit this file.
2.Reset - Purge the current contents of the current Log File and start a new one.
3.Configure Logging - Verbosity of the Log File may be con figured. as needed (see the Log Verbosity Selector discussion below)
✓Open - This option will display the Log File
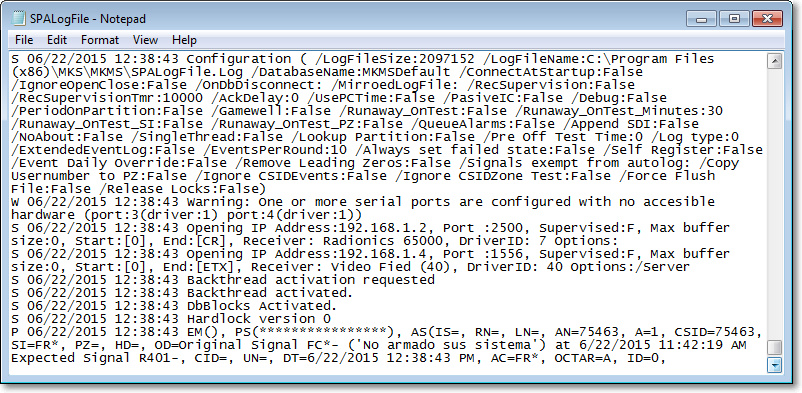
SPA Log File opened using the default Windows Notepad
▪Log File - The File Menu on the Log File - Notepad offers several important options:
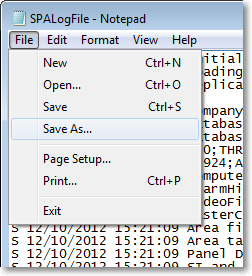
oNew - Generally not used.
oOpen - Open a previously saved (see Save As... below) Log File - Notepad
oSave - Generally not used as the file is continuously saved.
oSave As... - Used to save a snapshot copy of the current Log File
oPage Setup... - Define the format for how this Log File - Notepad should be printed.
oPrint - Print the current Log File - Notepad's contents.
oExit - Close the Log File - Notepad
✓Log Verbosity Selector - Identify the data that is to be reported (included) in the Log File.

SPA - System Menu - Log File - Log Verbosity Selector dialog
▪Preset Checkboxes - Use this Drop-Down Selection List provided to Choose the appropriate set of Checked options.
•Alarm Stack F8 - Shows all current Alarm Signals - either Pending or On Hold.
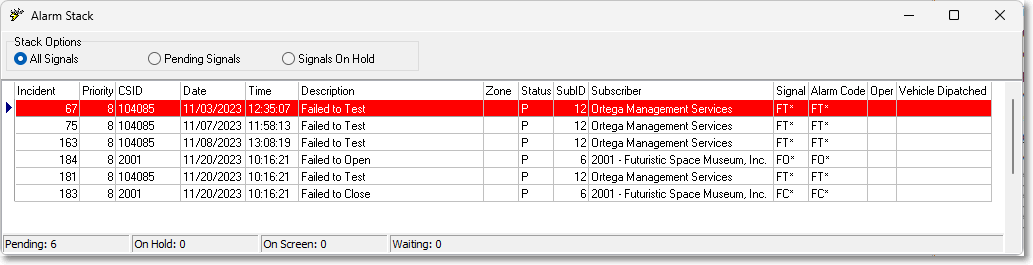
SPA's Alarm Stack dialog
✓Stack Options - Select the Alarm Signals you want to view.
▪All Signals - Click the All Signals button to view any signal that is in the Alarm Stack.
▪Pending Signals - Click the Pending Signals button to view only Pending Signals that are in the Alarm Stack.
▪Signals On Hold - Click the Signals On Hold button to view only Signals that have been placed On Hold - either by an Operator or automatically by SPA - that are in the Alarm Stack.
✓Information bar - The information area at the bottom of the Alarm Stack provides important information about how many of these signals are Pending, On Hold, On Screen being processed by an Operator, or Waiting.
![]()
•Alarm Events - This Form allows you to view the Alarm Signals and supervisory Events as they are being processed by SPA.
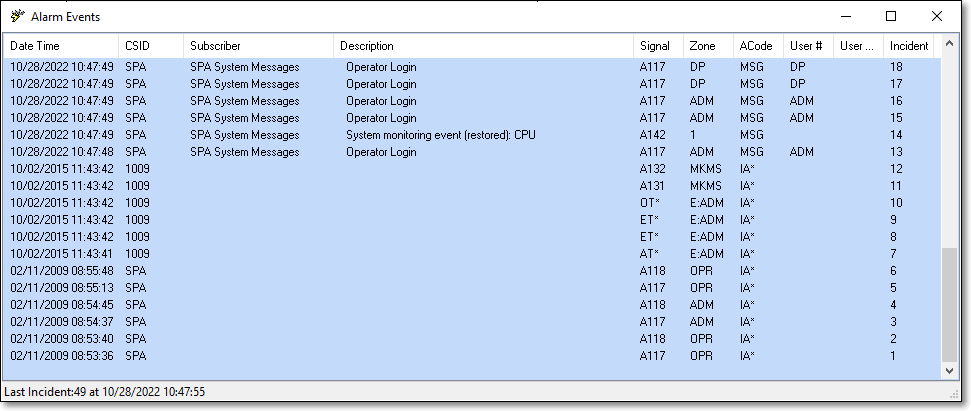
SPA's Alarm Events listing
✓Each Alarm Event that is being processed by SPA is listed.
✓New Alarm Signals received while this Alarm Events Form is being viewed will be added to the list.
✓Check the Show Lines box to include separator lines on the Form for easier reading.
✓A maximum of 50 Alarm Signals may be listed at once.
✓As additional Alarm Signals are received, the oldest signal (#51) is dropped from the Alarm Events list.
✓Click the Close box x to close the Form and return to the SPA Desktop.
•Event Reset - Allows you to (selectively) reset all Events and/or Tests to the next scheduled date and time, provided for use as a "emergency use" measure, if you are receiving an unmanageable number of FT*, FO* and/or FC* signals.
✓Events - Check the Events box to reset all supervised Events.
✓Alarm Test - Check the Alarm test box to reset all supervised Test signals.
✓Only reset expired events/test - Check this option if this is your preference.
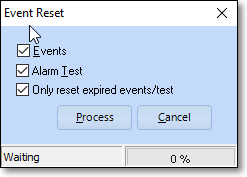
SPA - System Menu - Event Reset
✓Process - Click the Process button to execute the reset.
✓Cancel - Click the Cancel button to abort the process.
•2 Way Voice (Listen In) - The Two Way Voice option must be activated by defining the needed Virtual Phone Lines - DNIS.
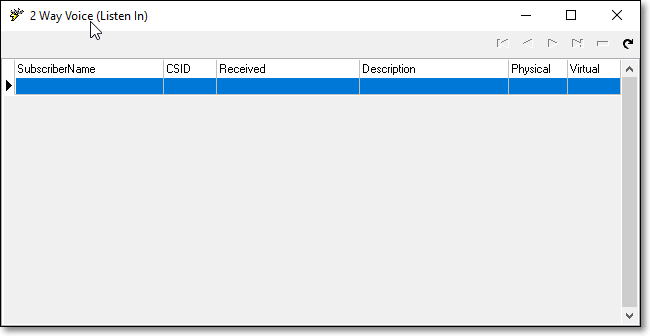
SPA - System Menu - 2 Way Voice (Listen In) dialog
✓Displays the grid of the Two Way Voice signals which have been recorded in the database.
✓Once the Listen In event has been handled and that Alarm Signal is Completed, the Operator must delete the entry from the Two Way Voice table within MKMSCS.
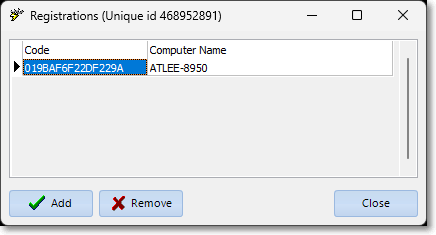
•Register - Displays the system's Unique ID and any existing SPA Registration information
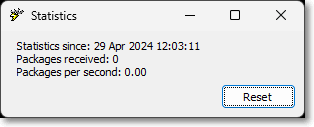
•Stats - This option displays the Statistics for Packages Received and average Packages per second, and offers a Reset button to allow for the most current Statistics to be displayed.