❑The Prospect Information report provides two Formats (Full Information and Short List), plus options to expand the basic data, and to limit which Prospect(s) will be listed by using a Prospect Filter.
•There are three ways to access the Prospect Information report dialog:
a)From the Backstage Menu System Select Reports and Choose Prospect And Proposal and Select the Prospect Information option, or
b)From the Quick Access Menu, Select Reports and Choose Prospect And Proposal and Select the Prospect Information option

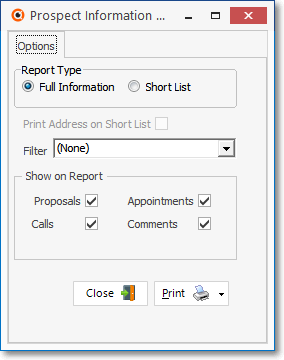
Prospect Information Report - Options tab
c)To View or Print information for a specific Prospect:
▪Open the Prospect Form.
▪Click the Search Icon and locate the specific Prospect whose information is to be reported.
▪Click the Reports Icon and Choose the Prospect Information option.
▪The Prospect's Name will appear in the Form's Title Bar.
Prospect Information dialog - Opened in the Prospect Form
❑Prospect Information Report tabs - There are three tabs on the Prospect Information report dialog.
•Options - Initially only the Options tab is shown (until you make your Options selections and Select Print).
Prospect Information Report - Options tab
✓If this Prospect Information Report was selected from the Prospect Form's Reports Icon (refer to the illustration above):
▪Report Type - By default the Full Information option will be selected.
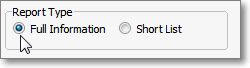
Report Type - Full Information option
oAccept this selection or Choose the Short List format, if desired.
oIf the Short List Report Type option was chosen, the Show on Report information (see below) cannot be included.
▪Print Address on Short List - If the Short List format is selected, Check this box to have this Prospect's address information included.
✓Show on Report - By default (assuming that the Full Information Report Type option was selected), All options will be Checked (i.e., the Proposals, Calls, Appointments and Comments) will be included for each Prospect,
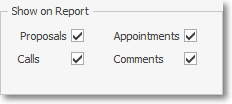
All Show on Report options Checked
oUn-Click any of these if that data type is to be excluded from the report.
▪Filter - Unnecessary because only the currently selected Prospect information will be printed.
✓If this Prospect Information Report was selected uing the Prospect Information option on the Prospect And Proposal Reports Menu
▪Report Type - Select the required report format:
Report Type - Full Information option
oFull Information - By default the Full Information option will be selected.
oShort List - Click this button to view a simple list of the existing Prospects.
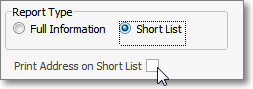
Report Type - Short List option
oPrint Address on Short List - If the Short List format is selected, Check this box to have each Prospects' address information included.
▪Filter - Using the Drop-Down Selection List provided, Choose a Prospect Filter to limit which Prospects are included on this report, if appropriate.
oThe Filter option is not available when the Prospect Information Report is selected using the Prospect Form's Reports Icon.
▪Show on Report - By default (assuming that the Full Information Report Type option was selected), All options will be Checked (i.e., the Proposals, Calls, Appointments and Comments) will be included for each Prospect,
All Show on Report options Checked
oUn-Click any of these if that data type is to be excluded from the report.
oIf the Short List Report Type option was chosen, this Show on Report information cannot be included.
✓Print - In either case, Click the Print button ![]() to Preview and optionally Print (to a File or a Printer) this Prospect Information Report.
to Preview and optionally Print (to a File or a Printer) this Prospect Information Report.
✓To Exit this Report dialog, Click the Close button ![]() toward the bottom of the Options tab.
toward the bottom of the Options tab.
➢Note: See the Custom Report Formats chapter to learn how to modify the format of the Prospect Information Report.
•Preview - The Preview tab presents the report which resulted from the Options you've selected.
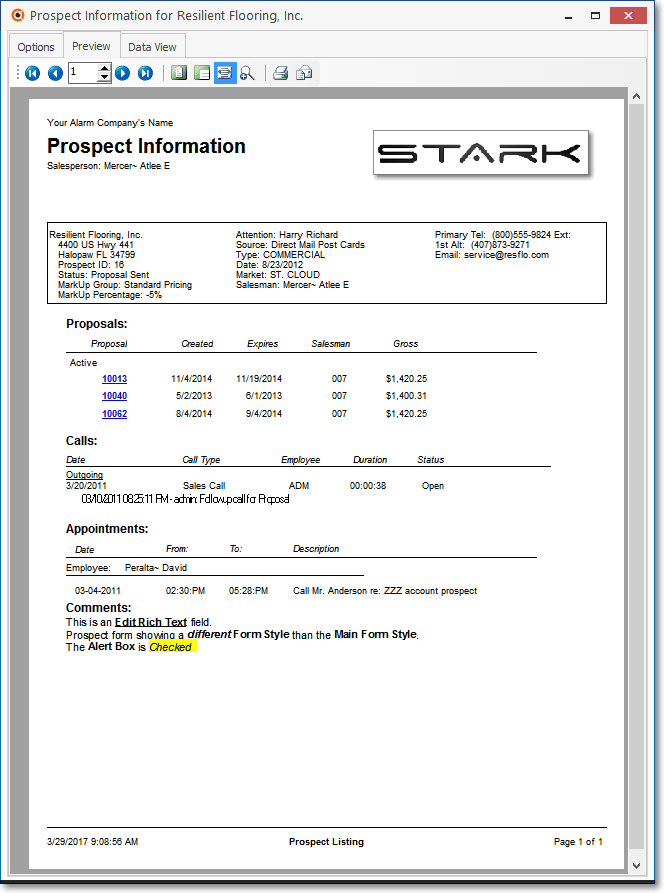
Prospect Information Report - Preview tab
✓While Previewing the Prospect Information Report:
▪Click anywhere within the Prospect's Name & Address area to open their Prospect Information Form.
▪Click on the Proposal Number, shown Underlined in Blue (9986 in the illustration above) to open both the Prospect Information Form and the related Proposal Form.
✓Home - ![]() - Using either the screen Icon or your Keyboard's Home key, moves the report to the top of the first page.
- Using either the screen Icon or your Keyboard's Home key, moves the report to the top of the first page.
✓End - ![]() - Using either the screen Icon or your Keyboard's End key, moves the report to the bottom of the last page.
- Using either the screen Icon or your Keyboard's End key, moves the report to the bottom of the last page.
✓Arrows - The arrows allow you to move back and forth, from page to page.
✓Number - Indicates the page number you are viewing.
▪You may also type in a specific page number, Press 8 Enter and that page will be displayed immediately.
▪If you enter an invalid page number, it will be ignored.
✓Fit To Page - Click the first button after the arrows to size a full page of the report to fit the screen.
✓Zoom To 100% - Click the second button after the arrows to display the page at 100% (of the printed view).
✓Fit To Page Width - Click the third button after the arrows to size the page of the report to fit the full width of the screen.
✓Zoom To Percentage - Click the fourth button after the arrows to re-size the page of the report by percentage.
![]()
▪When you Click the Zoom To Percentage button, the Percentage selector will be displayed.
▪You may then Click the Up or Down ‚ arrow to set the exact amount of Zoom you want.
✓Print - Click the Print button to Print (to a File or a Printer) ![]() the displayed Prospect Information Report.
the displayed Prospect Information Report.
✓Email - Click the Email button to open Outlook® and email this report to an address you specify.
✓To Exit the Preview tab and Close this Report dialog Form, Click the Close box ![]() on the right at the top of the Preview tab.
on the right at the top of the Preview tab.
•Data View - This view provides a tabular (spreadsheet style) presentation of the selected data.
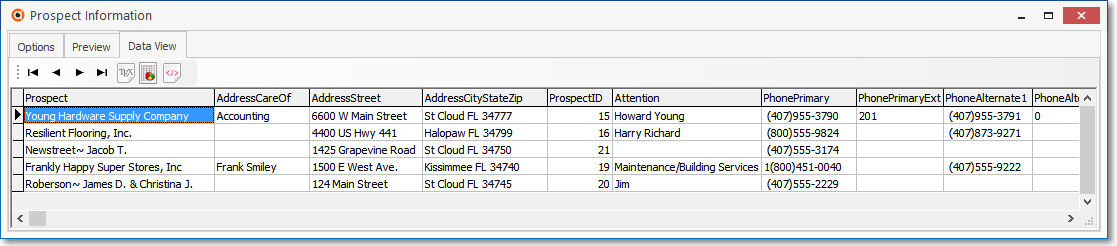
Prospect Information Report - Data View
✓Arrows - Click the arrows to move through the record.
✓Export - Exporting the data from this Data View tab (note the "fly-over" help available on these buttons):
▪Export to CSV - Click the first button after the arrows to export the data to a Comma Separated Values (CSV) file format.
▪Export To Excel - Click the second button after the arrows to export the data to an Excel (.xls) file format.
▪Export To Html - Click the third button after the arrows to export the data to an HTML formatted file.
✓To Exit the Data View tab and Close this Report dialog Form, Click the Close box ![]() on the right at the top of the Data View tab.
on the right at the top of the Data View tab.