❑Tech Details - This Form is used to identify those individuals who are allowed to access the Subscriber's Alarm Systems installed by the Selected Alarm Dealer.
•The Tech Details Icon on the Dealers Form (and Dealer Users Form) opens this Dealer Technician Form to enter the Names and related information of the Dealer Technicians which are employed by, and/or provide services for this Dealer.

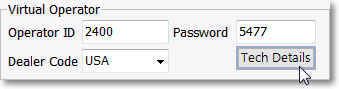
✓Click the Tech Details button on the top of the Dealers Form to identify the Dealer Technicians who are allowed to perform service work on this Dealer's Accounts.
➢Note: This Icon offers the same functionality as the Tech Details button in the Security tab of the Employees Form.
These Dealer Technicians do not need to, but may also be entered as an Employee within MKMS
Tech Details option in Security tab of the Employees Form
❑Entering Tech Details
•Click the Tech Details button on the top of the Dealers Form to enter those Dealer Technicians who are allowed to access the Subscriber's Alarm Systems taht are or will be installed by the Selected Alarm Dealer.
✓Any previously entered Dealer Technician records will be available
Dealer Technician Form
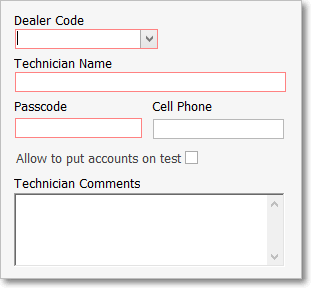
•Entering a new Dealer Technician record:
✓Click the ![]() Icon on the Ribbon Menu and complete the fields as listed below.
Icon on the Ribbon Menu and complete the fields as listed below.
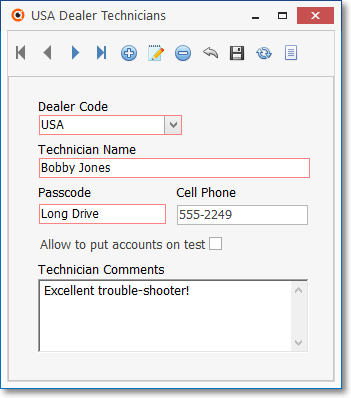
Dealer Technician Form - Record Editing View
✓Dealer Code -Use the Drop-Down Selection List provided to Choose the Dealer Code of the Alarm Dealer for whom this Dealer Technician is working.
✓Technician Name - Enter the Technician's Name
▪If this is an actual Employee, we suggest entering the Technician's Name exactly as it is entered in the Employees Form.
✓Password - This is the pass code the Technician will use when they need to be Validated by the Operator when this Dealer Technician calls in for access to the Subscriber's Monitoring information.
✓Cell Phone - Enter the Cell Phone number which can be used to contact this Technician.
✓Allowed to put accounts on test - Check this box if this Technician has this permission.
✓Technician Comments - Enter any pertinent information about this Technician who will be working on this Dealer's Accounts.
•Click the Save ![]() Icon to record this Dealer Technician entry.
Icon to record this Dealer Technician entry.
![]() List Icon - The Navigation Menu also has a List option which provides a tabular view of these Account Type records.
List Icon - The Navigation Menu also has a List option which provides a tabular view of these Account Type records.
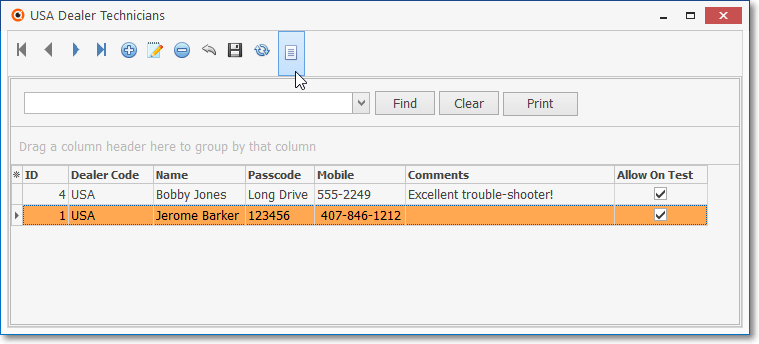
Dealer Technician Form - List View
✓Some columns may contain expanded comments or other information which may make the List View's display somewhat difficult to use.
Ø - Click the Asterisk at the left of the row of Header Names to display a Drop-Down Check List of each column's Headed Name.
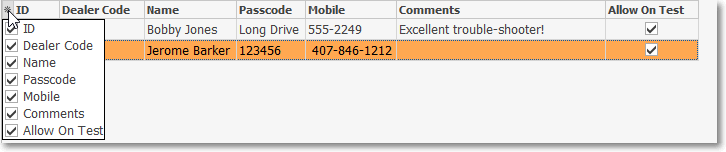
▪Check any Header Name to be included in the List View (by default, All Header Names will be Checked)
▪Remove the Check for any Header Name (see illustration below) that is to be removed from the List View.
✓Click the List Icon to display the associated Grid Data.
✓The columns of Grid Data may be rearranged, filtered, sorted, and exported as a PDF file and/or an Excel formatted file.

✓Find - Enter text to search for a specific record, then Click the Find option.
✓Clear - To remove the text to search for entry, Click the Clear option
✓Print - Select this option to open the Dealer Technicians List - Print Preview dialog
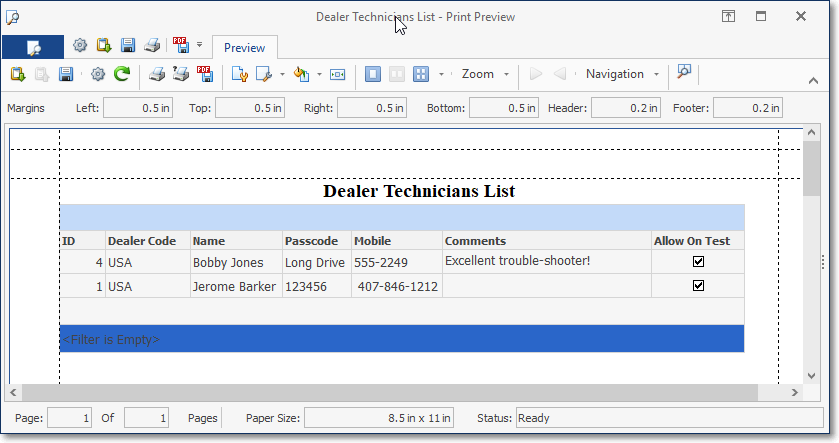
Dealer Technician List - Print Preview dialog
✓Click the List Icon again to Close the List View and return to the Record Editing View.
❖See the Grid & Lists - Print Preview - Export Data and Print Preview Dialog chapters for complete information on using the List View, including its Export & Print options.