❑The System Audit Report allows a User to specify the Date Range of, and the Parameters for listing the system processes and updates that were performed by User(s) and/or the system Event(s) that have been executed within the Date Range and Parameters specified.
•This report may also be used to comply with 6.2.3 - Track User Changes of theThird Edition UL® 1981 Standard (i.e., Any modification made to the database shall be logged with a unique personal identification (Employee ID) belonging to the person performing the modification).
•To print the System Audit Report:
a)From the Backstage Menu System, Select Reports and Choose Audit Reports and Click System Audit Report to access this Form, or
b)From the Quick Access Menu, Select Reports and Choose Audit Reports and Click System Audit Report to access this Form.
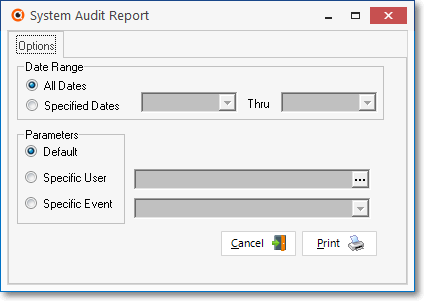
System Audit Report - options tab
❑System Audit Report tabs: There are three tabs on the System Audit Report dialog.
•Options - Initially only the Options tab is shown (until you make your Options selections and Select Print).
✓Date Range - Specify the Dates of the processes that are to be included:
▪All Dates - By default, processes and events for All Dates will be included in the System Audit Report.
▪Specified Dates - Using the Drop-Down Calendar/Date Entry fields provided, enter the starting and ending Dates for the processes and events that should be included in the System Audit Report.
a)Click on the Date field and type the desired Date using a MM/DD/YYYY format; or
b)Use the Drop-Down Calendar/Date Entry field provided to Choose the desired Date
✓Parameters - Choose whether to produce the Default report format, or limit the report to processes run by a specific User Name (Employee), or for a specified type of System Event (Auto Billing, Auto Service, System Backup, etc.). One of the following may be used to specify the report's contents:
▪Default - All System Events will be reported for all Employees.
▪Specific User - All Processes run by the selected User Name (Employee) will be listed within the Date Range specified above.
oUse the Drop-Down Selection List to Choose the User Name.
▪Specific Event - All Users (Employees) who have run the selected System Event will be listed for All Dates (or within the Date Range specified above).
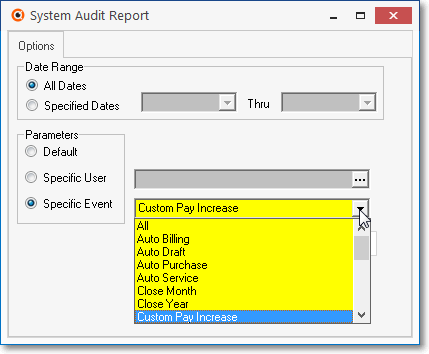
System Audit Report - options tab- Partial list of the System Events
oUse the Drop-Down Selection List to Choose the desired System Event to be reported.
✓Print - Click the Print button ![]() to Preview and optionally Print (to a File or a Printer) this System Audit Report.
to Preview and optionally Print (to a File or a Printer) this System Audit Report.
✓Cancel - Click the Cancel button ![]() to exit this Report dialog.
to exit this Report dialog.
•Preview - The Preview tab presents the report which resulted from the Options you've selected.
✓Up Arrow/Down Arrow - hi - Moves the report one line up, or one line down, respectively.
✓Page Up/Page Down - Moves the report to the previous or next page, respectively.
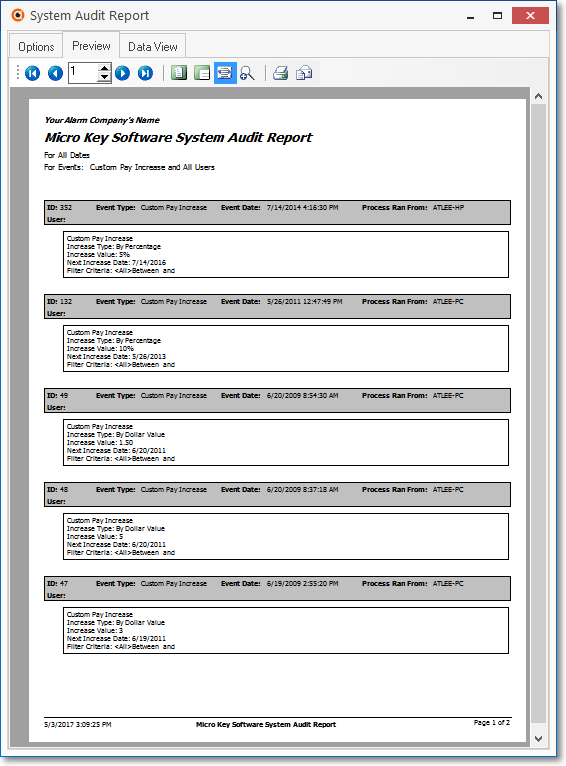
System Audit Report - Preview tab (defaulted to All Dates), Custom Pay Increase
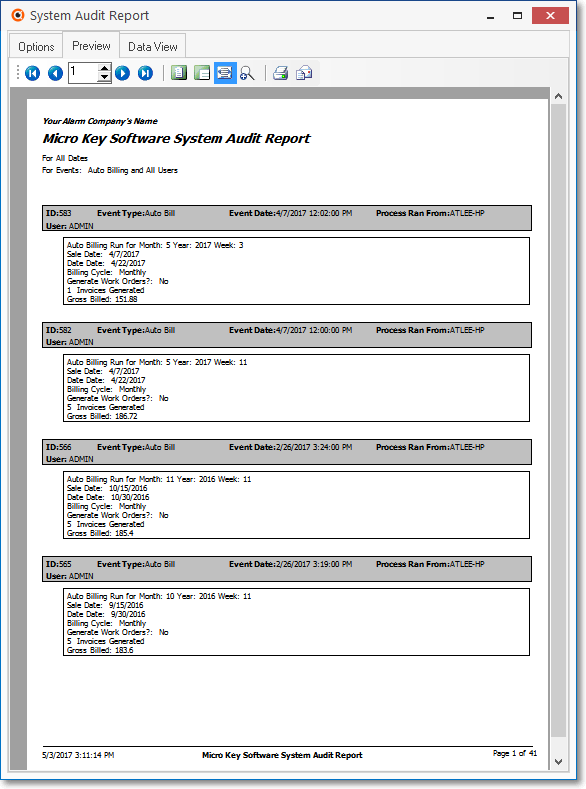
System Audit Report - Preview tab (Date Range Specified / All Users / Auto Billing)
✓Arrows - The arrows allow you to move back and forth, from page to page.
✓Number - Indicates the page number you are viewing.
▪You may also type in a specific page number, Press 8 Enter and that page will be displayed immediately.
▪If you enter an invalid page number, it will be ignored.
✓Fit To Page - Click the first button after the arrows to size a full page of the report to fit the screen.
✓Zoom To 100% - Click the second button after the arrows to display the page at 100% (of the printed view).
✓Fit To Page Width - Click the third button after the arrows to size the page of the report to fit the full width of the screen.
✓Zoom To Percentage - Click the fourth button after the arrows to re-size the page of the report by percentage.
![]()
▪When you Click the Zoom To Percentage button, the Percentage selector will be displayed.
▪You may then Click the Up or Down ‚ arrow to set the exact amount of Zoom you want.
✓Print - Click the Print button to Print (to a File or a Printer) ![]() the displayed System Audit Report.
the displayed System Audit Report.
✓Email - Click the Email button ![]() to send the Report to an Email Address of your choosing.
to send the Report to an Email Address of your choosing.
✓To Exit the Preview tab and Close this Report dialog Form, Click the Close box ![]() on the right at the top of the Preview tab.
on the right at the top of the Preview tab.
.
•Data View - This view provides a tabular (spreadsheet style) presentation of the selected data.
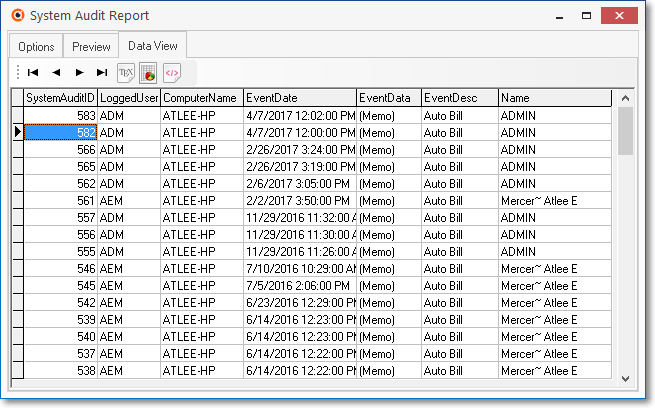
System Audit Report - Data View tab
✓Arrows - Click the arrows to move through the record.
✓Export - Exporting the data from this Data View Form (note the "fly-over" help available on these buttons):
▪Export to CSV - Click the first button after the arrows to export the data to a Comma Separated Values (CSV) file format.
▪Export To Excel - Click the second button after the arrows to export the data to an Excel (.xls) file format.
▪Export To Html - Click the third button after the arrows to export the data to an HTML formatted file.
✓To Exit the Data View tab and Close this Report dialog Form, Click the Close box ![]() on the right at the top of the Data View tab.
on the right at the top of the Data View tab.