❑The Proposal Expiration Aging report - presented as a data grid - displays an "Aging Grid" (similar to the Accounts Receivable and Accounts Payable As Of reports) showing how many days have passed since the Expiration Date that was assigned to each listed Proposal.
•This information lets the Sale Team and/or Sales Manager see how "stale" these Proposals have become.
•To access the Proposal Expiration Aging dialog:
a)From the Backstage Menu System Select Reports and Choose Prospect And Proposal, or
b)From the Quick Access Menu, Select Reports and Choose Prospect And Proposal
✓On the Prospect And Proposal Menu, Choose the Proposal Expiration Aging option to display the Proposal Expiration Aging Report dialog shown below.
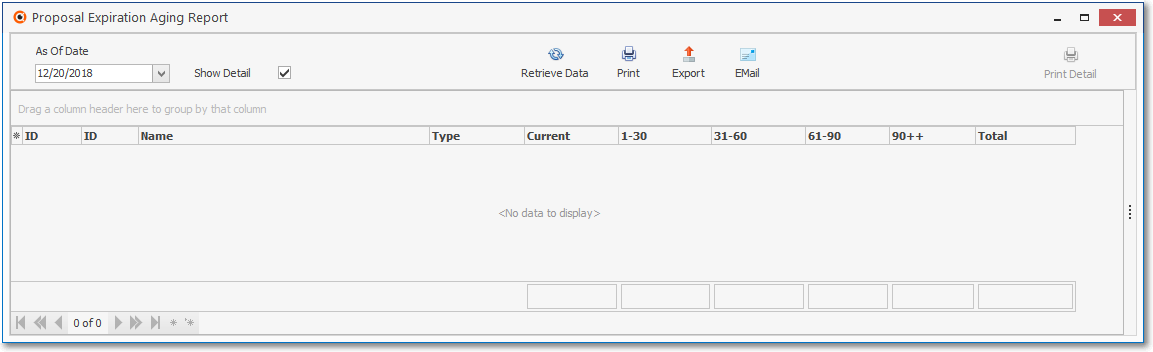
Proposal Expiration Aging Report dialog
❑Setting Up the Proposal Expiration Aging dialog's data grid:
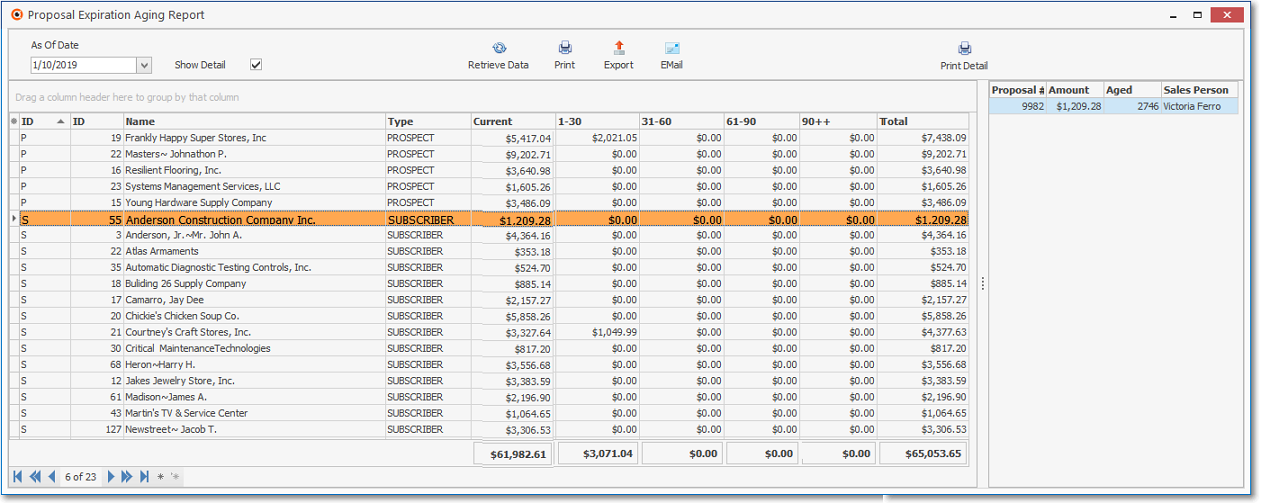
Proposal Expiration Aging Report dialog - with Data
•As Of Date - Initially, the default As Of Date field is set as Today and will provide an "Aged Listing" of Proposals based on this Date.
✓Use the Drop-Down Date/Calendar provided to Choose a different As Of Date, when necessary.
•Show Detail - Check this box to display some Details of the currently selected Proposal in a box on the right.
•Retrieve Data - Click the Retrieve Data Icon to load the Proposal Expiration Aging records into the Proposal Expiration Aging data grid based on the As Of Date entered above.

Retrieve Data
•Select columns to be displayed - Click the asterisk (¬) at the left of the data grid's Header row (see the mouse pointer in the illustration below) to display a list of all of the column names - and associated data - which may be displayed.
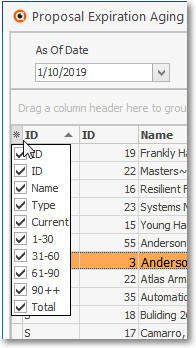
Available Columns
✓By default, all Column Names will be Checked.
✓Remove the Check mark (Click on the that Check box to remove it) to hide that column of data from the data grid.
❖See the Grids & Lists - Print Preview - Exporting Data chapter for much more information about formatting and printing (and exporting) the Accounts Receivable As Of Form's data grid
•Go To Subscriber/Prospect - Right-Click on any line item within the Grid to open the Radial Right-Click Menu to access the Go To Subscriber/Prospect option which will open the Subscriber or Prospect Form associated with the currently selected Proposal record.
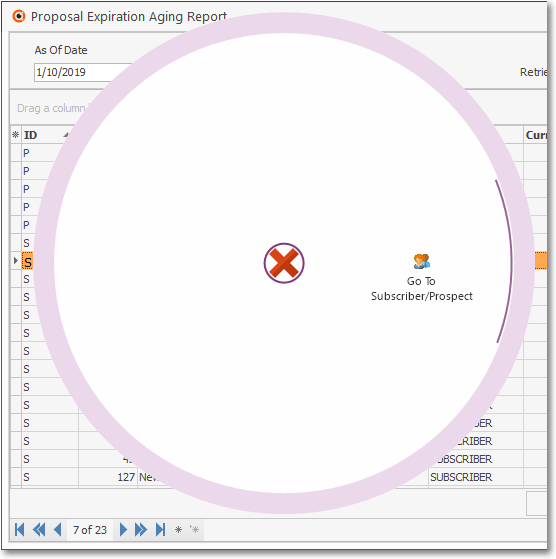
Proposal Expiration Aging grid - Radial Right-Click menu
•Print - Printing the Proposal Expiration Aging dialog's data grid:
✓Once you have:
a)Chosen which columns of data are to be included,
b)Set the order in which they are to be listed, related any columns (if appropriate),
c)Adjusted any column's width,
d)Then, you are ready to Print the resulting Proposal Expiration Aging data.
✓Print Detail - If the Show Detail box was Checked (see Show Detail above), the Print Detail option will be available.
•Export - Once the Proposal Expiration Aging data has been formatted, filtered, sorted and configured as needed, a copy of this report data may also be Exported, if required.
✓Click the Export Icon to create the selected (i.e., XLS - Spreadsheet, TXT - Fixed Length, TXT - Comma Separated CSV) file type.
•EMail - Once the Proposal Expiration Aging data has been formatted, filtered, sorted and configured as needed, if needed:
✓Click the EMail Icon to send this data as a PDF attachment to an Email address of your choosing.