❑Credit Memos (a.k.a. Credit Notes) are actually Invoices (Bills) that have a net negative value as a result of a negotiated refund (credit) from a Vendor.
•There are two ways to enter (recognize) a Credit Note:
1.Credit Memos (some call these Credit Notes) may be created manually in the same manner as Bills are entered, except the Quantity is entered as a Minus Value.
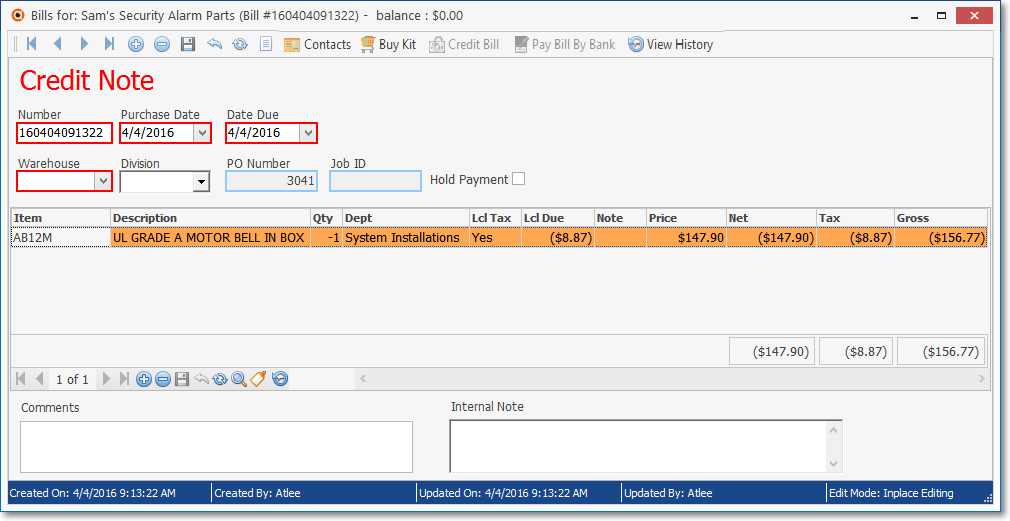
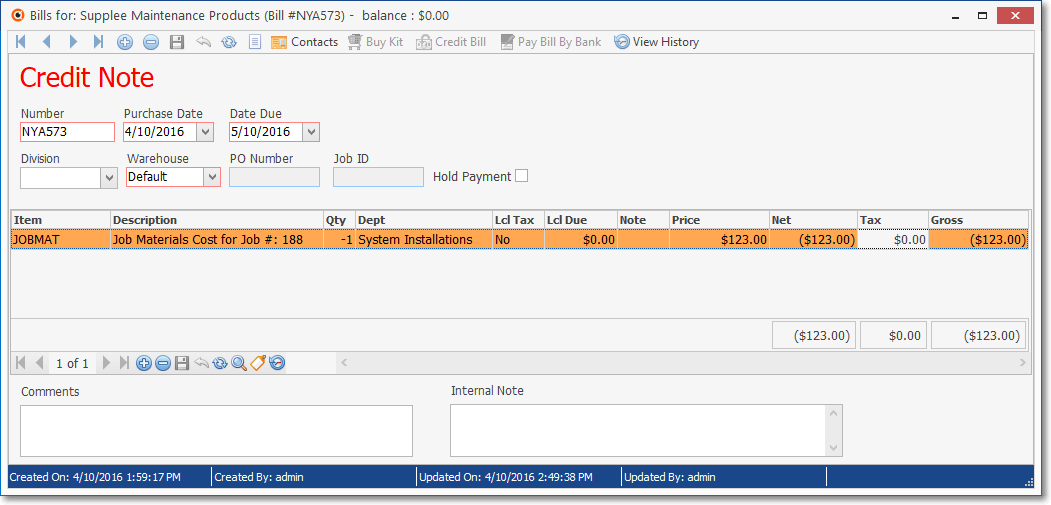
Credit Note - Credit has been automatically Applied to the associated Bill
2.Credit Memos may also be created automatically using the Credit Bill Icon on the Bill Form (see below).
❑Credit Bill Icon - If the currently displayed Bill has (for whatever reason) been written off by the Vendor (they have issued a Credit Memo for the entire amount), Click the Credit Bill Icon and the Create Credit Memo? dialog will appear.

• Create Credit Memo? - This Credit Memo dialog will allow you to Select whether to:
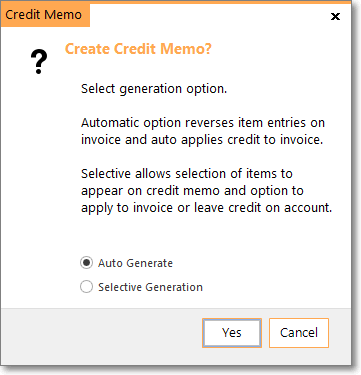
Create Credit Memo? dialog
a.Auto Generate - This will create the entire Credit Memo to off-set the currently selected Bill, or
b.Selective Generation - To enable you to select specific items on the Bill that are to be Credited (see Credit Memo Generation Form below).
✓Make your selection and Click Yes (or Cancel).
▪If a partial Payment was previously Allocated to this Bill, an informational message will alert the User to that issue.
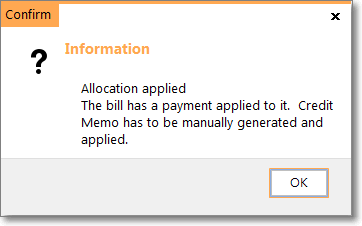
▪Click OK to abandon this automated Credit Bill process.
1.Auto Generate - To create a Credit Memo to completely offset the selected Invoice (Bill), Click the Auto Generate button and Click Yes.
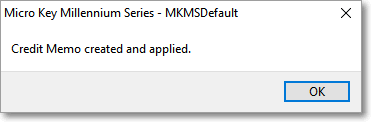
✓The Credit Memo is instantly created and displayed.
✓The Credit Memo is Allocated to the Bill automatically.
✓The Credit Memo is assigned a Credit Memo Number based on the following format:
YYMMDDnnnn... (Today's Two Digit Year+Two Digit Month+Two Digit Day+The original Invoice Number.)
✓If the Vendor issued a specific Credit Memo Number, modify the predefined Credit Memo Number to match what was assigned by the Vendor.
2.Selective Generation - To manually select which Items and what Quantities will be part of the Credit Note, Click the Selective Generation button.
✓Click Yes, and the Credit Memo Generation Form is displayed.
✓Check the specific Items (which are on the Bill) that are to be included on the Credit Memo.
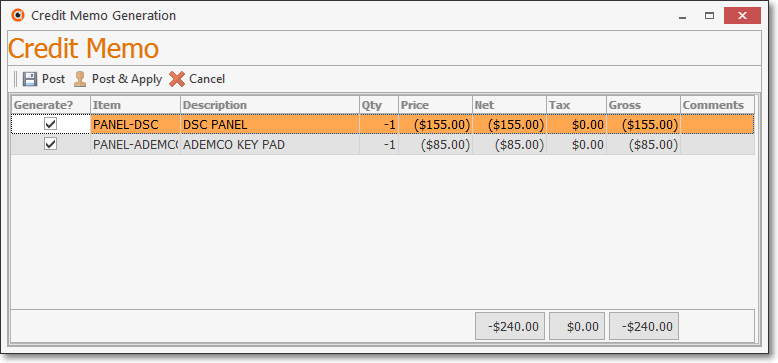
Credit Memo Generation Form is displayed when the Selective Generation option is selected
•Active Columns on the Credit Memo Generation Form:
✓Generate? - By default, All items are Checked.
▪Remove the Check Mark from any items for which you have not received a Credit Memo from the Vendor.
✓Item - The Purchase Category of the Detail Line Item to be credited.
✓Description - The Description of the Purchase Category to be credited.
✓Qty - All Invoice items will be shown with a minus value offsetting the original positive quantity value (Qty) on the Bill.
▪If 2 was the quantity that billed originally, -2 will be the default quantity to be credited.
▪You may modify these quantities, as needed, as long as the value is set at, or less than, 0.
✓Price - This is the Unit Price of the Detail Line Item to be credited.
✓Net - This equals the Unit Price times the Quantity of the Detail Line Item to be credited.
✓Tax - This equals the Unit Price times the Quantity times the Tax Rate charged, if taxed, for the Detail Line Item to be credited.
✓Gross - This equals the Net plus the Tax (if Taxed).
✓Comment - A Note may be entered using the Drop-Down Edit Box provided, if appropriate.
•Post - Click the Post button to create a Credit Memo for these (selected and/or modified) Detail Line Items.
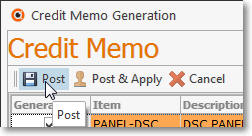
✓These will not be applied (Allocated) to a Bill - leaving it as an Unapplied Credit.
•Post & Apply - Click the Post & Apply button to create a Credit Memo for the Selected Items and Quantities.
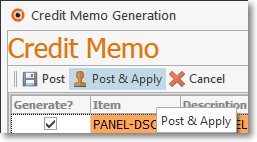
✓These Credits will be applied (Allocated) to the specific Bill from which the Credits were created.
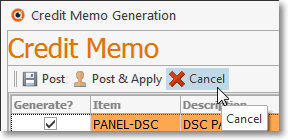
•Cancel - Click the Cancel button to abort this process and Close the Credit Memo Generation Form.
❑If a Credit Memo was created manually, or the Post option (see above) was chosen during a Credit Memo Generation procedure (i.e., you did not choose the Post & Apply option), the Credit Memo must be Allocated to the correct Bill.
•Select the Allocate option on the Vendor Options Menu of the Vendors Form from whom the Credit Memo was received
✓If you have manually created the Credit Memo, Allocate that Credit Memo following the instructions in the Applying Payments & Credits chapter.
•Once a Credit Memo is created and subsequently Allocated to a Bill, if that Credit Memo needs to be canceled:
✓The Credit Memo must be first be Unallocated
✓Then, that Credit Memo may be Deleted
✓See the "Un-Applying Payments and Credit Memos" section in the Applying Payments & Credits chapter for detailed instructions.
❑Processing Credit Card Refunds using a Credit Memo
•When a previous Payment for a Bill was made using a Credit Card and your Company is now eligible for (and getting) a Refund, there are two things that must be done:
1.The Bill that was paid by Credit Card must be reversed by manually creating a Credit Note for what was Purchased
2.The Amount charged on that Credit Card must be reversed.
•Following the instructions for Entering a Purchase, create a Credit Note using the same Purchase Categories and Prices recorded on the original Bill - but enter each Quantity as a minus Value.
•Once the Credit Note is created, Choose the Credit Card Pay Icon to open Pay Bill Credit Card dialog.

•In the Pay Bill Credit Card dialog, complete that information (the system will enter the appropriate credit value automatically):
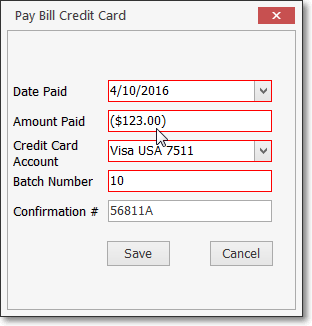
✓Date Paid - By default, this will be Today.
▪Use the Drop-Down Calendar/Date Entry field provided to change this Date, if necessary.
✓Amount Paid - By default the system will enter the appropriate credit value automatically
✓Credit Card Account - Use the Drop-Down Selection List provided to Choose the appropriate Credit Card.
✓Batch Number - By default, this will be the Day Number of Today.
▪A different Batch Number may be substituted, if necessary.
✓Confirmation # - If available, enter the Confirmation Number of this Credit Card Transaction.
✓Save - Click the Save button to execute this Credit Card Transaction (or Cancel to abort this process).
▪Click OK and the Pay Bill Credit Card dialog will Close
•The Credit Card Credit will automatically be Allocated to this Credit Memo, and inserted into the Credit Card Register.
