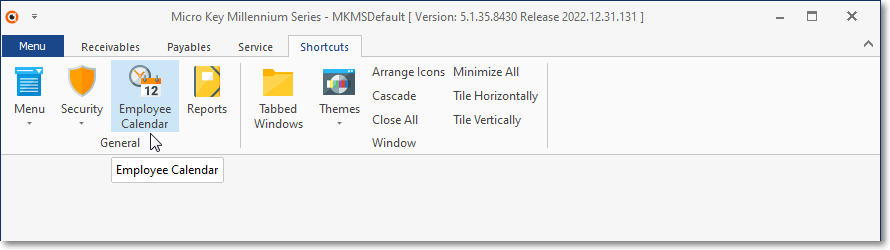
❑The Shortcuts Tab's Ribbon Menu on the MKMS Desktop has two sections:
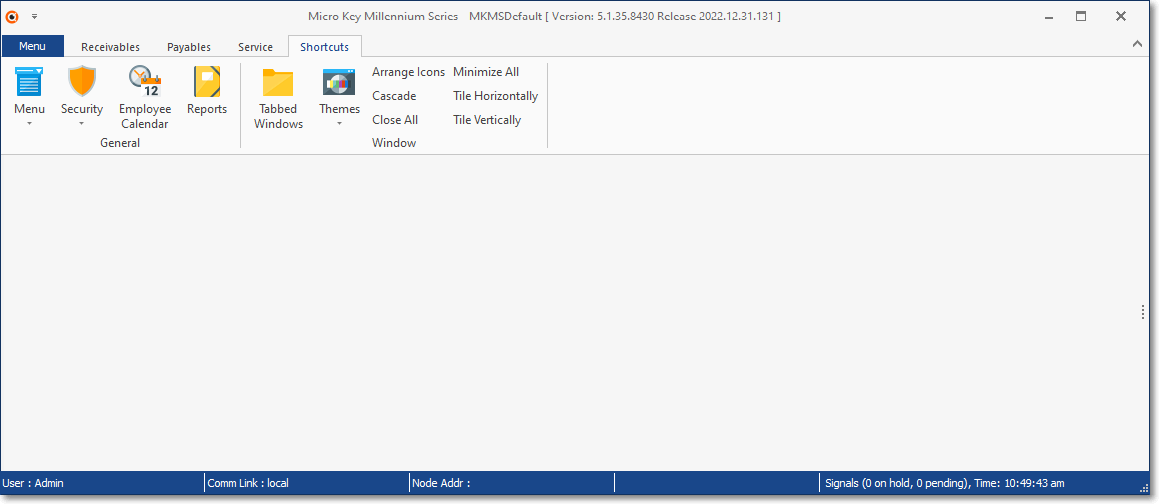
Shortcuts Tab on the MKMS Desktop
1.General - The three Icons in the General Section are:
✓Menu - This option displays the Quick Access Menu (see the Ribbon Menu, Backstage, Quick Access & General Maintenance Menus chapter for more information).
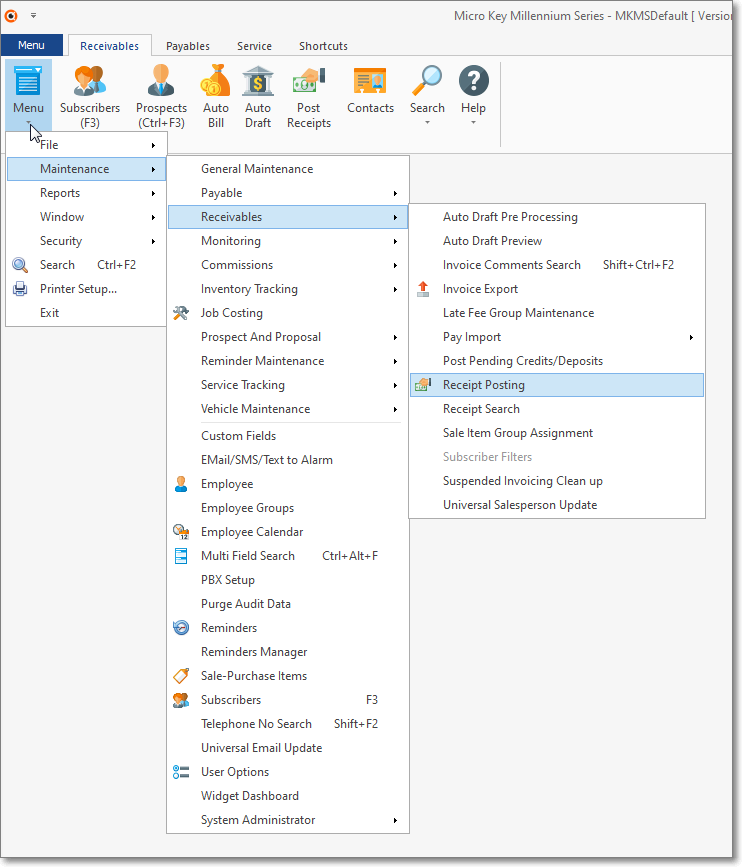
▪The Quick Access Menu may also be displayed by Right-Clicking on any location on the MKMS Desktop that is not within a Form or Ribbon Menu.
✓Security Icon - Provides access to the Log in and Log out options
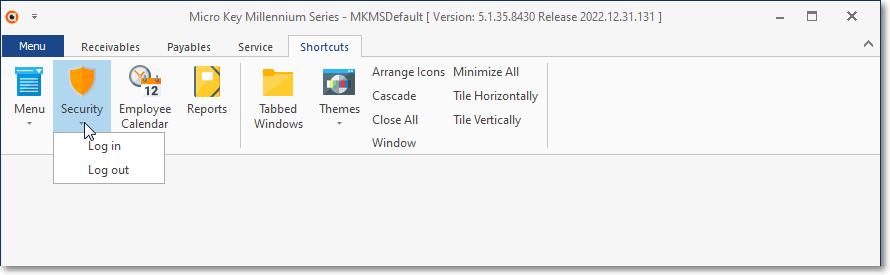
Shortcuts tab - General section - Security options
1)Log in - If the previous User has logged out of the system, Click the Log In option to open the Log In dialog.
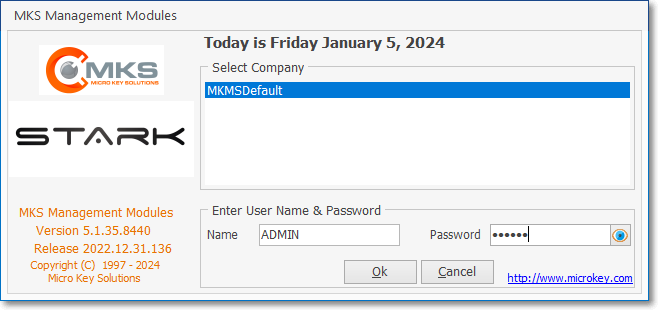
Micro Key Millennium Series - Log In
▪Select Company - By default, this will be MKMSDefault. Select a different Company database, if appropriate.
▪Name - Enter the User Name assigned to you.
▪Password - Enter the associated Password assigned to you.
▪OK - Click the OK button.
▪The MKMS Desktop will be displayed.
▪The MKMS Desktop will be displayed with only the Security Icon activated and Log in the only available option.
✓Employee Calendar - Click this Icon to open the Employee Calendar Form showing the Schedule for the current User.
▪Depending on their Access Rights, a User may be able to view the Schedule of any Employee.
▪The ADMIN User may always view the Schedule for any Employee.
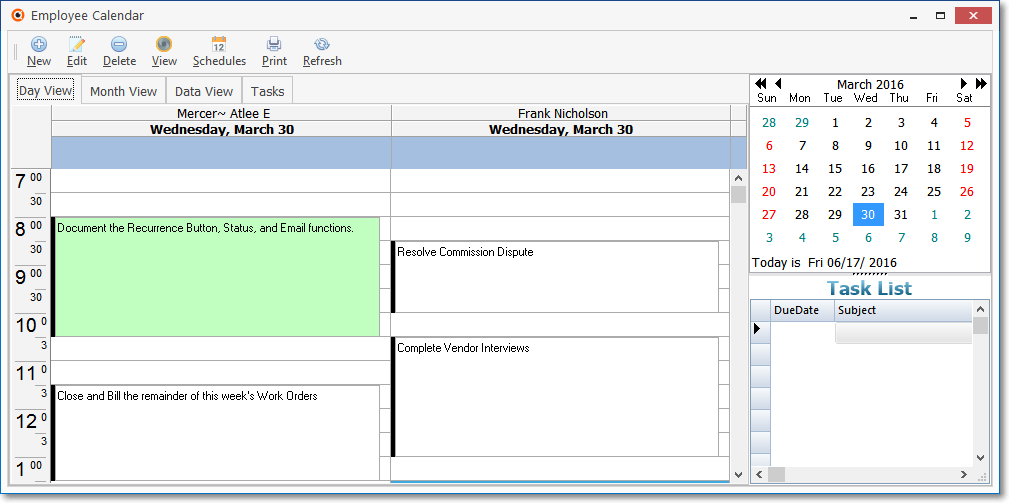
Employee Calendar - Admin View - Multiple Employee Schedules
✓Reports - Select the Reports Icon to open the Reports Module dialog which lets a User define a Custom Report Format.
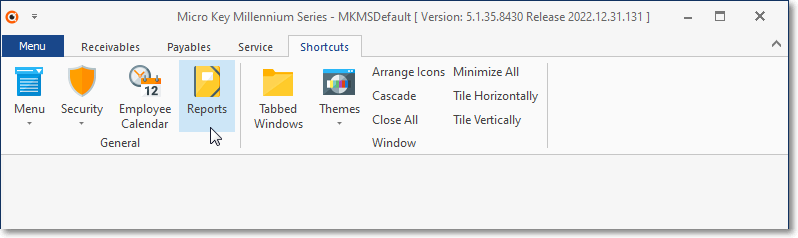
Short Cuts tab - Reports option
❖See the Reports Module chapter for information about using this feature.
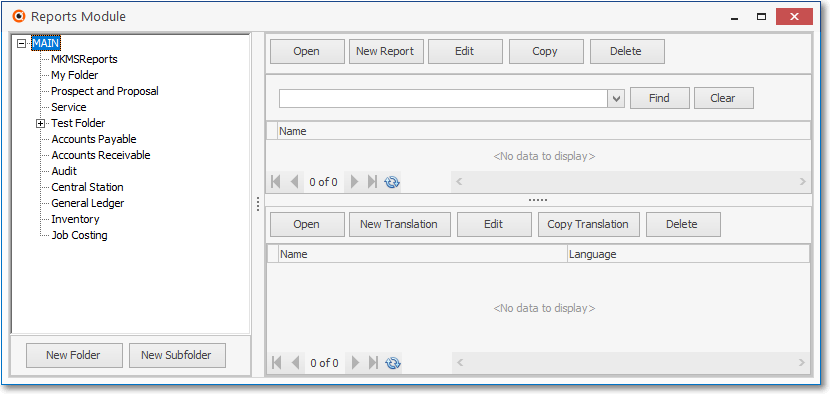
Short Cuts tab - Reports option - Reports Module dialog
2.Window - This section offers some standard Windows® Desktop configuration options
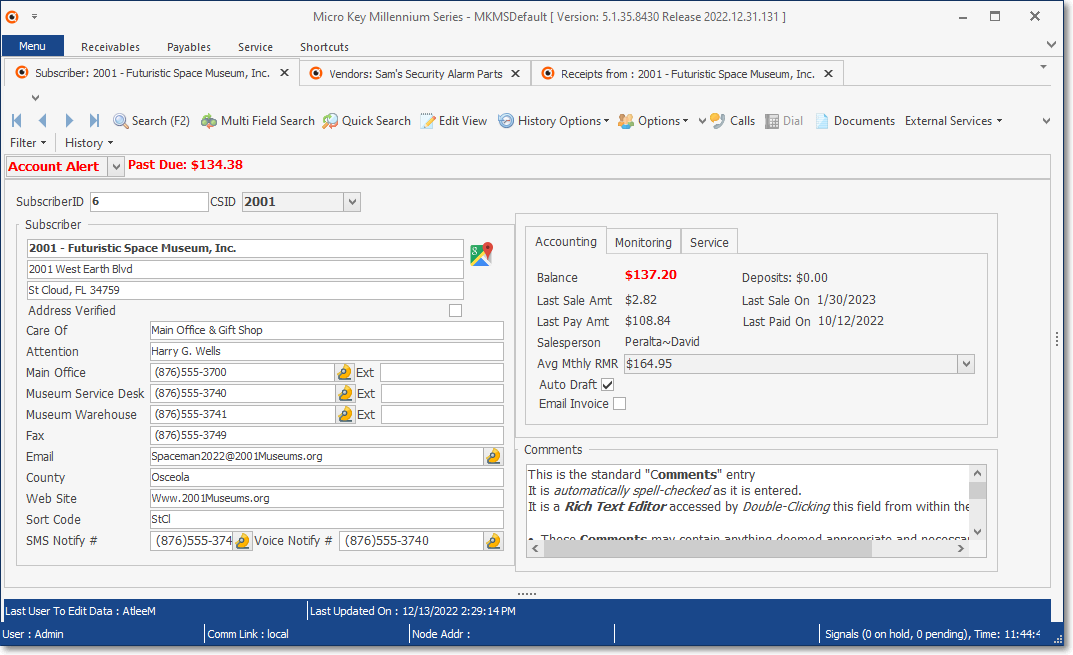
✓Tabbed Windows - When activated by Clicking on the Tabbed Windows Icon and multiple Forms are opened at the same time,
1.The active (on screen) Form's Title and record name of the selected Window Tab is displayed at the top of the MKMS Desktop,
2.The active (on screen) Form's Ribbon Menu will be displayed at the top of the MKMS Desktop in an additional Tab (see the mouse pointer in the illustration below)
3.All currently opened Form(s) Titles are displayed with the Form Type and associated Name (when appropriate) on Window Tab(s) below the MKMS Desktop or the currently selected Form's Ribbon Menu
4.Clicking on another open (but not active) Window Tab will display that Form and display that Form's Ribbon Menu at the top of the MKMS Desktop in the additional MKMS Desktop Tab

▪The MKMS Desktop Ribbon Menu may be hidden (as shown above) but the Window Tabs will still be displayed.
▪Select the Shortcuts Tab and Click the Tabbed Windows Icon again to turn off this feature.
oExcept for Close All, the other options listed below are unavailable until the Tabbed Windows feature is turned off.
✓Arrange Icons - Not activated
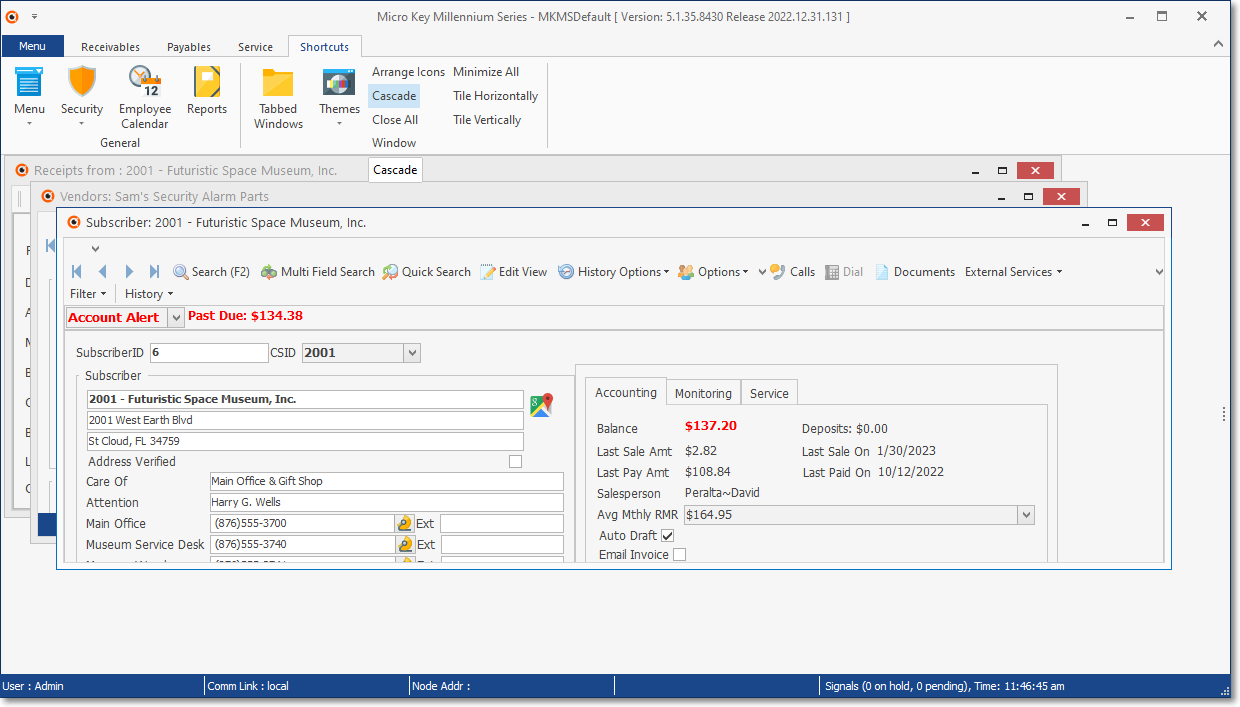
✓Cascade - Rearrange all open Forms in a cascaded sequence - top to bottom, left to right.
✓Close All - Close all open Forms
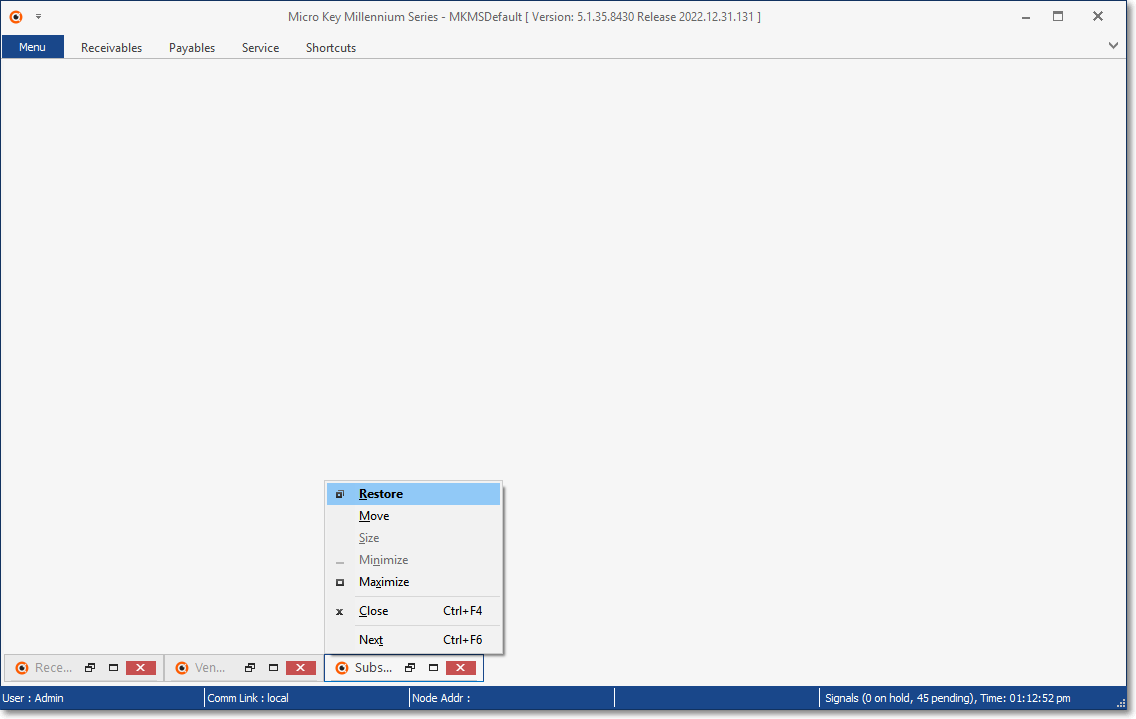
✓Minimize All - Minimize all open Forms
▪A minimized screen button will be placed at the bottom of the MKMS Desktop for each Form that was minimized.
▪Click a minimized screen button to open the options menu for that button.
▪Select the desired option.
▪The Close All, Tabbed Windows, Tile Horizontally and Tile Vertically options are also available.
✓Tile Horizontally - Reshape and re-size all open Forms to the full width of the screen, one on top of the other, arranged horizontally.
✓Tile Vertically - Reshape and re-size all open Forms to the full height of the screen, one next of the other, arranged vertically.