❑Requiring the use of Purchase Orders for product and service acquisitions allows you to better track your spending by incorporating them into a Purchasing Procedure
•This Purchasing Procedure should include:
✓A Manager's Purchase Approval, and
✓An actual Spending Authorization from someone responsible for tracking expenses with the Company's budget.
✓This combination of an OK to buy and an OK to spend should provide just enough structure to restrain frivolous and/or unnecessary purchases.
•There are two ways to access the Purchase Order Listing dialog:
a)From the Backstage Menu System Select Reports and Choose Payable Reports, or
b)From the Quick Access Menu, Select Reports and Choose Payable Reports.
✓Then, Select Purchase Orders.
❑Purchase Order Listing: There are three tabs on the Purchase Order Listing dialog.
•Options - Initially only the Options tab is shown (until you make your Options selections and Select Print).
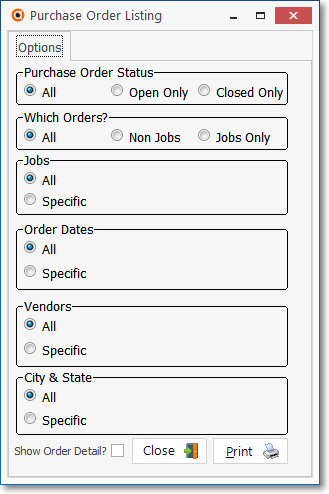
Purchase Order Listing - Options tab
❑Purchase Order Listing Options - Click the appropriate button(s) to Select exactly what Purchase Order information is to be included in this report.
•Purchase Order Status - Although All Purchase Orders are normally included, you may limit the list to just the Open, or just the Closed Purchase Orders, if desired.
✓All - (The default option) - Include both Open and Closed Purchase Orders in the list.
✓Open Only - Include only Open Purchase Orders in the list.
✓Closed Only - Include only Closed Purchase Orders in the list.
•Which Orders? - Although All Purchase Orders are normally included, you may limit the list to only Non Job Costing related POs, or only those which were created as part of a Job Costing procedure.
✓All - (The default option) - Include both Job and Non-Job related Purchase Orders in the list.
✓Non Jobs - Include only Purchase Orders that have not been assigned a Job Number in the list.
✓Jobs Only - Include only Purchase Orders created as part of a Job Costing procedure in the list.
•Jobs - Although Purchase Orders for All Jobs are normally included, you may limit those listed to Purchase Orders issued for specific Jobs.
✓All - (The default option) - Include All Jobs in the list.
▪And, if you are not linking Purchase Orders to specific Jobs, this should be your selection.
✓Specific - You may select specific the Jobs whose Purchase Orders you want to list.
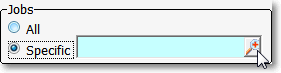
Click Specific then Click the Search Icon
▪Click the Specific button then Click the Search Icon to locate the desired Job(s) -
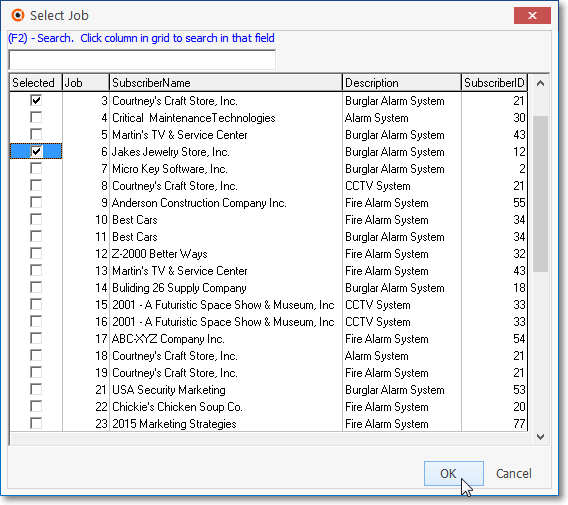
Select Job dialog
▪Check the Selected box for each Job which is to be included in the report.
▪Remember, more than one Job may be selected.
▪Click the OK button to Close the Select Job dialog and insert the selected Job IDs in the Specific field.
•Order Dates - Although All Purchase Orders are normally included, you may limit those listed based on their Order Date.
✓All - (The default option) - All Purchase Orders - regardless of their Order Date - will be included in the list.
✓Specific - You may select a Order Date Range for the Purchase Orders that you want listed.
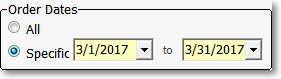
Order Dates selector
▪Click the Specific button then enter the Order Date Date Range you want included in the list.
▪By default, the dates offered will cover the immediate past week.
▪Use the Drop-Down Calendar/Date Entry fieldes to specify the desired Date Range.
•Vendors - Although All Vendor's Purchase Orders are normally included, you may limit the list to Purchase Orders issued to specific Vendor(s).
✓All - (The default option) - Purchase Orders for All Vendors will be listed.
✓Specific - You may limit the list to Purchase Orders issued to (one or more) specified Vendor(s).
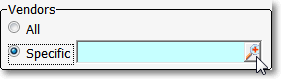
▪Click the Specific button, then Click the Search Icon to open the Select Vendor dialog.
▪Locate the desired Vendor(s)
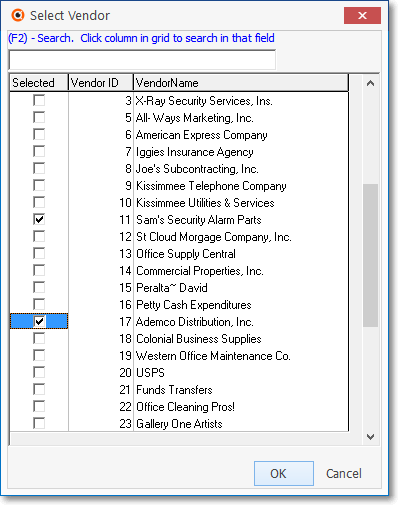
Select Vendor dialog
oCheck the Selected box for each Vendor which is to be included in the report.
oRemember, more than one Vendor may be selected.
oClick the OK button to Close the Select Vendor dialog and insert the selected Vendor IDs in the Select Vendors field.
•City & State - Although All Vendor's Purchase Orders - regardless of where those Vendors are located - are included, you may limit the list to Purchase Orders issued to Vendors located within a specific City (and State).
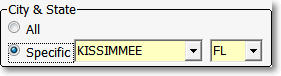
City & State selection option
✓All - (The default option) - Purchase Orders for All Vendors, regardless of location, will be listed.
✓Specific - You may limit the list to Purchase Orders issued to Vendors located in a specified City/State combination using the Drop-Down Selection Lists provided.
•Show Order Detail? - Check this box to have all the Detail Line Items on each Purchase Order included in the list (or see the "User Activated Detail Preview" section below for another way to see only selected detail).
•Print - Click the Print button ![]() to Preview and optionally Print (to a File or a Printer) this Purchase Order Listing.
to Preview and optionally Print (to a File or a Printer) this Purchase Order Listing.
•To Exit this Report dialog, Click the Close button ![]() toward the bottom of the Options tab.
toward the bottom of the Options tab.
❑The Preview tab presents the report which resulted from the Options you've selected.
•Up Arrow/Down Arrow - hi - Moves the report one line up, or one line down, respectively.
•Page Up/Page Down - Moves the report to the previous or next page, respectively.
❖PO # - Click the appropriate blue underlined number to view the Detail Line Items of that selected Purchase Order. (see the "User Activated Detail Preview" section below for more information)
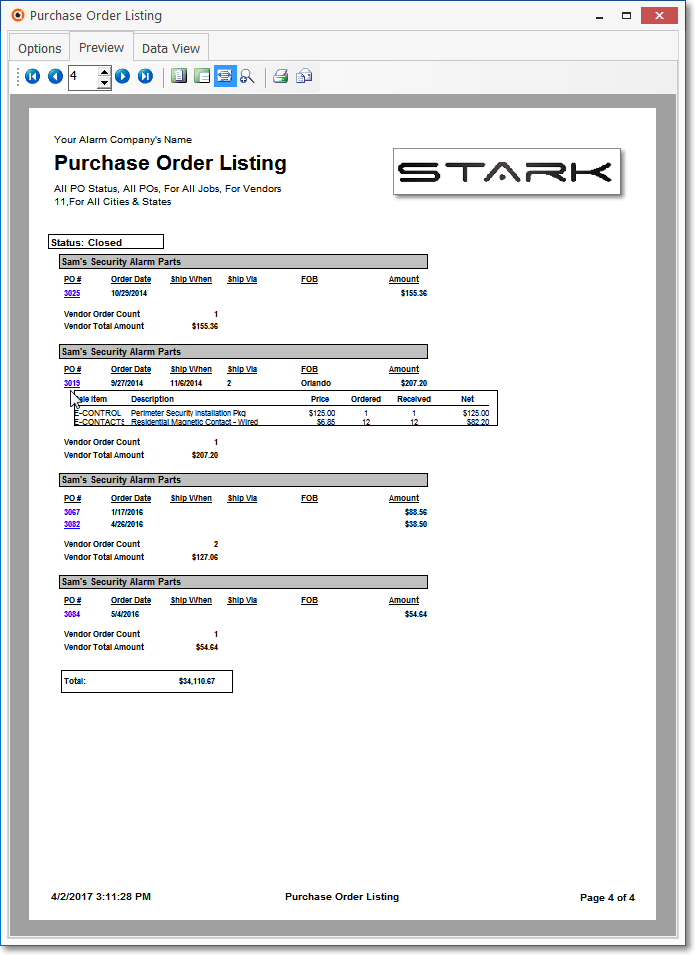
Purchase Order Listing - Preview tab (with User Activated Detail)
✓Home - ![]() - Using either the screen Icon or your Keyboard's Home key, moves the report to the top of the first page.
- Using either the screen Icon or your Keyboard's Home key, moves the report to the top of the first page.
✓End - ![]() - Using either the screen Icon or your Keyboard's End key, moves the report to the bottom of the last page.Arrows - The arrows allow you to move back and forth, from page to page.
- Using either the screen Icon or your Keyboard's End key, moves the report to the bottom of the last page.Arrows - The arrows allow you to move back and forth, from page to page.
✓Number - Indicates the page number you are viewing.
▪You may also type in a specific page number, Press 8 Enter and that page will be displayed immediately.
▪If you enter an invalid page number, it will be ignored.
✓Fit To Page - Click the first button after the arrows to size a full page of the report to fit the screen.
✓Zoom To 100% - Click the second button after the arrows to display the page at 100% (of the printed view).
✓Fit To Page Width - Click the third button after the arrows to size the page of the report to fit the full width of the screen.
✓Zoom To Percentage - Click the fourth button after the arrows to re-size the page of the report by percentage.
![]()
▪When you Click the Zoom To Percentage button, the Percentage selector will be displayed.
▪You may then Click the Up or Down ‚ arrow to set the exact amount of Zoom you want.
✓Print - Click the Print button to Print (to a File or a Printer) ![]() the displayed Purchase Order Listing.
the displayed Purchase Order Listing.
✓Email - Click the Email button ![]() to send the Report to an Email Address of your choosing.
to send the Report to an Email Address of your choosing.
✓To Exit the Preview tab and Close this Report dialog Form, Click the Close box ![]() on the right at the top of the Preview tab.
on the right at the top of the Preview tab.
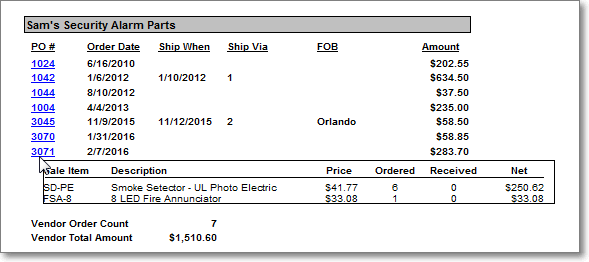
❑User Activated Detail Preview
•You may Check the Show Order Detail box to have all the Detail Line Items on each Purchase Order included in the list.
✓However, this may make the Purchase Order Listing extremely long.
•Instead of Checking the Show Detail box:
✓Choose to Preview the report.
✓Click on any Purchase Order Number that you do want to see the Detail Line Items.
▪The PO # will be underlined and printed in blue - 9999.
✓Each selected Purchase Order's Detail box will expand and present that information only for the PO's you have selected.
•Now, if you do need to print the listing, do so be Clicking the Print Icon on the Print Preview form,
✓By doing so, only the Selected items will show the Detail Line Items, the others will print without detail.
•Alternately, as noted above, to see the Detail for all Purchase Orders,
✓Check the Show Order Detail? box.
✓Click the Print button to Print (to a File or a Printer) ![]() the displayed Purchase Order Listing.
the displayed Purchase Order Listing.
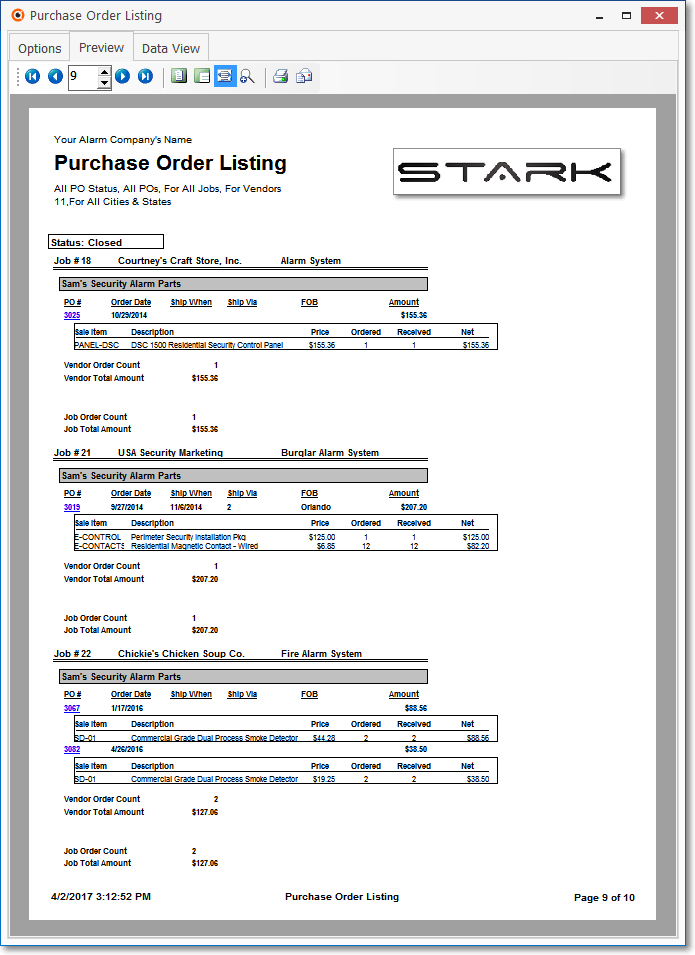
Purchase Order Listing -Preview tab (with Show Order Detail? box Checked)
❑Data View - This view provides a tabular (spreadsheet style) presentation of the selected Financial Summary Report data.
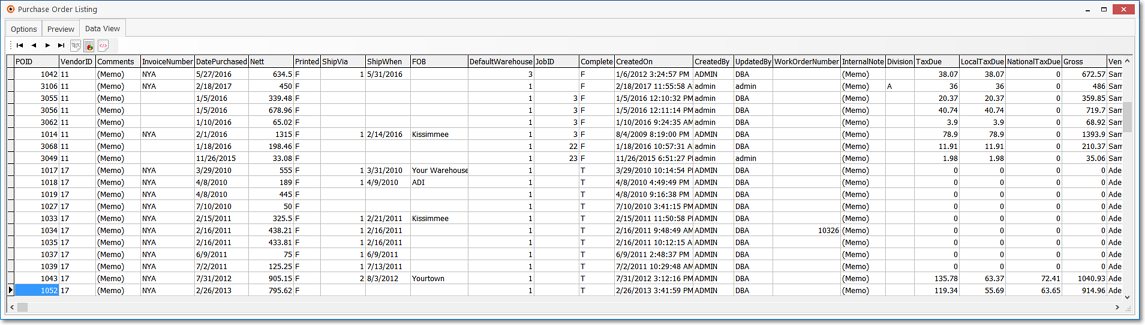
Purchase Order Listing - Data View tab
•Arrows - Click the arrows to move through the record.
•Export - Exporting the data from this Data View Form (note the "fly-over" help available on these buttons):
✓Export to CSV - Click the first button after the arrows to export the data to a Comma Separated Values (CSV) file format.
✓Export To Excel - Click the second button after the arrows to export the data to an Excel (.xls) file format.
✓Export To Html - Click the third button after the arrows to export the data to an HTML formatted file.
✓To Exit the Data View tab and Close this Report dialog Form, Click the Close box ![]() on the right at the top of the Data View tab.
on the right at the top of the Data View tab.