❑The Income Statement (a.k.a. Profit & Loss Report) which, by default, reports Account Balances for the Sales made, Expenses incurred, and the Profit (or Loss) that resulted within All Departments and All Divisions for a selected Month and Year (or for an entire Fiscal Year) - and also provides filters for limiting the report to User specified Division's and/or Department's Account Balances resulting from your Company's Sales and Expenses.
•To print this version of the Income Statement report use either of these two methods:
a)From the Backstage Menu System Select Reports and Choose the General Ledger sub-menu, then Select the Income Statement option, or
b)From the Quick Access Menu, Select Reports and Choose the General Ledger sub-menu, then Select the Income Statement option.
•Those General Ledger Accounts with a zero balance ("$0.00") based on the Date Range selected below will not be listed in the report.
❑Income Statement tabs - There are three tabs on the Income Statement dialog.
•Options - Initially only the Options tab is shown (until you make your Options selections and Select Print).
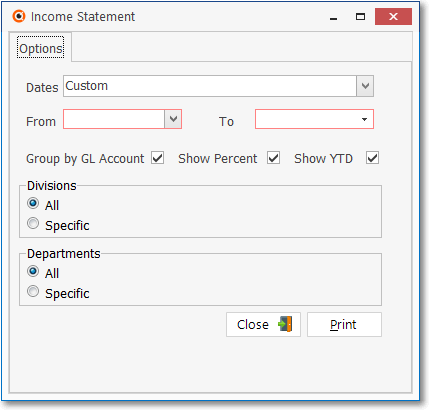
Income Statement - Options tab
✓Dates - The default option is Custom which allows you to Choose a specific From/To Dates for reporting the results that existed at the end of Accounting Period or Dates selected below (see the From/To option discussion next).
▪Use the Drop-Down Selection List to Choose the desired reporting period.
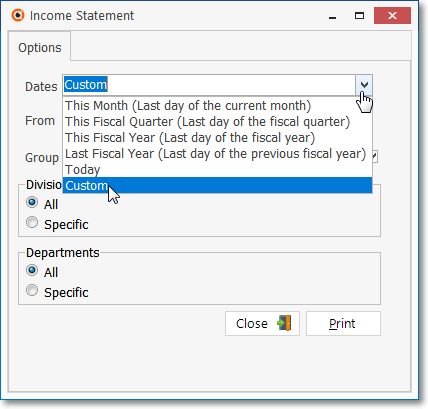
Income Statement Options - Dates options
▪Alternately, using the Drop-Down Selection List provided, Choose one of the predefined Reporting Periods.
oThe illustration above provides the appropriate description of each of these Reporting Period choices.
▪When the desired Accounting Period is selected, if a predefined Period is chosen, the system will insert the appropriate Dates in the From/To fields.
✓From/To - This option is only available for User input when the Custom option is chosen above.
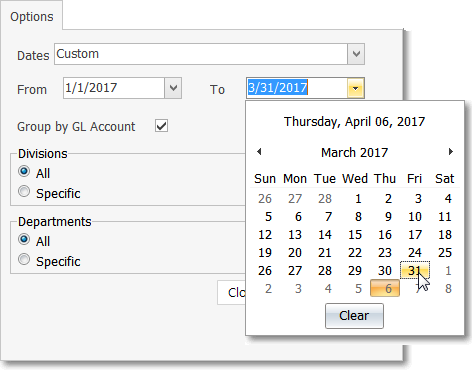
Income Statement Options - From & To date selection
▪From - Use the Drop-Down Calendar/Date Entry field provided to Choose the desired From Date for this Income Statement.
▪To - Use the Drop-Down Calendar/Date Entry field provided to Choose the desired To Date for this Income Statement.
✓Group by GL Accounts - Check this box (the default) to list each General Ledger Account only once, with only a summary total for all Financial Transactions posted to an Account Number assigned to any Department and/or Division.
▪If no Check is inserted (it is removed), the Financial Transaction total for each General Ledger Account will be listed for each Account Number by Division, and/or Department.
▪This will result in the same Account Number being listed multiple times to show the subtotals for each individual Account Number, Division, and/or Department combination.
▪In addition, as described below, the report may be limited to a specific set of one or more Departments, and/or one or more Divisions
✓Show Percent - Check this box (it will be Checked by default) to have a "% Total Sales" column (which calculates and displays the Percentage of the Total Sales which this Account Balance represents); and a "% Total Expenses" column (which calculates and displays the Percentage of the Total Expenses which this Account Balance represents) included in the Income Statement report.
✓Show YTD - Regardless of the Date Range which is being reported (determined by the From and To dates inserted by the system for the Dates option selected, or by what was entered manually by the User), Check this box (it will be Checked by default) to have the Current Fiscal Year's Year-To-Date Balance shown for each Account.
▪This YTD Balance is calculated from the beginning of the Year of the "To" Date (see "From/To" above) as represented in these three examples:
a)If you run the Income Statement report for 3/1/18 to 3/31/18, the YTD Value reported will be the accumulated balance of that Account from 1/1/18 to 3/31/18.
b)If you run the Income Statement report for 2/1/17 to 2/28/17, the YTD Value reported will be the accumulated balance of that Account from 1/1/17 to 2/28/17.
c)If you run the Income Statement report for a whole year, the YTD Value reported will match the Account Balance reported.
✓Divisions - By default, the Financial Information from All Divisions will be reported:
▪Specific - To specify a specific Division to be reported (i.e., No Division assigned, or a set of one or more Divisions):
oClick the Specific button and Click the Ellipse on the right side of the Specific field.
oUsing the Select Division dialog that will be displayed:
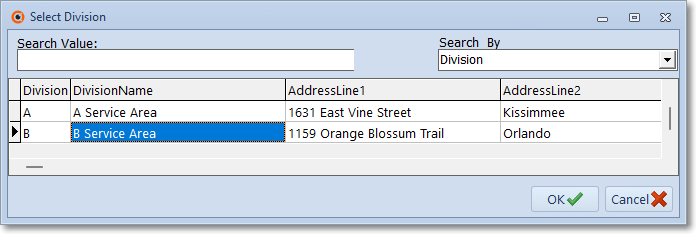
Select Division dialog
oCheck which Division(s) are to be included in this report.
oClick the OK button.
✓Departments - By default, the Financial Information from All Departments will be reported.
▪Specific - To specify a specific Department to be reported (i.e., a set of one or more Departments):
oClick the Specific button and Click the Ellipse on the right side of the Specific field.
oUsing the Select Division dialog that will be displayed:
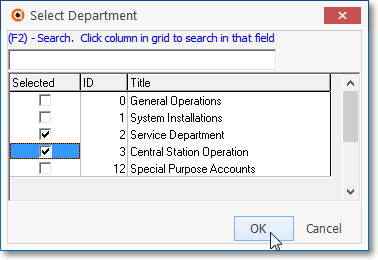
Select Department dialog
oCheck the Department(s) to be included in this report.
oClick the OK button.
✓Print - Click the Print button ![]() to Preview and optionally Print (to a File or a Printer) this Income Statement.
to Preview and optionally Print (to a File or a Printer) this Income Statement.
•The Preview tab presents the Profit & Loss Report which resulted from the Options you've selected.

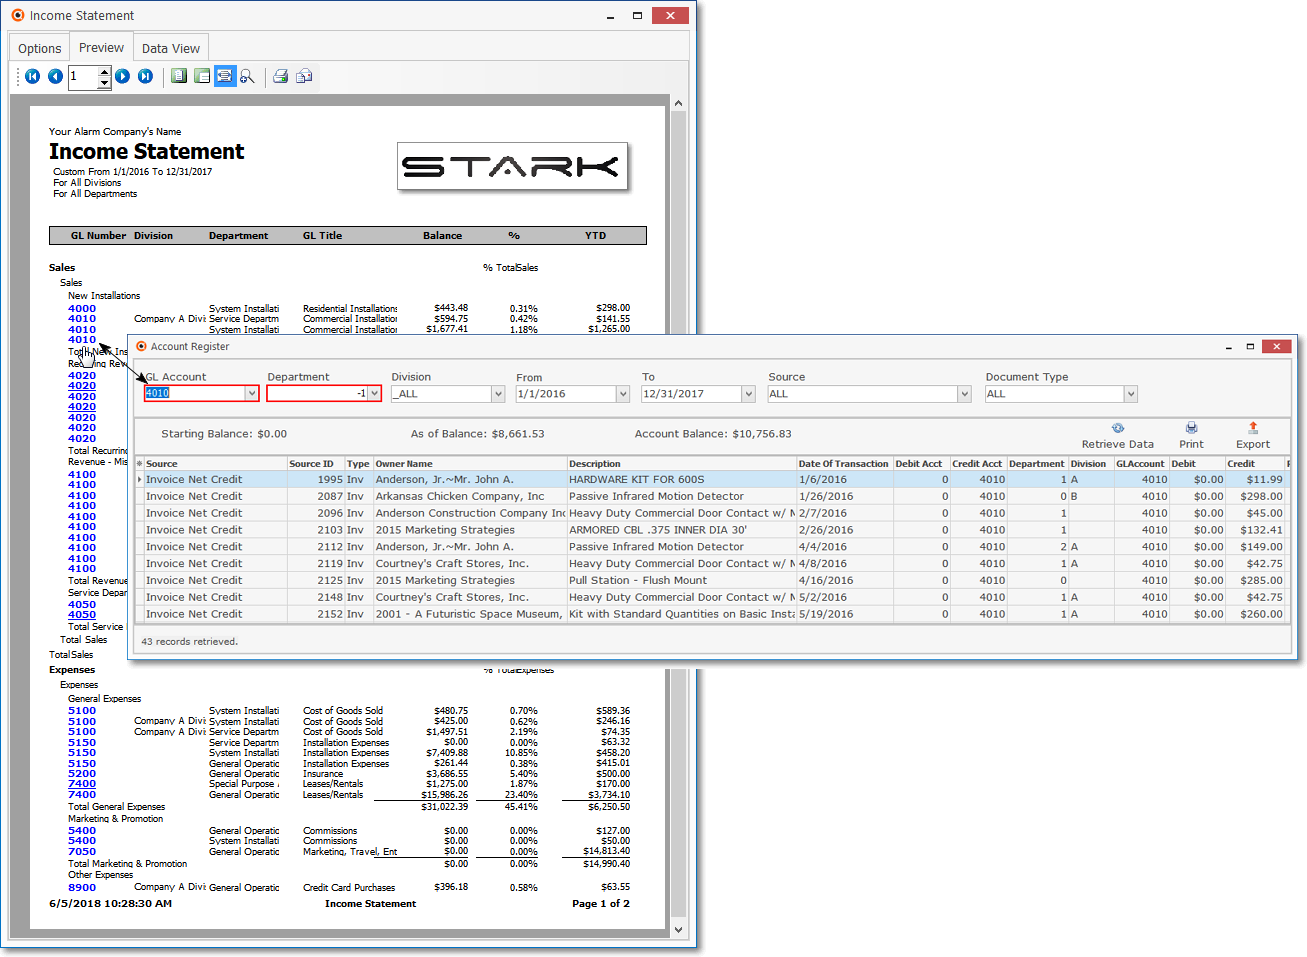
Income Statement dialog - Preview tab Page 1
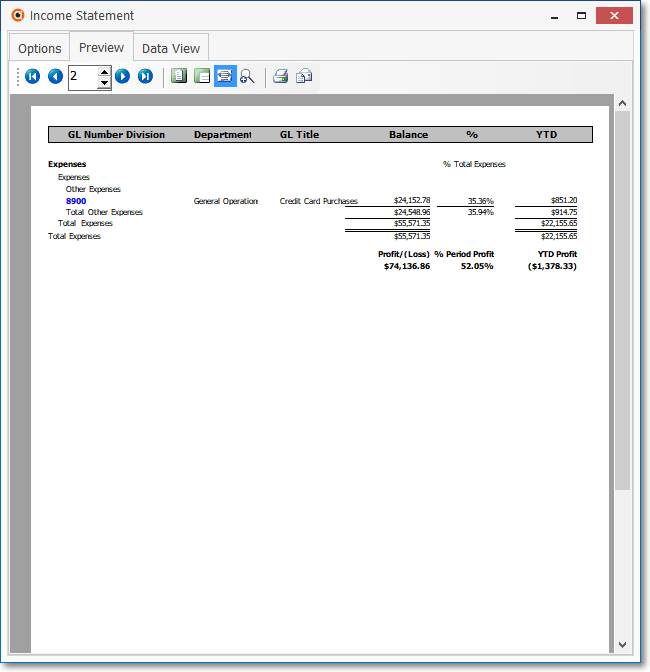
Income Statement dialog - Preview tab Page 2
✓Arrows - The arrows allow you to move back and forth, from page to page.
✓Number - Indicates the page number you are viewing.
▪You may also type in a specific page number, Press 8 Enter and that page will be displayed immediately.
▪If you enter an invalid page number, it will be ignored.
✓Fit To Page - Click the first button after the arrows to size a full page of the report to fit the screen.
✓Zoom To 100% - Click the second button after the arrows to display the page at 100% (of the printed view).
✓Fit To Page Width - Click the third button after the arrows to size the page of the report to fit the full width of the screen.
✓Zoom To Percentage - Click the fourth button after the arrows to re-size the page of the report by percentage.
![]()
▪When you Click the Zoom To Percentage button, the Percentage selector will be displayed.
▪You may then Click the Up or Down ‚ arrows to set the exact amount of Zoom you want.

Income Statement dialog - Preview tab - By GL Account option
✓GL Number - Click any General Ledger Account Number to view the Account Register for that GL Number.
✓Print - Click the Print button to Print (to a File or a Printer) ![]() the displayed Income Statement, and may also be converted to a PDF or various other types of documents, or into an Excel® Spreadsheet file.
the displayed Income Statement, and may also be converted to a PDF or various other types of documents, or into an Excel® Spreadsheet file.
✓Email - Click the Email button ![]() to send the Report to an Email Address of your choosing.
to send the Report to an Email Address of your choosing.
✓To Exit the Preview tab and Close this Report dialog Form, Click the Close ![]() box on the right at the top of the Preview tab.
box on the right at the top of the Preview tab.
•Data View - This view provides a tabular (spreadsheet style) presentation of the selected data.
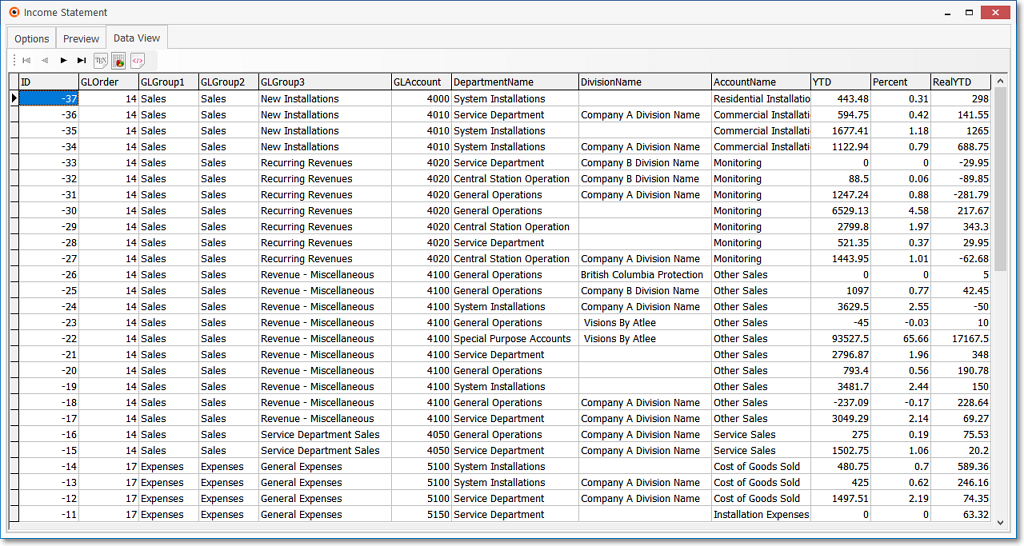
Income Statement - Data View tab
✓Arrows - Click the arrows to move through the record.
✓Export - Exporting the data from this Data View tab (note the "fly-over" help available on these buttons):
▪Export to CSV - Click the first button after the arrows to export the data to a Comma Separated Values (CSV) file format.
▪Export To Excel - Click the second button after the arrows to export the data to an Excel (.xls) file format.
▪Export To Html - Click the third button after the arrows to export the data to an HTML formatted file.
✓To Exit the Data View tab and Close this Report dialog Form, Click the Close ![]() box on the right at the top of the Data View tab.
box on the right at the top of the Data View tab.