❑If you provide monitoring services for other Alarm Dealers and offer Recurring Billing and remote "Lock Box" services:
•You may use the Import Payments feature to capture the Receipts in a batch from the "Lock Box" service.
•The functionality is similar to Post Auto Draft - (1) in the case of the Auto Drafts the payments or charge Credit Cards are drafted on a preset basis, (2) in the case of Import Payments process, those Receipts are posted, based on monies received and processed by a third party.
✓In both cases, the functions automatically Post and Allocate the Receipts to the oldest outstanding Invoices owed by those Subscribers.
❖If a different import file format must be used (i.e., one not using the Regulus standard), it may be custom designed using the Design Import File Formats process.
❑For a number of reasons - almost all of which relate to bad data - some Receipts may not be properly linked to a Subscriber during an Import Payments procedure.
•These orphan Receipts will be posted to a Holding Account - a Subscriber record specifically entered for that purpose.
✓From this Holding Account, you will Transfer these Unassigned Receipts to the appropriate Subscriber(s) using the Assign Receipts function activated in the Receipt Transfer Form.
•To access the Receipt Transfer dialog:
a)From the Backstage Menu System Select Maintenance and Choose Receivables then Click the Pay Import option, then Select Regulus/Wells Fargo Import Menu, or
b)From the Quick Access Menu, Select Maintenance and Choose Receivables then Click the Pay Import option, then Select Regulus/Wells Fargo Import Menu
✓Finally Click the Assign Receipts option to display the Receipt Transfer Form shown below.
❑Using the Receipts Transfer Form:
•The Receipt Transfer dialog is used to identify and relocate (i.e., Transfer) the Receipts that were assigned to the Holding Account which was created and designated for that purpose.
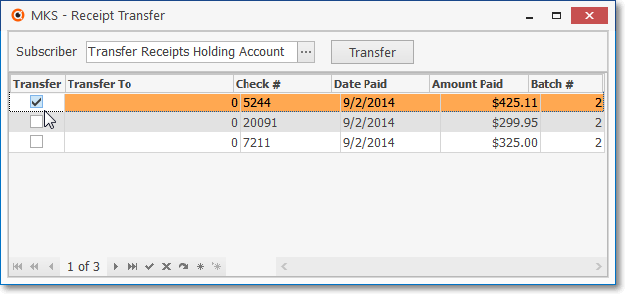
Receipts Transfer Form (showing three Unassigned Receipts)
✓Subscriber - The Subscriber Name of the record "holding" the orphan Receipts (specifically identified for that purpose during the Import Payments process) is inserted automatically.

▪You may Click the Ellipse to access the Search Subscriber dialog to Choose a different Subscriber record, if appropriate.
✓Transfer - Check the Transfer boxes for each Receipt that is to be transferred.
✓Transfer To - Click on the Transfer To field, and an Ellipse will appear.
▪![]() Click the Ellipse button to access the Search Subscriber dialog
Click the Ellipse button to access the Search Subscriber dialog
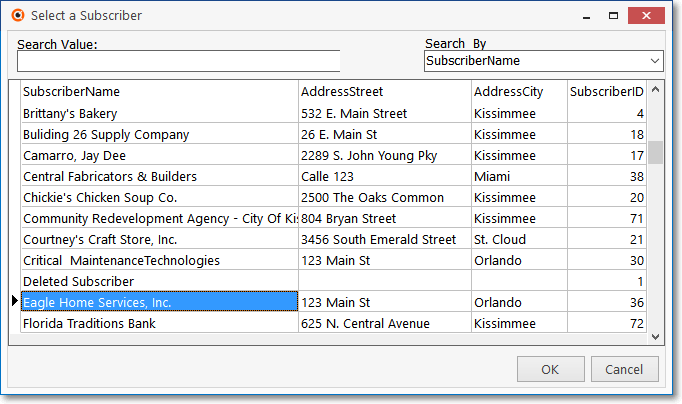
▪Choose the Subscriber to whom this Amount Paid is to be transferred.
✓Check # - The Check Number imported for this Receipt.
✓Date Paid - The Date that this Receipt was imported.
✓Amount Paid - The amount of the payment that was received.
✓Batch # - The Batch Number assigned to this Receipt.
➢Note: See the Batch Number Assignment discussion in the Receipts chapter for more information about creating Batch Numbers.
•Transfer - Click the Transfer button to execute the Checked Receipt Transfer request(s).
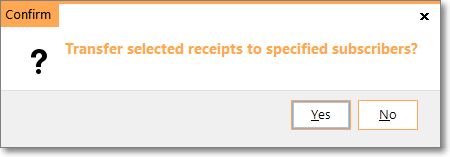
•Confirm - Click Yes to execute the Transfer.
•Close -Click the Close ![]() box on the top right of the Receipt Transfer Form when finished
box on the top right of the Receipt Transfer Form when finished