❖This chapter is being reviewed/revised
❑The Videofied Direct View system provides the Video Look Back and Forward functionality.
❑Videofied Setup Instructions:
➢Note 1: These steps are performed at the computer on which SPA is installed and used.
➢Note 2: The use of this Videofied Direct View application requires SPA Version 5.0.28.274 or newer (higher Version Number).
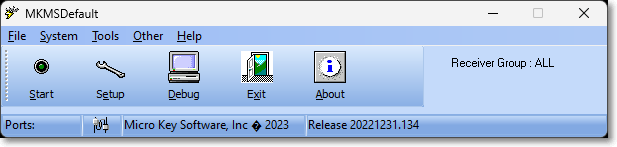
SPA - Signal Processing Application menu
✓To validate the SPA Version that is currently in use, Click the About Icon on the SPA Main Menu.
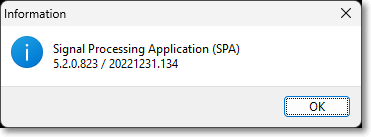
SPA - About box
•Add Videofied as a Receiver:
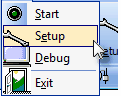
✓Select File on the SPA Main Menu and Choose the Setup option which opens the Setup Form shown below.
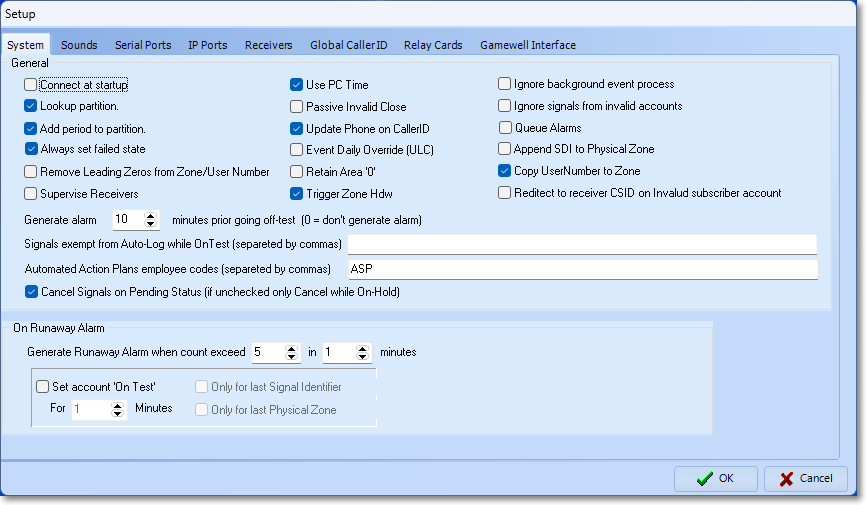
SPA Setup Form - System tab
✓Click the Receivers tab on the Setup Form to display the current list of Receiver Definitions.
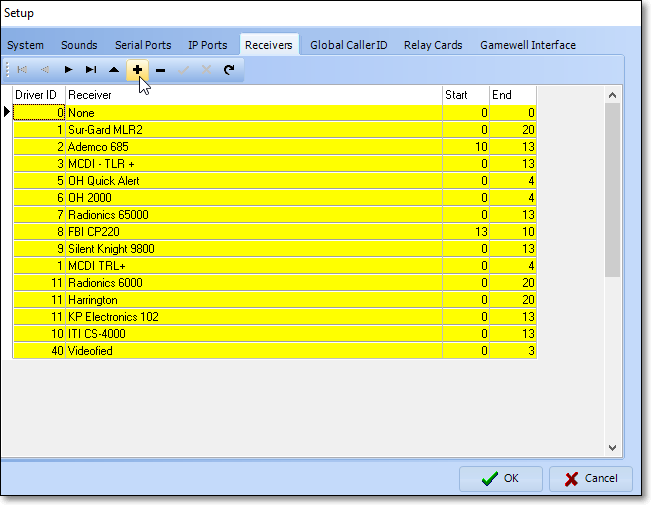
SPA - Setup Form - Receivers tab
✓Click Add ("+") - see the mouse pointer in the illustration above - to open the New Driver dialog.
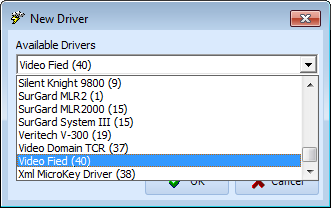
New Driver dialog - Available Drivers field
▪Available Drivers - Using the Drop-Down Selection List provided, Select the Video Fied (40) option.
▪Click the OK übutton to insert this information into the list of Receiver Definitions in the Receivers tab on the Setup Form.

oIn the last two columns (Start and End) enter 0 and 3 respectively (as shown above).
▪Click the Save ü Icon at the top of the Receivers tab to record this entry.
✓Select the IP Ports tab on the Setup Form.
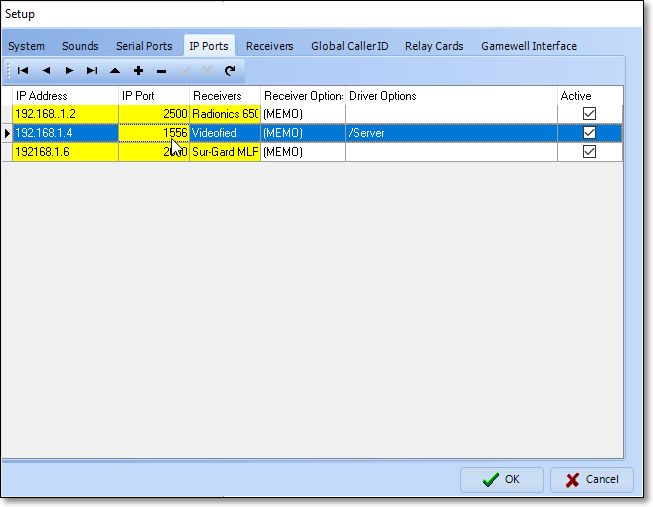
SPA - Setup Form - IP Ports tab - Add option - Video Fied (40) entry
▪Click Add ("+") to insert a blank data line which is to be filled in as follows:
oIP Address - Enter "192.168.1.4" which is the IP Address of the Videofied Receiver.
oIP Port - Enter "1556" as the IP Port Number.
oReceiver ID - Use the Drop-Down Selection List to Choose the "Video Fied (40)" option as the Receiver to be connected to this IP Port.
oReceiver Options - Click {Memo} to insert the word {General} and tab to the next field.
oDriver Options - Enter "/Server" as the Driver Option.
▪Click the OK übutton to insert this information into the list of IP Ports in the IP Ports tab on the Setup Form.
✓Click the OK übutton to Close the Setup Form.
✓If SPA is currently running, Click the Stop button.
✓Exit SPA,
✓Restart SPA
•Update the Windows® system Registry:
✓At the computer on which SPA is installed and used, Click the Windows® Start button at the bottom left of the Desktop.
✓In the Search field, type "Run"
✓Locate the Run Program (probably at the top of the Search Results list)
✓Select this program (or just Press Enter. to view the Run Open: field.
✓In that Open: field, enter "regedit" then Click the OK button