❑To view a selected Subscriber's currently scheduled Events, Press the F10 Function Key or Click the Events (F10) Icon on the Shortcuts tab.

•Reset - Click the Reset Icon to have the Temporary Events dialog updated so it lists All Scheduled Events records for All Subscribers.
![]()
✓The result is referred to as the Temporary Events dialog's Events List.

Temporary Events dialog - Events List displayed after Reset
•Search - Using the Search function (see Search instructions below), the Operator will be able to retrieve All the Scheduled Events for a Selected Subscriber.
![]()
✓Click the Search Icon at the top of the Temporary Events dialog to locate the Subscriber (Subscriber or CSID) whose Scheduled Events you want in the Events List.
✓The Search dialog will be displayed.
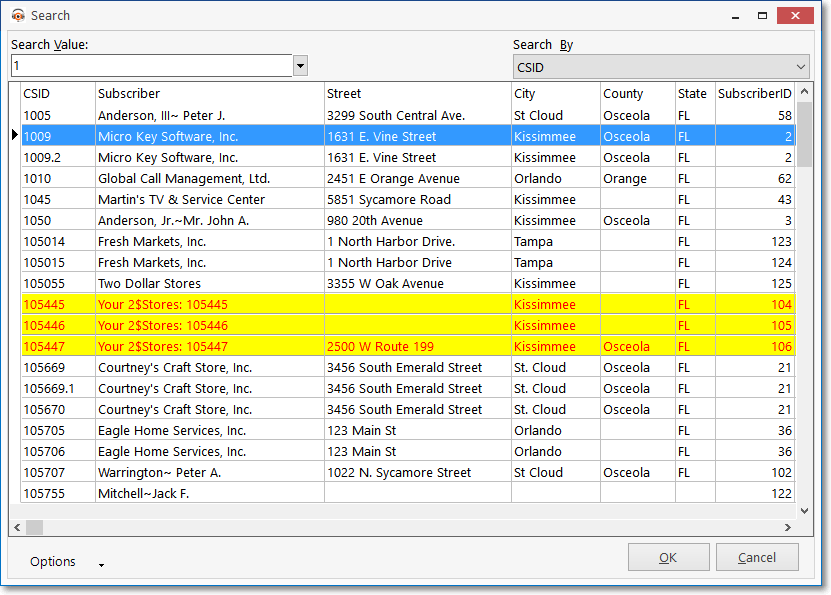
Subscriber Search dialog opened when Search Icon is selected on the Temporary Events Form
✓Search By - Initially, Subscriber is the default Search By method and so the first column will list all Subscribers in alphabetical order.
▪Using the Drop-Down Selection List provided, Choose the Search By method you want to use.
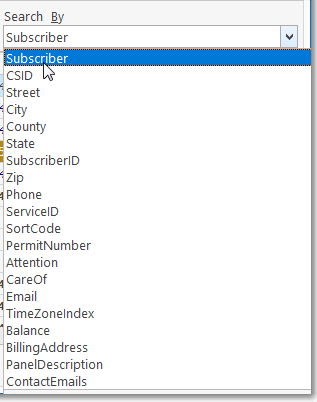
Search By selection list for the Subscriber Search Form
oThe selected Search By method will determine what data is listed in the first column (e.g., if CSID is chosen as the Search By method - as shown in the illustration above - that will be the first column of data) and all other data columns will be listed thereafter.
oOn a User by User basis, this selected Search By method will become the default Search By method for that User.
✓Search Value - Based on the chosen Search By method, enter the appropriate Search Value.
▪If the Auto Search box is Checked, as characters are entered, the record closest to what was typed will be identified with a record pointer arrow 4.
▪In any case, eventually the desired Subscriber (CSID, Address, etc., depending on the Search By method) will be identified by the record pointer arrow 4
✓Click OK to Choose that record and Close the Search dialog.
•Reschedule - To Reschedule a specific Event (i.e., change the NextStart and NextEnd Date and Time information for that selected Event) to the following day (week, month, or whatever cycle) for which this Event would be normally scheduled:
✓Click on the specific record that is to be Rescheduled.

Select the Event to be Reset from the Events list
✓Click the Reschedule Calendar Icon (see mouse pointer in illustration below).
![]()
✓Enter the Event Authorization information.
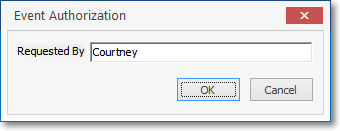
Event Authorization
▪Click the OK button.
✓Next Scheduled Event - The Start (Date and Time) and End (Date and Time) fields will be Rescheduled to the next Date and Time for which this Event would be regularly scheduled.

▪However, using the Drop-Down Calendar/Date Entry field es provided, this "Next Day" Rescheduling may be changed to any Date that is appropriate; and the Time may also be altered as needed.
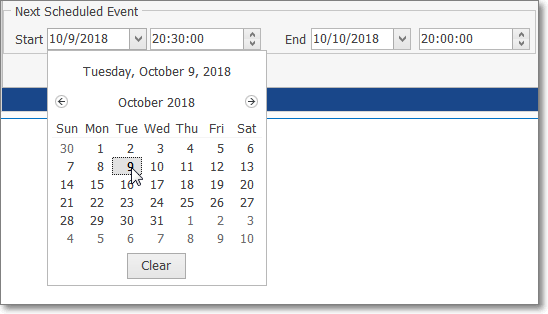
▪If ten Date is changed, be certain that both the Start and End Date and Time fields are changed, if needed.
•Reset - To look up the Scheduled Events for another Subscriber, reset the Events List, if required.
✓To do so:
![]()
✓Click the Reset button (see mouse pointer in illustration above) to remove the limitation of displaying Events for a specifically selected Subscriber.
✓This Temporary Events dialog will revert to listing All Events information for All Subscribers.
![]()
✓Use the Search option (as described above) to locate the required Subscriber's or CSID's Scheduled Events