❑The Accounts Without Email Report (designed and documented to comply with the Third Edition UL® 1981 Standard) will list those Subscribers (Accounts) without an Email address entered in the Subscribers tab of the Subscribers Form: Edit View
•Subscribers, who have had any information updated in their file, must be notified by Email via the MKS Connect Service when (at the end of that day) that change occurred
✓If an Account has no Email address in their file, that notification could not occur.
✓The Accounts Without Email Report may be list for All Accounts without an Email address in their file, or just for UL® Accounts Only.
✓Because this is a true Grid (see the Grids & Lists - Print Preview - Exporting Data chapter for much more information), it also offers the Filtering, Configuration, Sorting, Printing and Export capabilities that are inherently part of an MKMS based
•To access the Accounts Without Email report:
a)From the Backstage Menu System Select Reports and Choose Accounts Without Email, or
b)From the Quick Access Menu, Select Reports and Choose Accounts Without Email
✓The Subscribers Without Email dialog will be displayed as shown below.
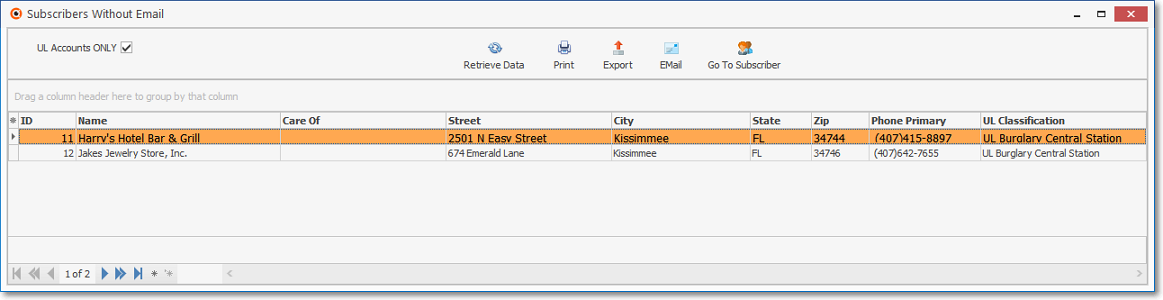
Subscribers Without Email dialog
❑Setting Up the Accounts Without Email dialog's data grid Options:
•UL Accounts Only -[ Check this box to list only those Accounts assigned a UL: Classification assigned, but have no Email address entered.
•Retrieve Data - Once the Setup has been completed, Click the Retrieve Data Icon to populate the Accounts Without Email Grid.
•Print - Once the data has been configured as needed, Click the Print Icon to open the Print Preview Form.
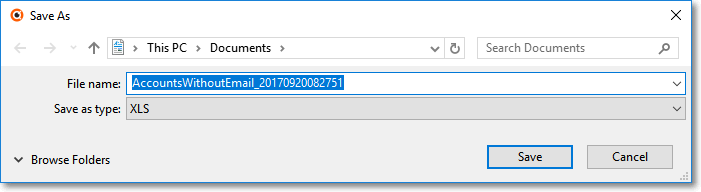
•Export - Once the data has been formatted, sorted and configured, which will occur based on the Option selected below, a copy of this report data may also be Exported, if required.
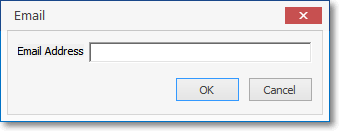
•EMail - Click the EMail Icon to enter an Email address for this Account.
•Go To Subscriber - Right-Click on any line item within the Grid to open the Radial Right-Click Menu to access the Go To Subscriber option which will open the associated Subscriber Form.
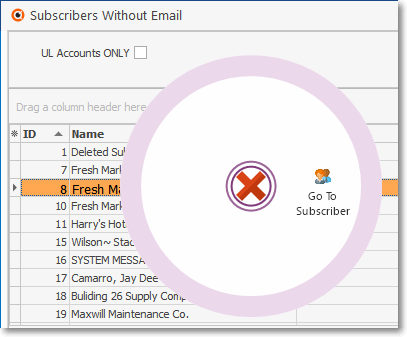
Subscribers Without Email data-grid - Radial Right-Click menu
•Go To Subscriber - To open a selected Subscriber Form, you may also Click on that line item and then Choose Go To Subscriber. on the Ribbon Menu at the top of the Accounts Without Email Form.
✓To add an Email address or make any other necessary changes, Click the Edit View Icon, and enter those changes where needed.
❑Other Configuration Options:
•Data Column Selection - Which columns of Accounts Without Email data will be displayed may be determined by the User.
✓Complete the Setup (see "Setting Up the Accounts Without Email dialog's data grid Options" above) before Choosing the columns to be displayed or removed.
✓Click the Asterisk on the far left of the Header to display the Available Columns list.
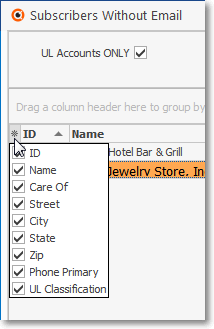
Available Columns list
✓Check, or remove the Check as appropriate.
▪Any item with a Check Mark will be included in the grid.
▪For better Printing and Exporting results, remove the Check Mark from any Column you want to be excluded.
•Setting the Order in which the data in the grid is Listed within the Accounts Without Email dialog's data grid:
✓The sorted order of the Accounts Without Email List is, by default, the Subscriber ID.
✓However, the column that determines the sorted order of the List may be easily changed, whenever needed.
✓To do so:
▪Click another column's Header Name to change the sorted order to by on that column of data, with the sorted order automatically set from lowest to highest (a-z or 1 - 9).
▪To change this newly selected column's sorted order from highest to lowest, Click that column's Header Name again.
▪An Arrow next to the Header Name indicates the column that is determining the sorted order of the Grid Data.
o~ indicates lowest to highest (a-z or 1 - 9)
o€ indicates highest to lowest (z-a or 9-1).
•Filters - As with all data grids, the data may be custom filtered.