❑The Prospect Status Form is used to define a set of descriptions for the Prospect's current Status as it relates to the Sales Cycle.
•A Prospect Status description is then assigned to each new Prospect entry.
✓Initially the Prospect Status for each new Prospect will be set to Default Status.
✓A Drop-Down Selection List is provided on the Prospect Form to Choose a different Prospect Status, when appropriate.
•Subsequently, that Prospect Status may be updated as each Prospect continues to move through the Sales Cycle.
➢Note: The Prospect Listing report may be filtered based on the Prospect Status assigned to each Prospect.
❑Entering a Prospect Status:
•To define Prospect Status descriptions:
a)From the Backstage Menu System Select Maintenance and Choose General and Click the General Maintenance option which displays the Maintenance Menu, or
b)From the Quick Access Menu, Select Maintenance and Choose General Maintenance to display the Maintenance Menu.
✓Once the Maintenance Menu is displayed, Select Prospects and Choose Prospect Status.
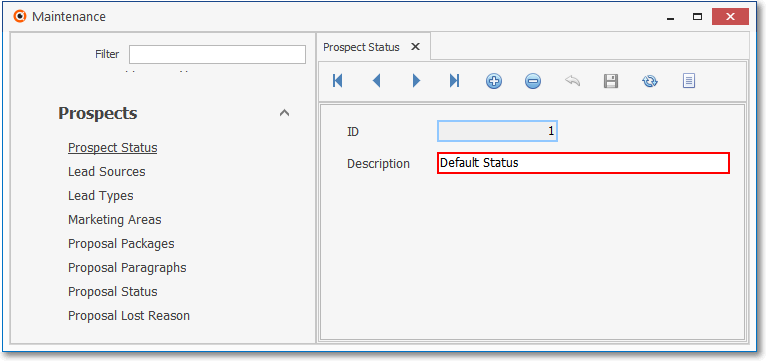
Prospect Status Form
✓This Prospect Status Form may be Re-sized by Dragging the Top and/or Bottom up or down, and/or the Right side in or out.
•Navigation Menu - The Navigation Menu is located at the top of the Prospect Status Form.

✓This Navigation Menu provides the normal Record Movement, New, Delete, Cancel, Save, and List options.
•Record Editing section - The details of the currently selected record are displayed below the Navigation Menu at the center (Main Body) of the Prospect Status Form.
•To define a Prospect Status which will be used to identify a Prospect's position in the Sales Cycle:
✓Click the ![]() Icon to start the Prospect Status entry in the Record Editing section.
Icon to start the Prospect Status entry in the Record Editing section.
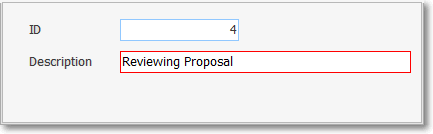
✓ID - This is the system assigned record number which is inserted automatically when the record is initially saved.
✓Description - Enter a Description for this Prospect Status.
▪The Description may up to 30 characters in length and include upper and/or lower case letters, numbers, spaces and normally used punctuation marks.
✓Click the ![]() Icon to record this Prospect Status entry.
Icon to record this Prospect Status entry.
✓The system will assign an ID.
•Repeat this process to define as many Prospect Status Descriptions as necessary.
![]() List Icon - The Navigation Menu also has a List option which provides a tabular view of the records.
List Icon - The Navigation Menu also has a List option which provides a tabular view of the records.
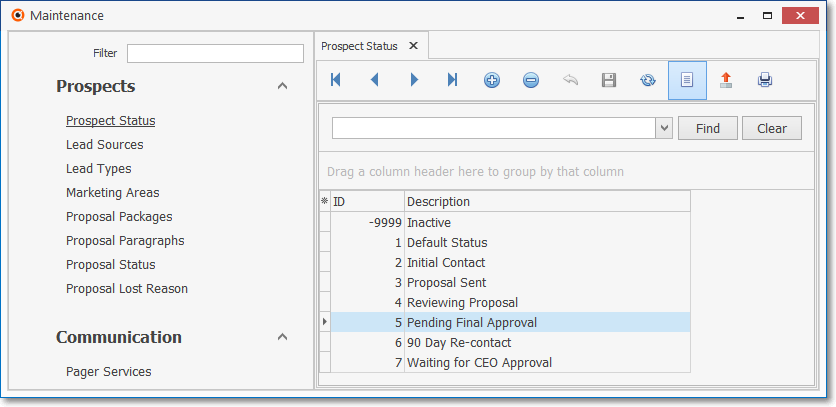
Prospect Status Form - List View
✓The columns of listed Grid Data may be rearranged, filtered, sorted, and exported as a PDF file and/or an Excel formatted file.

✓Find - Enter text to search for a specific record, then Click the Find option.
✓Clear - To remove the text to search for entry, Click the Clear option

Navigation Menu shown with the Icons for List, Export and Print
![]() List Icon - Click the List Icon again to Close the List View and return to the Record Editing View.
List Icon - Click the List Icon again to Close the List View and return to the Record Editing View.
![]() Export Icon - Click the Export Icon to create (one of there types of) a spreadsheet compatible file containing the Grid Data as it is currently organized and filtered.
Export Icon - Click the Export Icon to create (one of there types of) a spreadsheet compatible file containing the Grid Data as it is currently organized and filtered.
![]() Print - Click the Print Icon to display the Print Preview Form from which a custom report may be designed and "printed" as an Adobe® PDF File.
Print - Click the Print Icon to display the Print Preview Form from which a custom report may be designed and "printed" as an Adobe® PDF File.
❖See the Grids - Print Preview - Export Data chapter for complete information on using the List View, including its Export & Print options.