
|
Information Processing FormsThis Help File Page was last Modified on 01/26/2024 |


|
|
Information Processing FormsThis Help File Page was last Modified on 01/26/2024 |
 Scroll to Top of Page
 Print Topic
 Email Feedback
 Show/Hide Expanders
❑Information ("Data") is entered into MKMS through Data Entry Forms.
•Forms may contain a Title, Navigation and/or Action and Other options, a background area, data entry fields, tabs, and Icons used within that Form to access special functions or processes associated with the Form.
•These Forms - accessed by selecting the appropriate Menu option - accept information related to a specific topic or function, or perform a special process once the required data is entered.
•Many Forms have subordinate Forms or a Grid based List to gather and/or display details associated with the main Form.
✓As an example, a Sales Invoice Form (see the illustrations below) would contain an Invoice Number, Billing and Service address, Salesman, Sale Date and Date Due (among other items).
✓But its subordinate Detail Grid would contain (entered one at a time) each item sold, the quantity sold, its description, if and how it is taxed, etc.
✓As you enter each detail line item in a subordinate Detail Grid, the master Sales Form is automatically updated with the totals for all the (Detail) line items that were entered.
❑Field Border coloring:
•When the most Forms are being viewed:
✓The Data within Fields that are boxed in Blue are inserted and/or calculated automatically by the system and cannot be changed by the user on the Invoice Form.
✓Fields boxed in Red must be filled in before the Invoice will be accepted.

•Colors highlighting data fields have specific meanings:
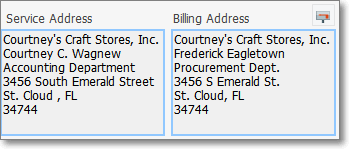
✓Teal boxed field - This type of boxed field is populated by the system, and once a value is entered, it cannot be changed on that Form (in a few cases the entry may be changed by making changes elsewhere within the program).
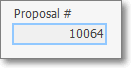
✓Teal box represents as field that is populated by the system which can never be changed within the currently displayed Form.

✓Red box indicates a Mandatory field that must be completed before the record can be saved and may also contain a Drop-Down Selection List option.

✓Dark Grey thin lined box indicates an optional entry that is available, and may be populated based on the specific circumstances, but is not required (or could be a field that is a system calculated that changes based on other entries which you do have control over).
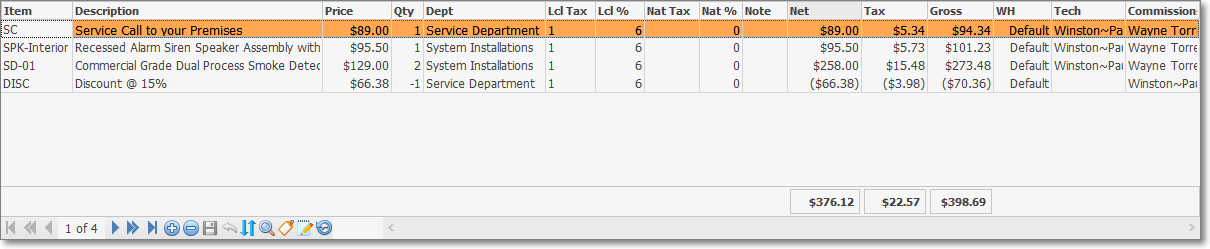
✓The selected Record will be highlighted in Orange .
✓The selected Field within a selected Record will be highlighted in White

✓A Detail Grid Ribbon Menu (located at the bottom of the Detail Grid) is usually provided.

Invoice Form - Detail Grid - Ribbon Menu
•Subordinate Forms and Detail Grids will usually update the summary/total values on the master Form, when that would be an appropriate action.
❑Using the Invoice Form as an Example
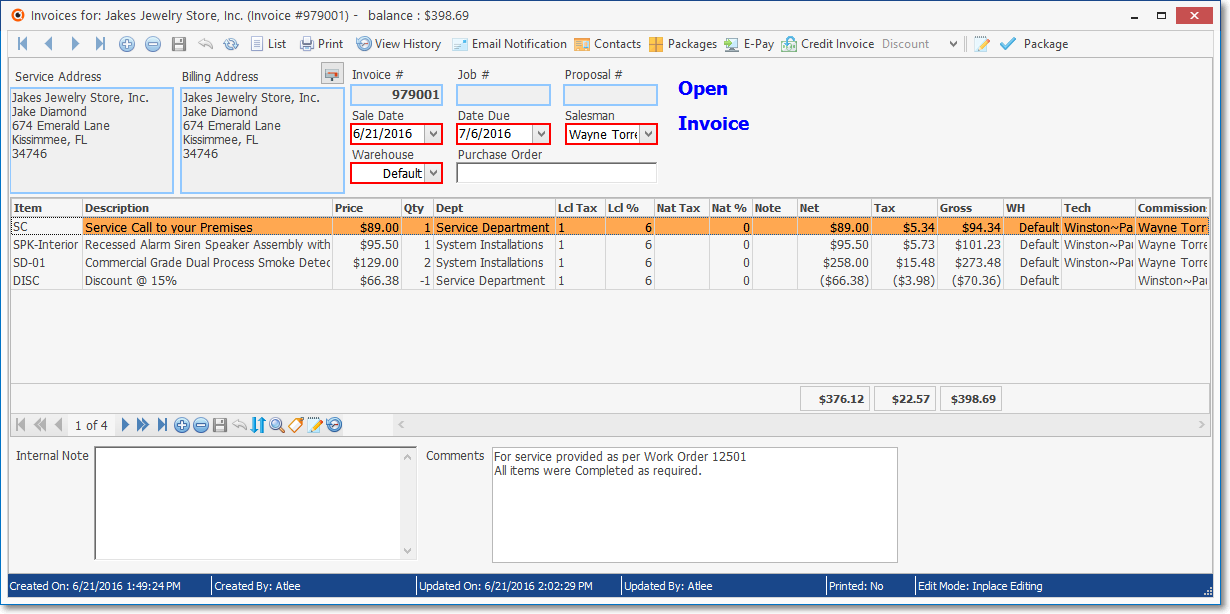
•The Invoice Form shown above exhibits some of these features:
✓In the example above, the master Form (a Sales Invoice) may have any number of Detail Line Items.
▪In this case, the Sale is started by Clicking on the Plus Sign (Insert) at the top of the Form which indicates you want to Insert ("+") a new Invoice.
▪A new Invoice Number, today's date (as the Sale Date) and other related information is automatically entered into the main Form.
✓Click the Insert Icon on the Detail Line Items Grid's Ribbon Menu (located at the bottom of the Detail Grid) to start a new Detail Line Item)
Invoice Form - Detail Grid - Ribbon Menu
✓You would complete the Sale Item, its Description, and Price for each Detail Line Item by entering the requested information in the Detail Grid.
▪An Item field's Drop-Down Selection List is available to Choose the appropriate entry by Selecting the Code or Description of the item.
▪The Department, Lcl Tax and Lcl %, etc., are optional and are entered only as needed.
✓Click the Save Icon on the Detail Grid's Ribbon Menu at the bottom of the Detail Grid (or Press Control + S) to save the Detail Line Item.
✓Press the Down-Arrow on your keyboard to start another (new) Detail Line Item.
•Once all of the required Detail Line Items are entered,
✓Click the Save Icon at the top of the Invoice Form to indicate you are finished making Invoice entries.

Invoice Form - Main Form - Ribbon Menu - Save Icon
❖Complete information about this Invoice Form is contained in the Invoices chapters and its associated sub-chapters