
|
CalendarThis Help File Page was last Modified on 08/21/2015 |


|
|
CalendarThis Help File Page was last Modified on 08/21/2015 |
 Scroll to Top of Page
 Print Topic
 Email Feedback
 Show/Hide Expanders
❑The Calendar option on the MKSales Menu displays an Employee Calendar and offers the Add Appointment, Today, Day, Month, and List options
•Today - Tap the Today button to display the Employee's Appointment schedule for Today (which is the default when this Calendar page is first displayed).
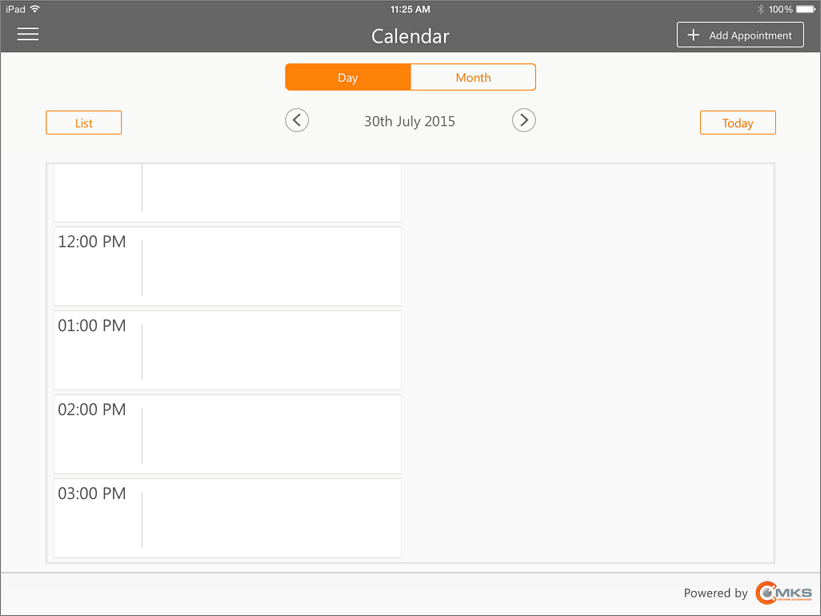
MKSales Application - Calendar page
•Day - Tap the Day button to display the Employee's Appointment schedule for one (selected) Date.
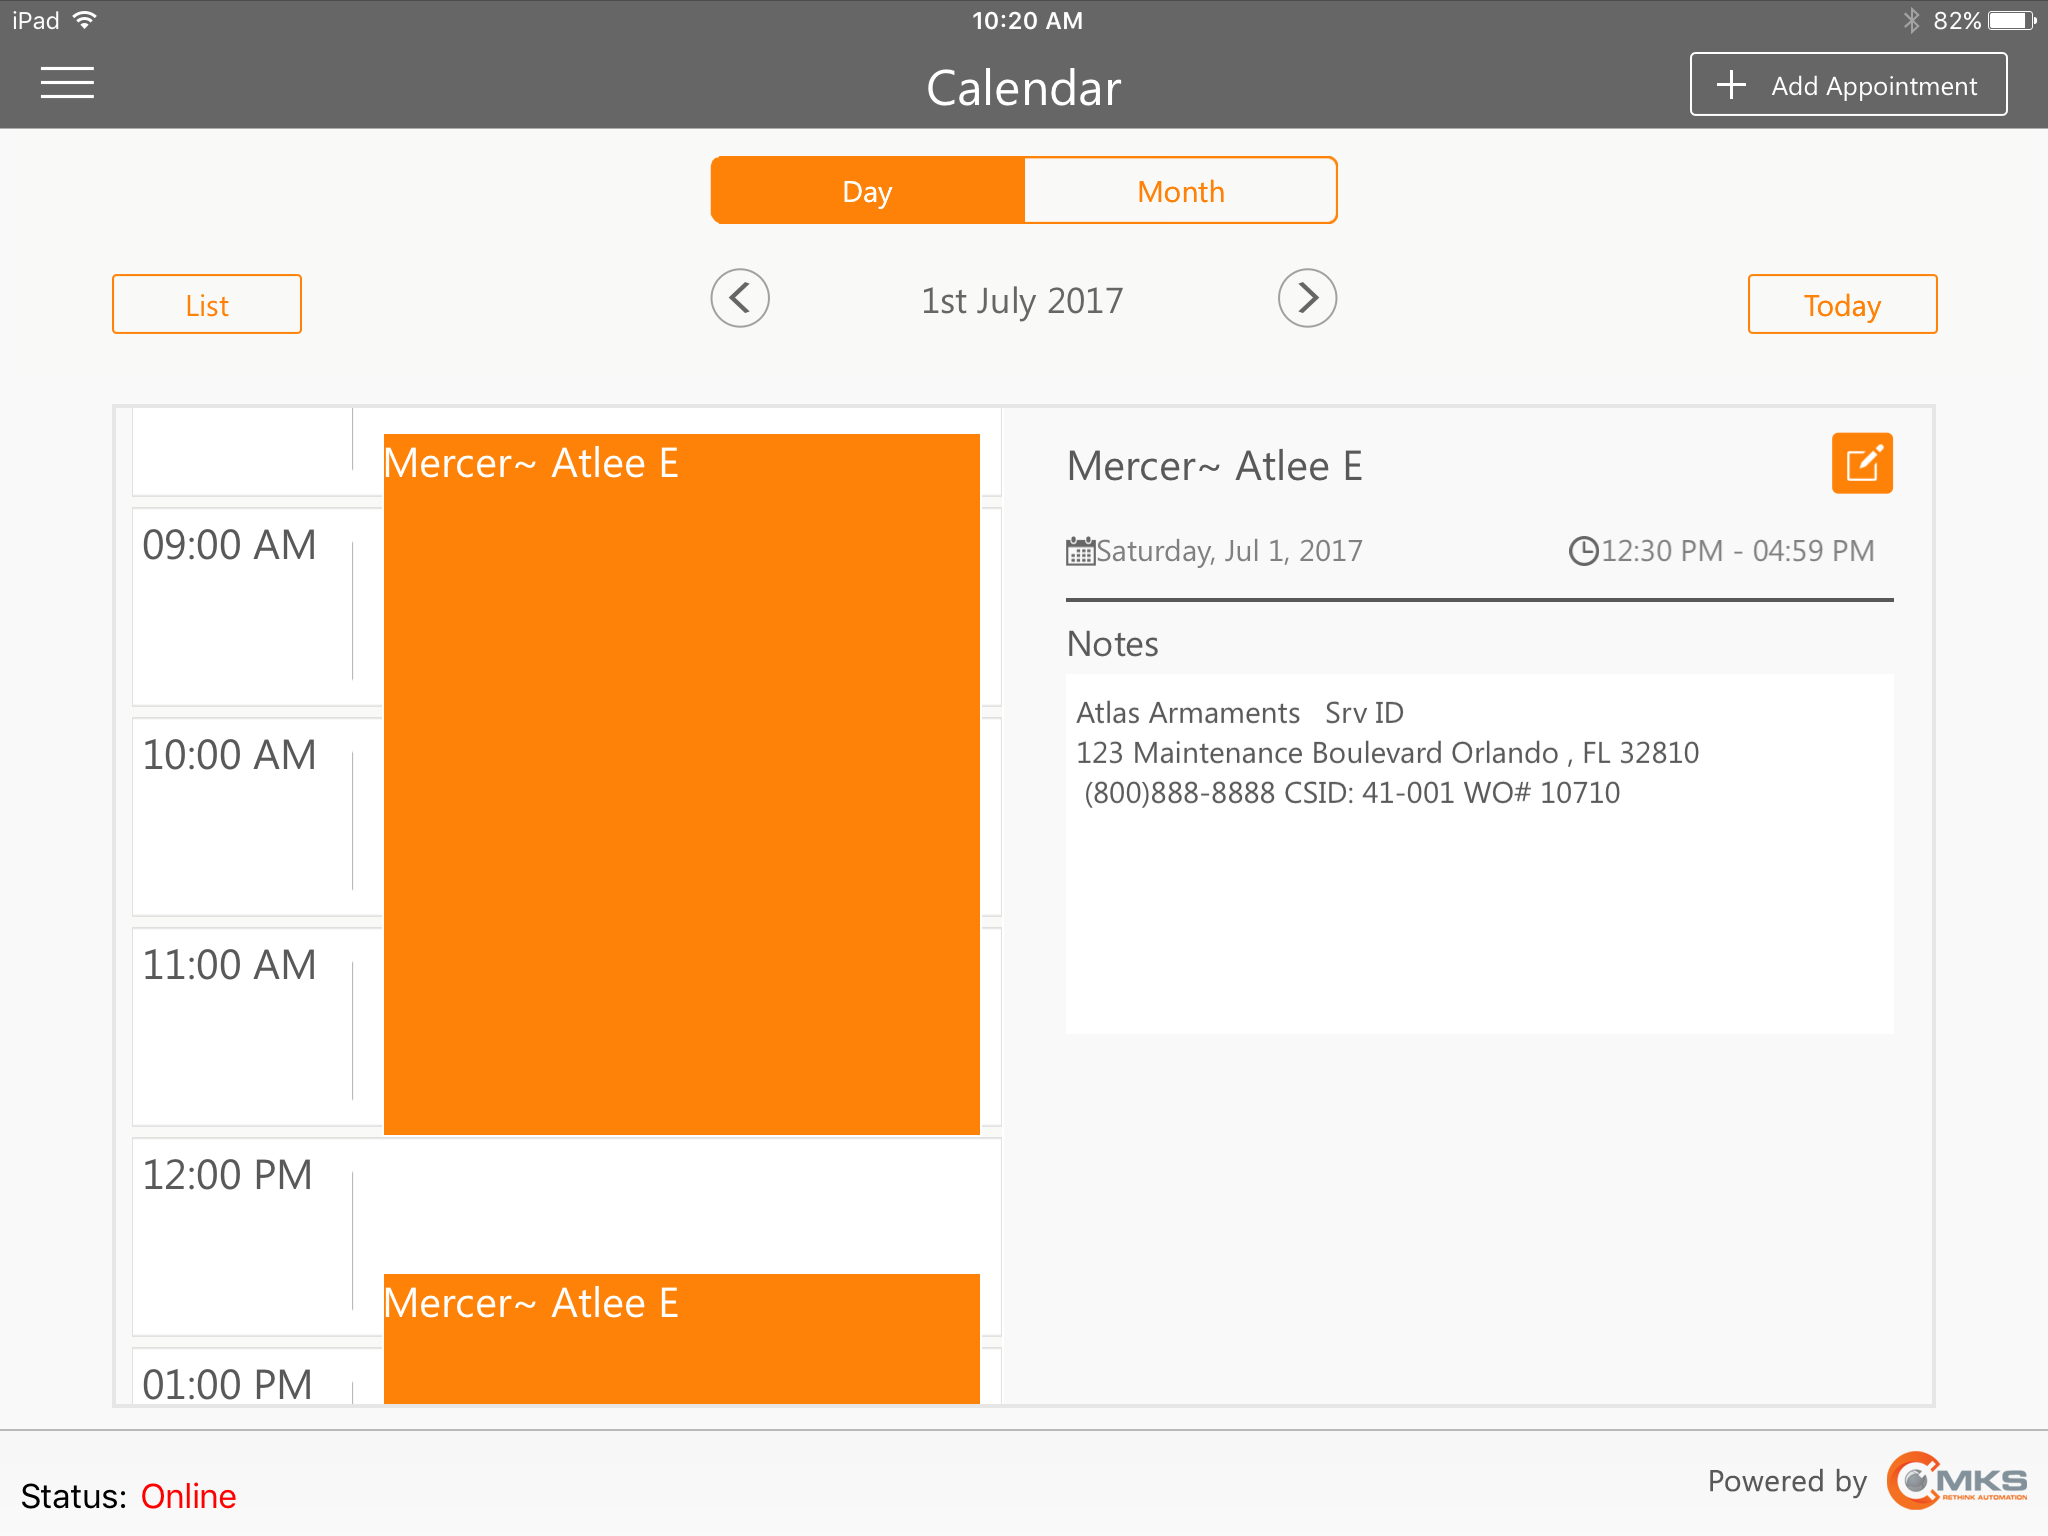
•Month - Tap the Month button to display the Employee's Appointment schedule for one selected Month, based on the currently selected Date (see Date Selection Arrows below).
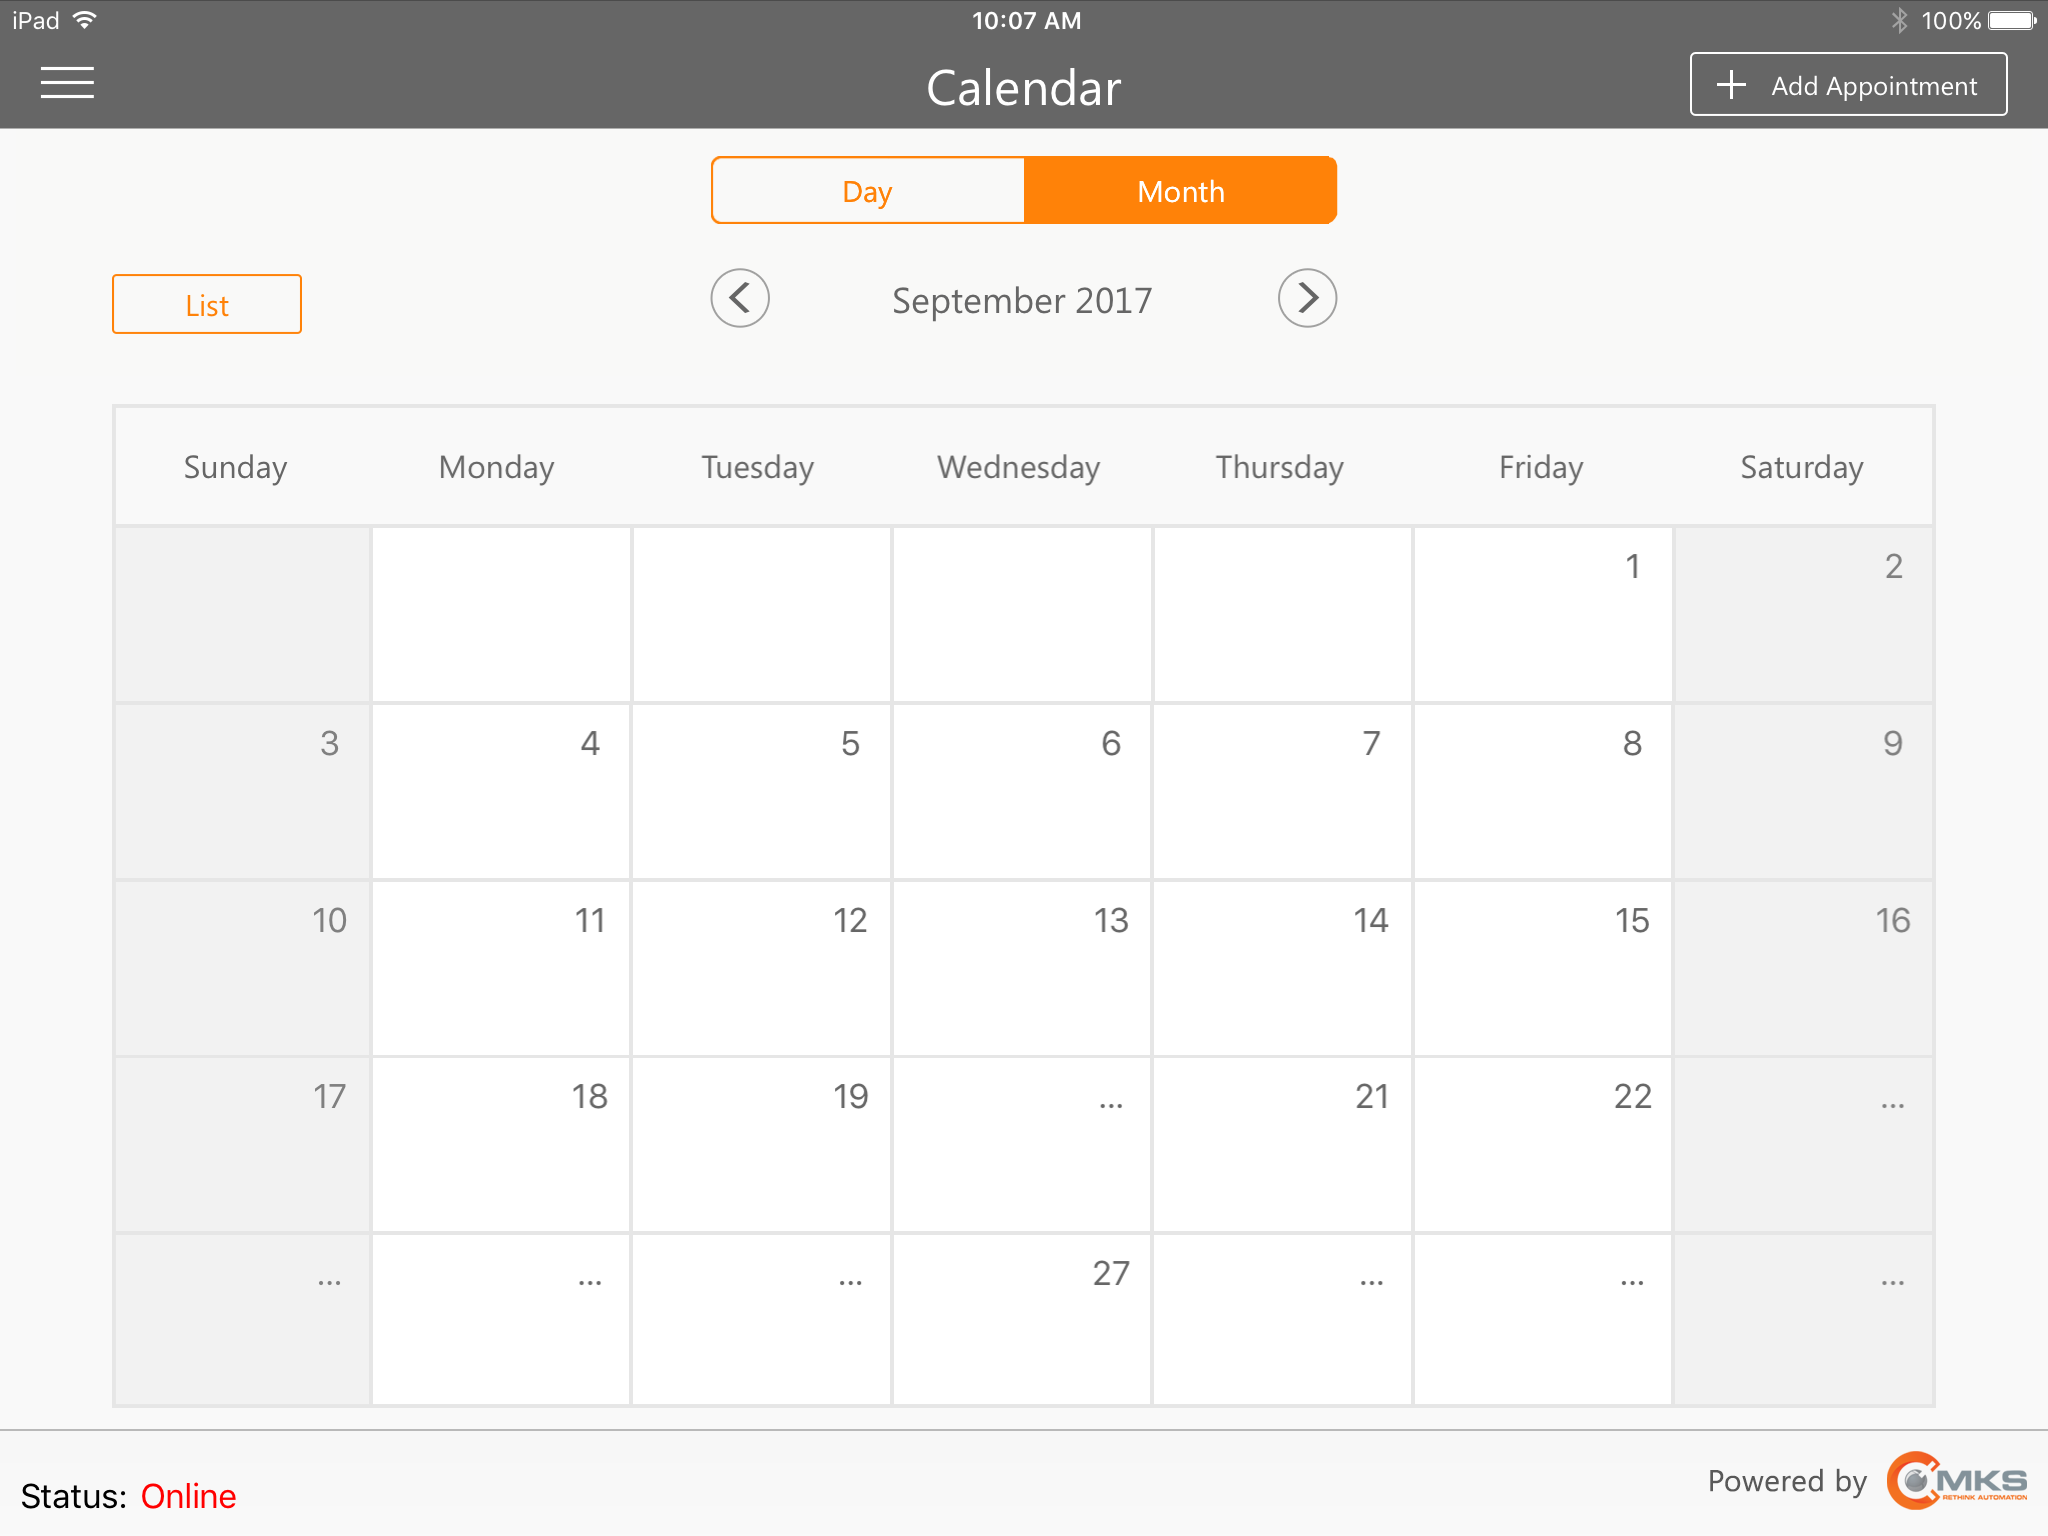
MKSales Application - Calendar page - Month view
•Date Selection Arrows - Tap one of these Arrows to display the Employee's Appointment schedule for a different Day (Month).
Calendar page - Date Selection Arrows
✓Day - To move the Calendar being displayed from one Day to the the next (previous), Tap the Day button, and then Tap the appropriate (left or right) Arrow
✓Month - To move the Calendar being displayed from one Month to the the next (previous), Tap the Month button, and then Tap the appropriate (left or right) Arrow
•List - Tap the List button to display all of the Employee's Appointments.
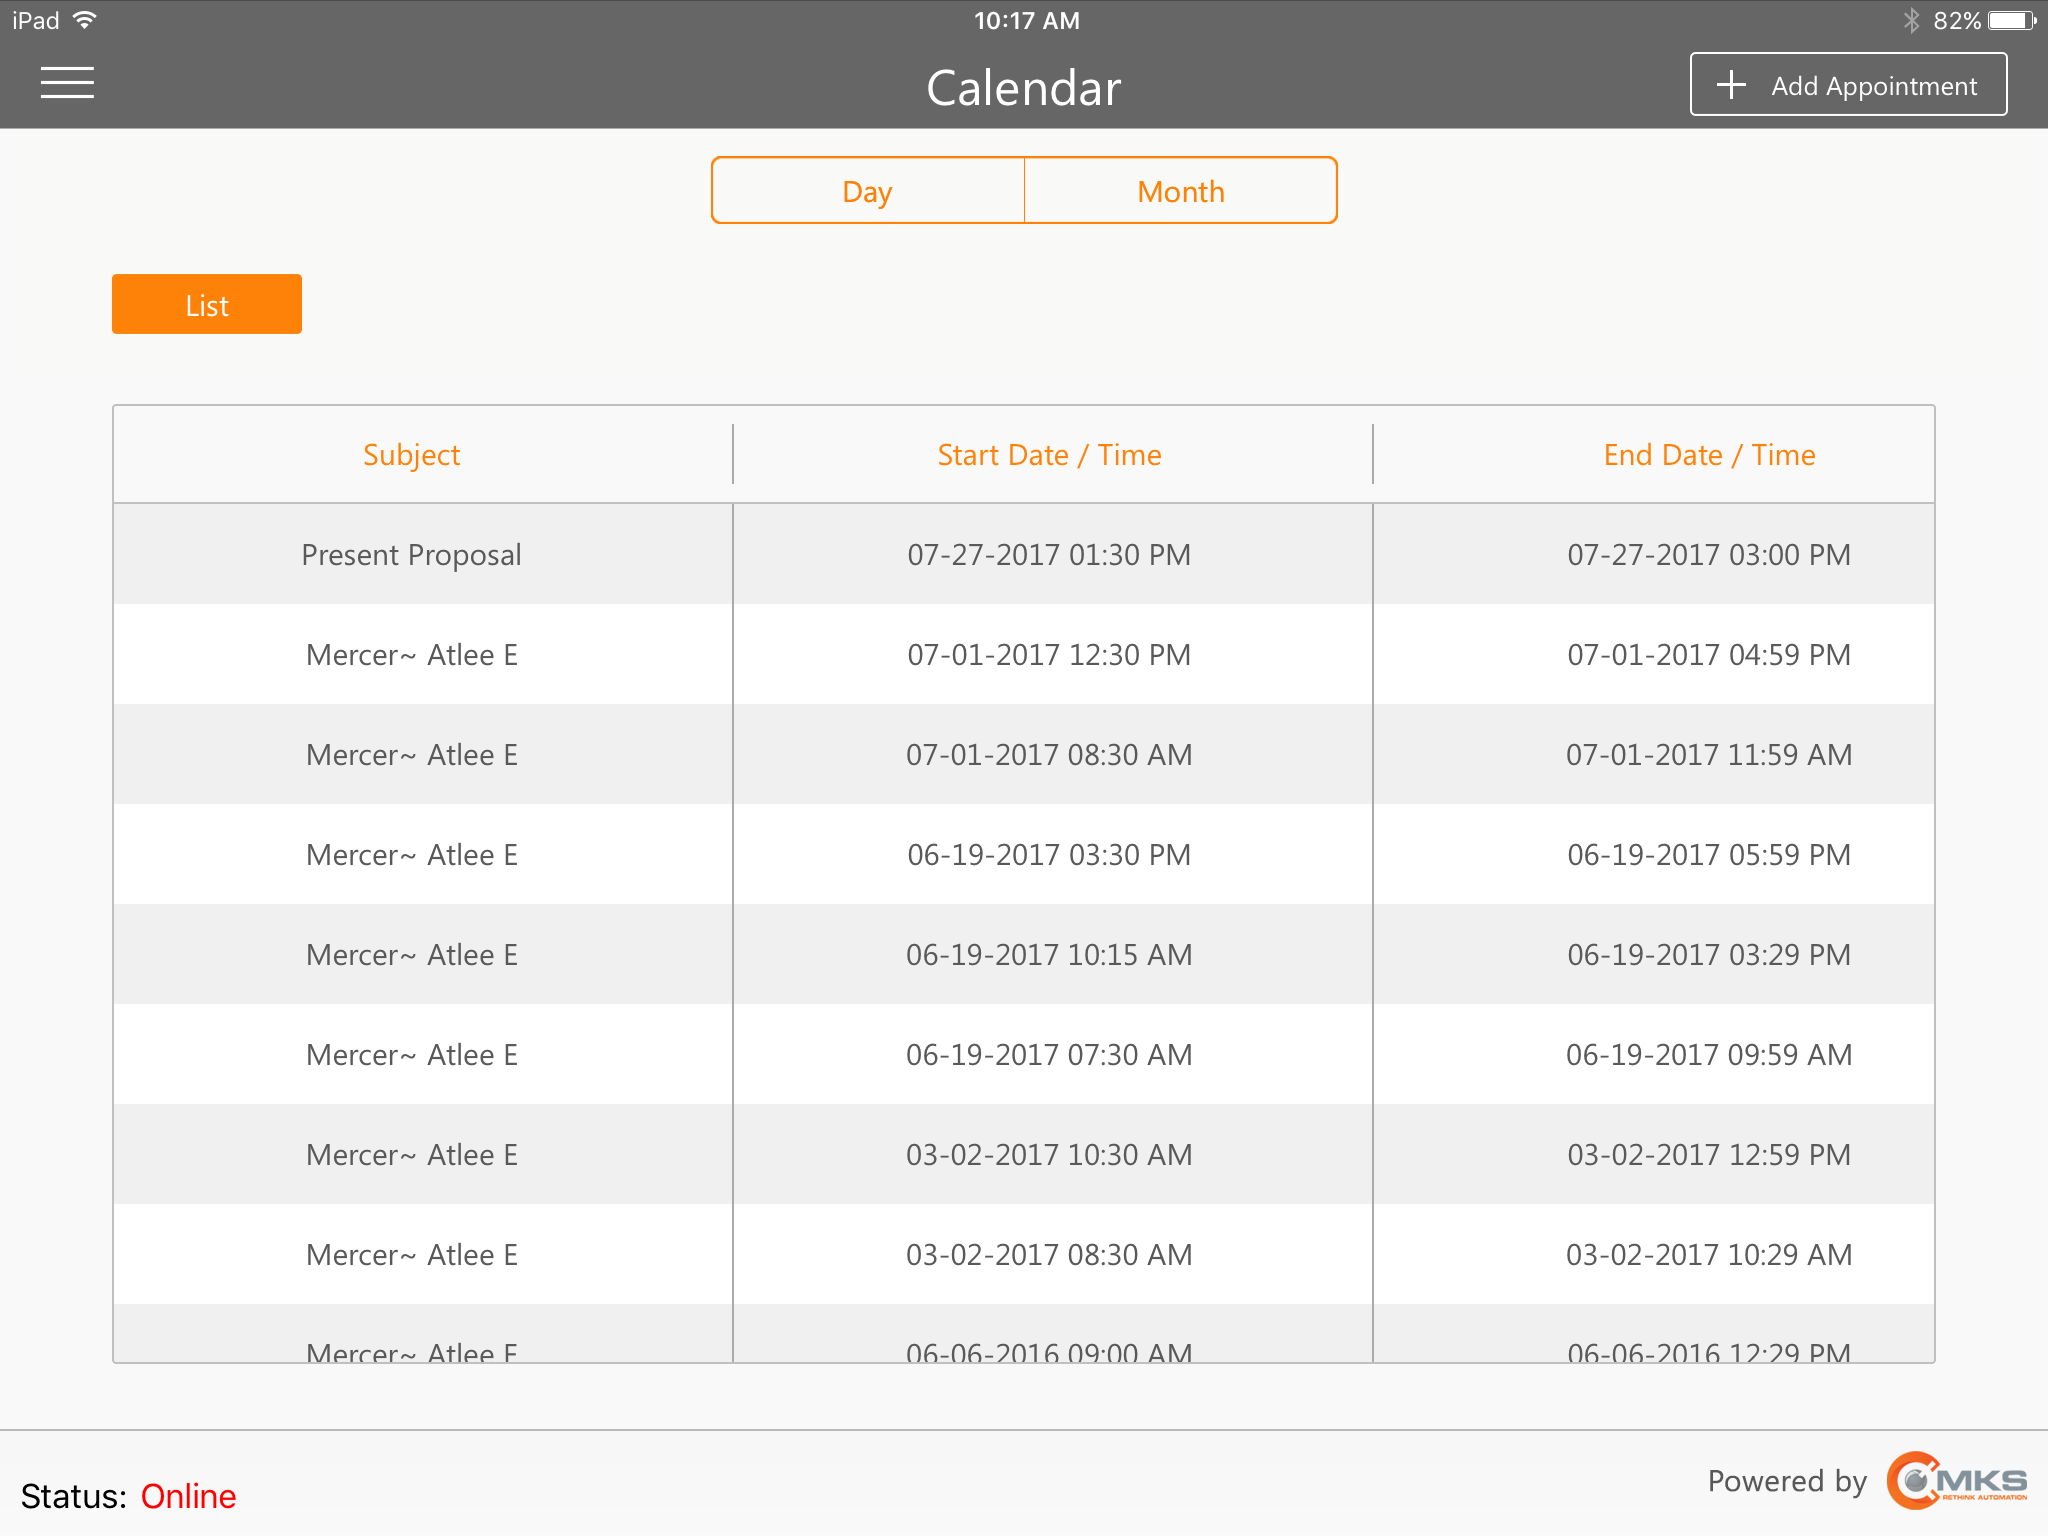
MKSales Application - Calendar page - List view
✓Tap the Day or Month button to exit the List and display that selected Calendar format.
•Add Appointment - Tap the  button to enter a new Appointment (see"Entering an Appointment" immediately below).
•Tap the button to enter a new Appointment for the currently logged in Salesperson.
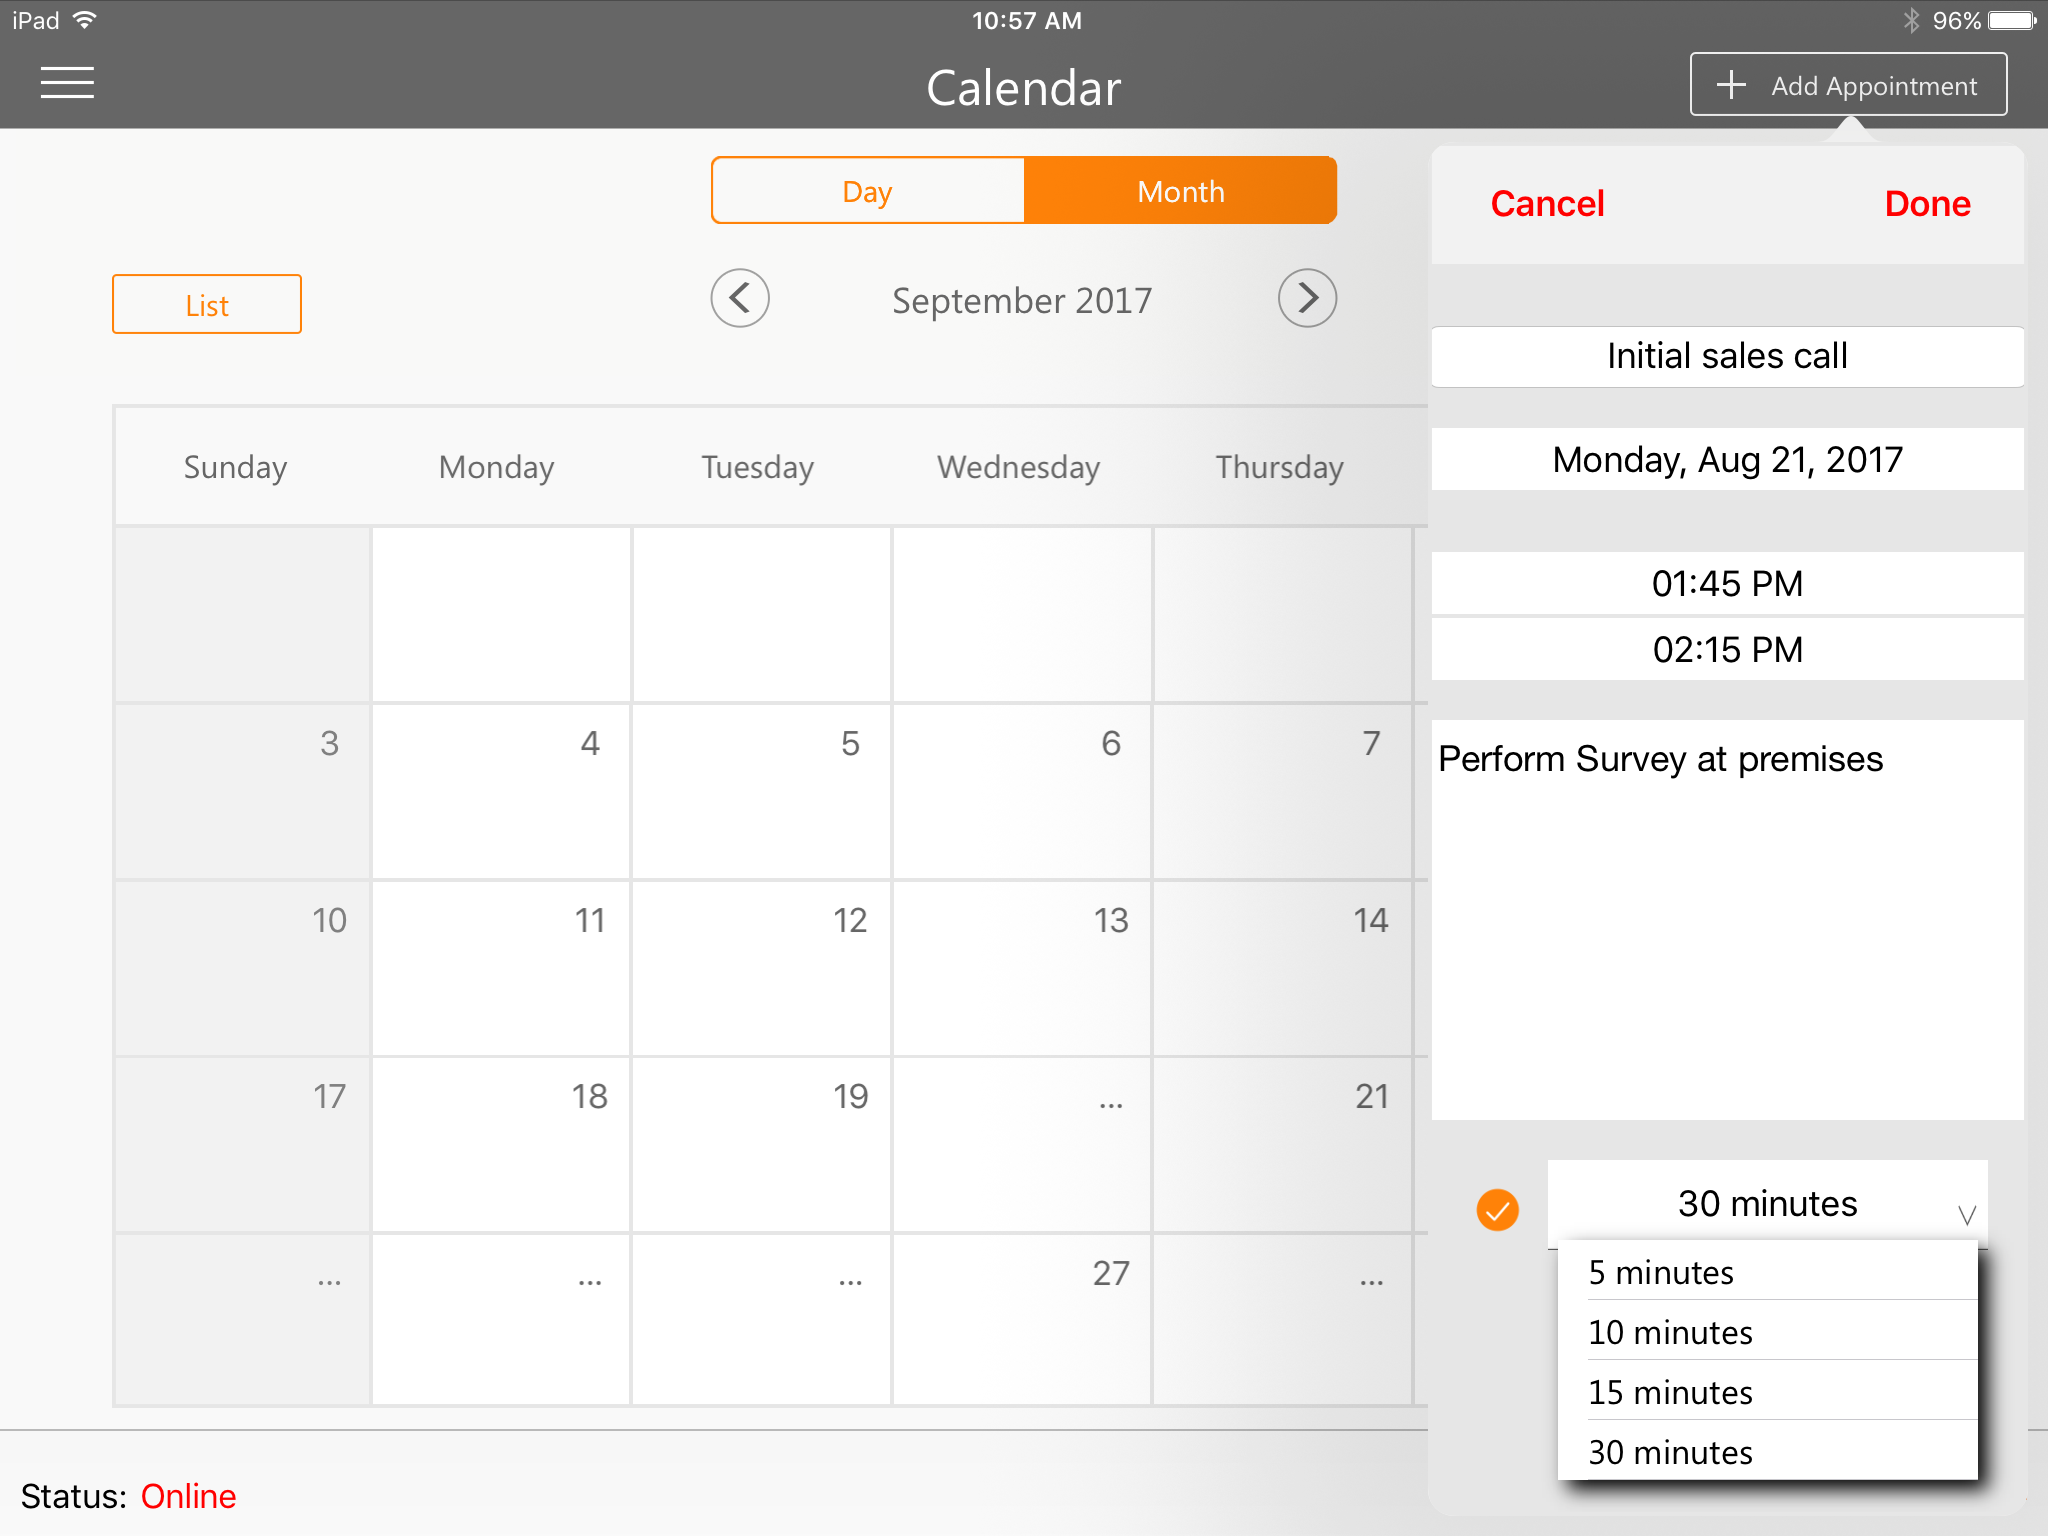
MKSales Application - Calendar page - Add Appointment dialog
✓Enter Subject - Enter the description for this New Appointment that you want displayed on the Calendar page.
▪You may enter up to 40 characters: including Upper and lower case letters, numbers, spaces and/or punctuation marks.
✓Date - By default, this will be Today.
▪Tap this field to Choose a different Date, if necessary.
✓Start Time - By default, this will be the current time.
▪Tap this field to Modify this Start Time, as needed.
✓End Time - By default, this will be 30 minutes after the current time.
▪Tap this field to Modify this End Time, as needed.
✓Enter Notes - Enter any additional comment or relevant note, as appropriate.
✓Select Reminder - Tap this circle to view a list of available Reminder Time Periods.
▪Tap the desired Reminder Time Period, if needed.
✓Done - Tap this button at the top of the Add Appointment dialog to save this New Appointment.
•The new Appointment will be added to the Calendar Page
✓Tap the Appointment to view the Appointment Details
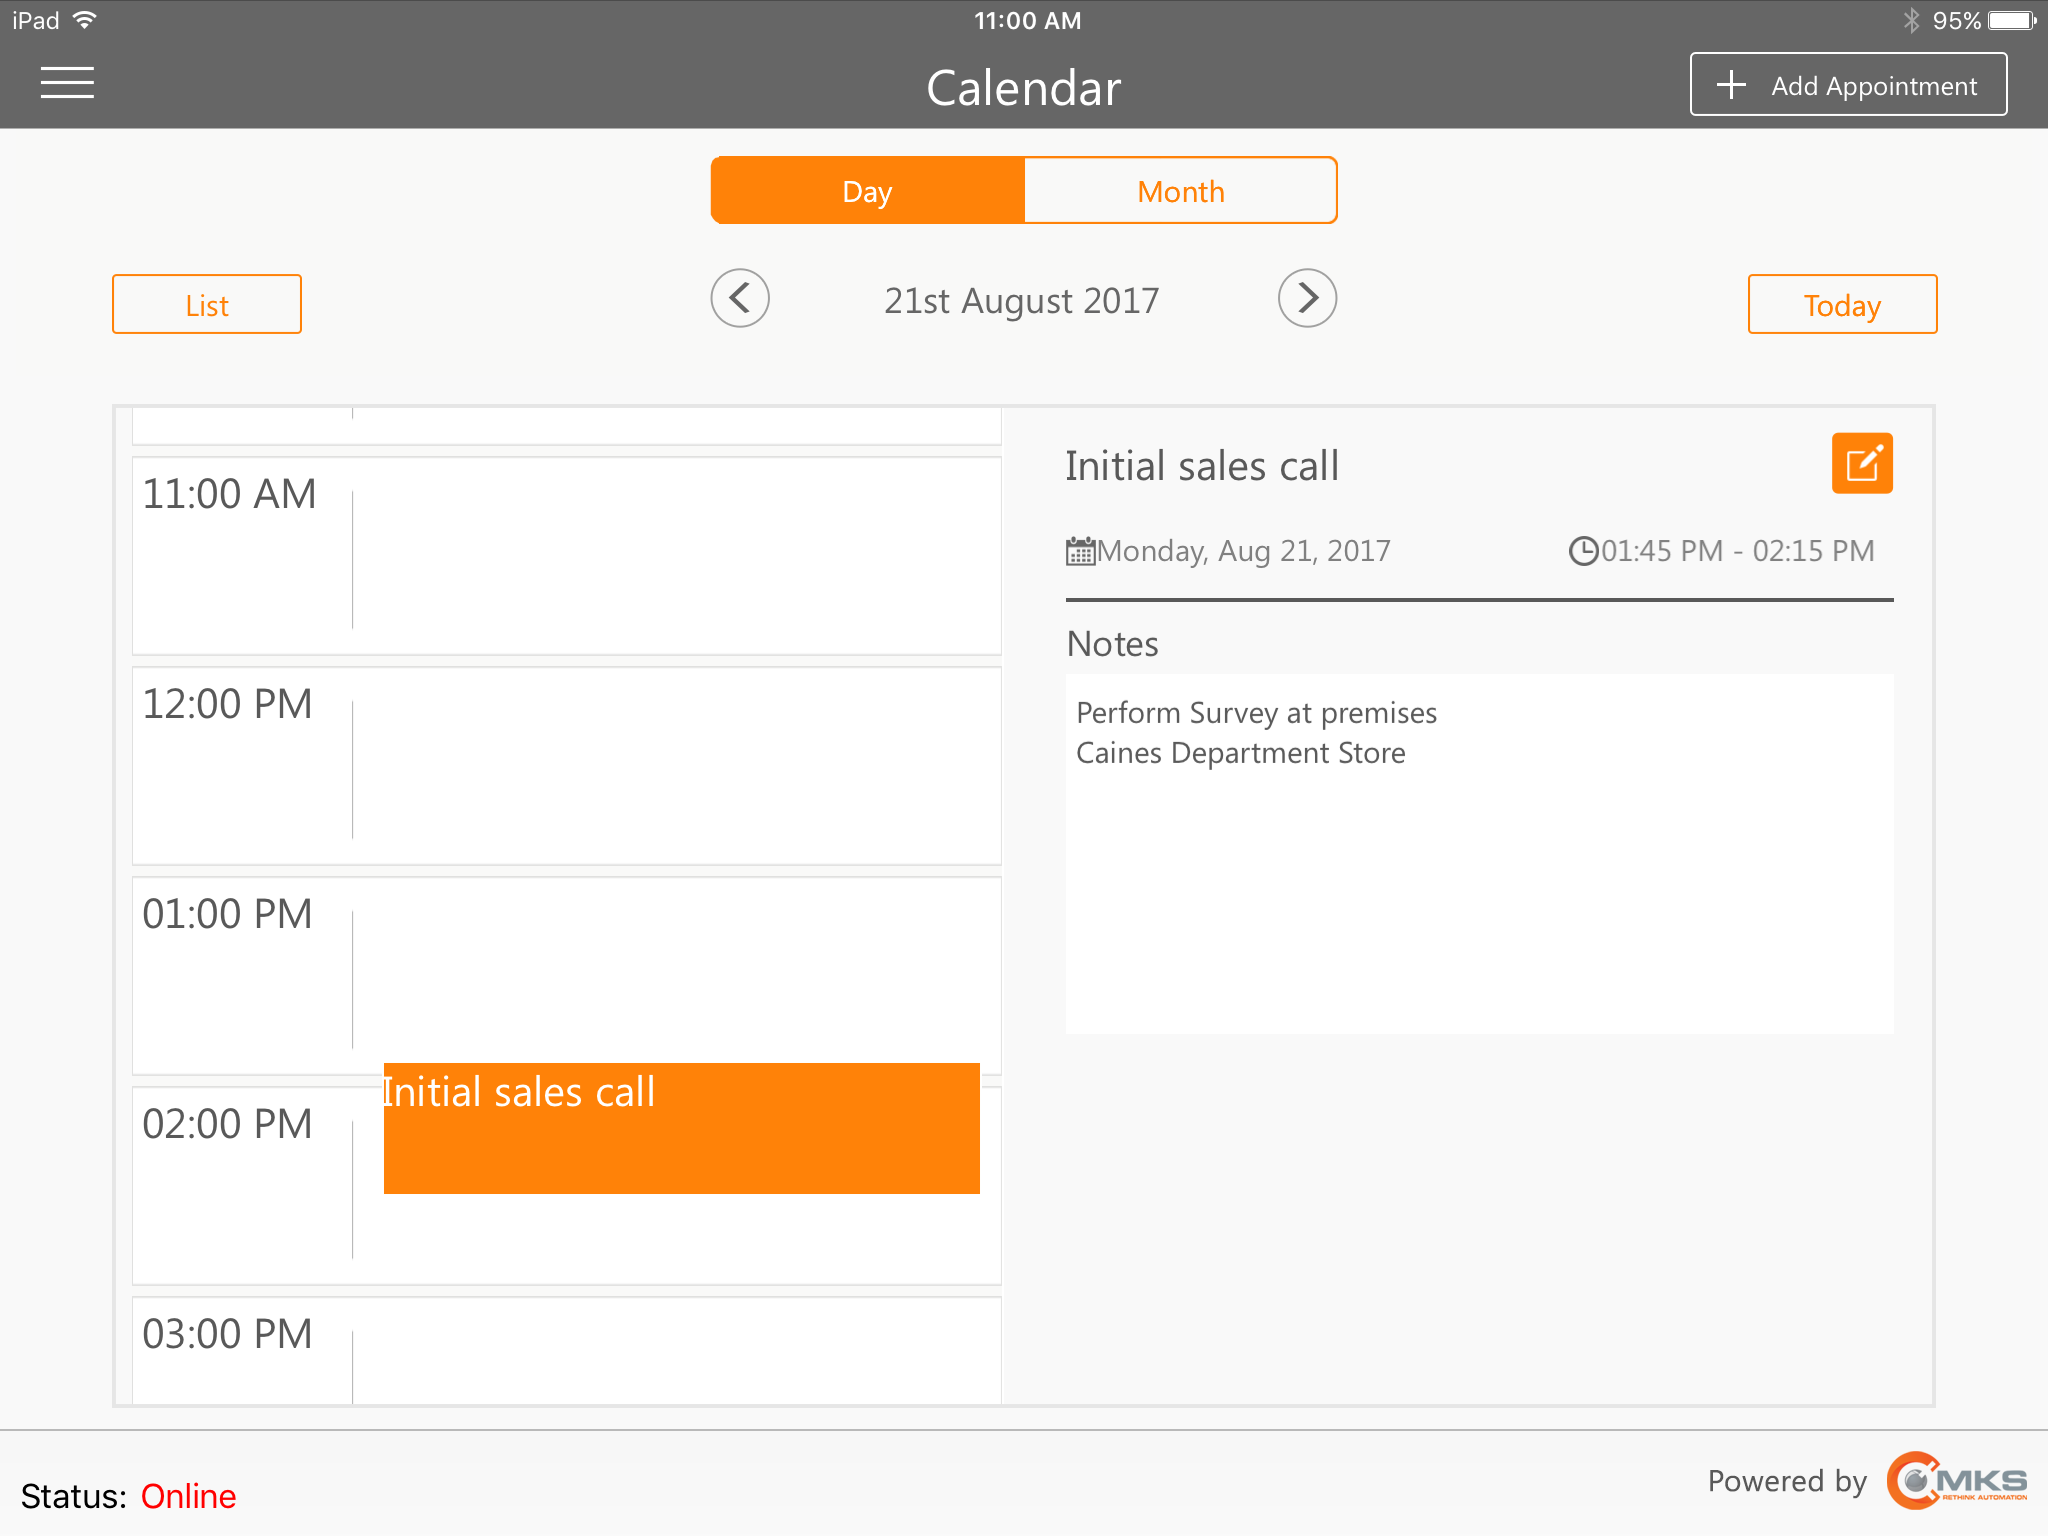
MKSales Application - Calendar page - new Appointment entry - Appointment dialog