❑The Users Login History Report (designed and documented to comply with the Third Edition UL® 1981 Standard) will list those Employees who have attempted to, or successfully Logged Into the MKMS database (mkmsdefault.db).
•Because this is a true Grid (see the Grids & Lists - Print Preview - Exporting Data chapter for much more information), it offers the Filtering, Configuration, Sorting, Printing, Emailing and Export capabilities that are inherently part of an MKMS based data grid
•To View, Print, and/or Export this UL Statistics Report Data:
a)From the Backstage Menu System Select Reports then Choose the Users Login History option
b)From the Quick Access Menu, Select Reports then Choose the Users Login History option
❑Setting Up the Users Login History Report dialog's data grid Options:
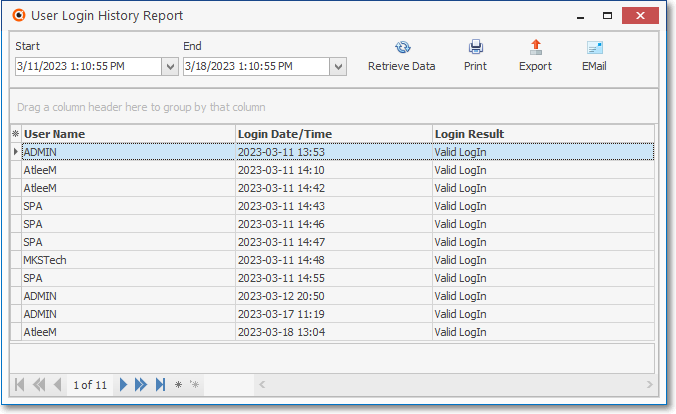
User Login History Report
•Retrieve Data - Once the Setup has been completed, Click the Retrieve Data Icon to populate the Users Login History Report Grid.
•Print - Once the data has been configured as needed (see the "Other Configuration Options" discussion below), Click the Print Icon to open the Print Preview Form.
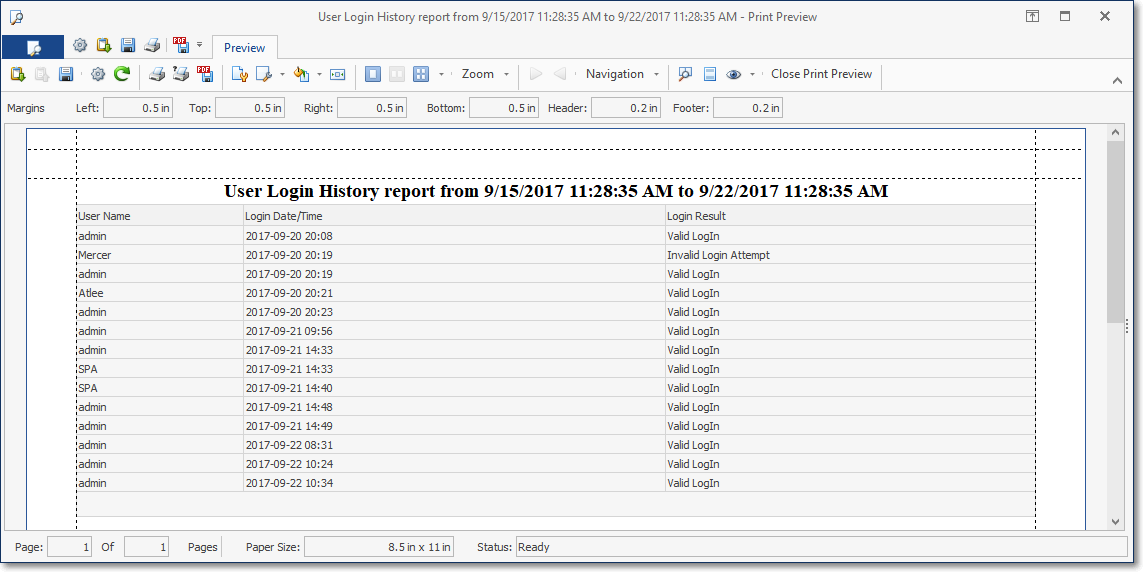
UL Statistics Report - Print Preview dialog
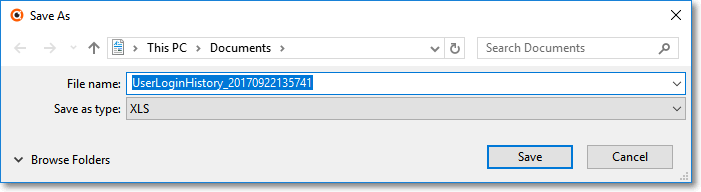
•Export - Once the data has been formatted, sorted and configured, which will occur based on the Option selected below, a copy of this report data may also be Exported, if required.
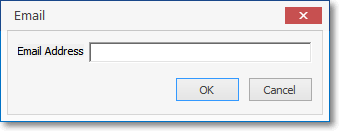
•EMail - Once the data has been formatted, sorted and configured, which will occur based on the Option selected below, Click the EMail Icon to send this data as a PDF attachment to an Email address of your choosing.
❑Other Configuration Options:
•Data Column Selection - Which columns of Users Login History data will be displayed may be determined by the User.
✓Complete the Setup (see "Setting Up the Users Login History Report dialog's data grid Options" above) before Choosing the columns to be displayed or removed.
✓This is done because the actual list of Available Columns will vary based on the report Option selected above.
✓Click the Asterisk on the far left of the Header to display the Available Columns list.
✓The Columns that will actually contain data will vary based on the report Option selected above.
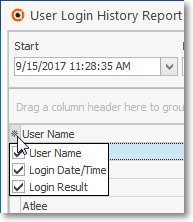
Available Columns list
✓Check, or remove the Check as appropriate.
▪Any item with a Check Mark will be included in the grid - even if the Column Name is blank.
▪For better Printing and Exporting results, remove the Check Mark from any Column that should be excluded (e.g., any items in the Grid with no Column Name).
•Setting the Order in which the data in the grid is Listed within the Users Login History Report dialog's data grid:
✓The default sorted order of the Users Login History List is based on the Login Date/Time.
✓However, the column that determines the sorted order of the List may be easily changed, whenever needed.
✓To do so:
▪Click another column's Header Name to change the sorted order to by on that column of data, with the sorted order automatically set from lowest to highest (a-z or 1 - 9).
▪To change this newly selected column's sorted order from highest to lowest, Click that column's Header Name again.
▪An Arrow next to the Header Name indicates the column that is determining the sorted order of the Grid Data.
o~ indicates lowest to highest (a-z or 1 - 9)
o€ indicates highest to lowest (z-a or 9-1).
•Filters & Groups - As with all data grids, the data may be grouped by User Name or Login Result; and/or custom filtered (perhaps by User Name or Login Result).
✓This is a custom reports designed to comply with the Third Edition UL® 1981 Standard.
❖See the Grids & Lists - Print Preview - Export Data chapter for complete information on using those additional Sort, Filter, Print and Export options.