❑The Zone Trigger Subscribers Grid is used to identify the Subscribers and Equipment that will provide the CSID Zone Trigger functionality within MKMSCS.
•To access the Zone Trigger Subscribers dialog,
a)From the Backstage Menu System Select Maintenance and locate the secondary Monitoring Menu, or
b)From the Quick Access Menu, Select Maintenance and Choose Monitoring Menu.
✓Once in the Monitoring sub-menu, then Click on the Zone Trigger Subscribers option.
❑Understanding the Zone Trigger Subscribers Grid
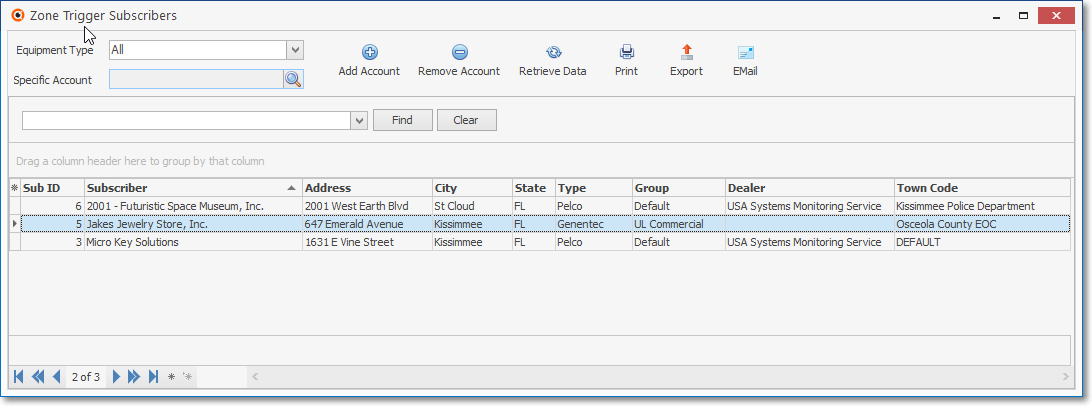
Zone Trigger Subscribers Grid
•Zone Trigger Subscribers Grid - Ribbon Menu options:
✓Equipment Type - By default All Equipment Types in use any Subscriber will be included
▪Use the Drop-Down Selection List provided to Choose to limit the contents of this Zone Trigger Subscribers Grid to a specific Equipment Type
✓Specific Account - By default All Subscribers will be included
▪Click the Search icon provided open the Search Accounts dialog to locate and Choose a specific Subscribers
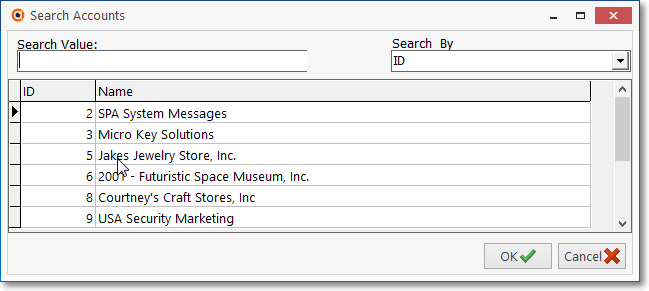
Search Accounts dialog
▪Locate the required Subscriber.
▪OK ü - Click the OK button the make that selection.
✓Retrieve Data - Optionally, after any Equipment Type (Hardware Provider) and/or a Specific Account selection is made, Click the Retrieve Data Icon to populate the Zone Trigger Subscribers data grid.
✓Add Account - Additional Subscribers may be added to this List.
▪Click the Add Accounts option

Zone Trigger Subscriber - F2 Subscriber Search option
▪Select Subscriber - Click on the Search (F2) button to open the F2 Subscriber Search dialog.
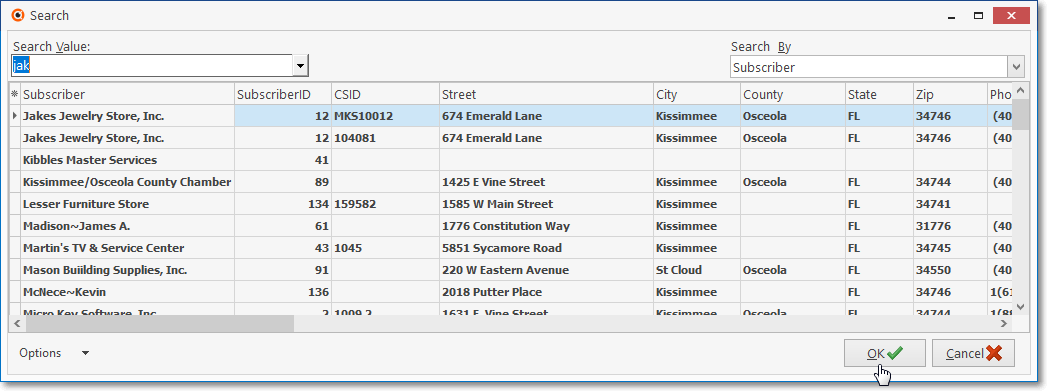
F2 Subscriber Search dialog with selection made
oLocate the required Subscriber.
oOK ü - Click the OK button the make that selection.
✓A Subscriber Zone Trigger Equipment Assignment dialog will be populated with the selected Subscriber's information.
▪Select Hardware - Using the Drop-Down Selection List provided, Choose the appropriate Zone Trigger Equipment (Hardware Provider)
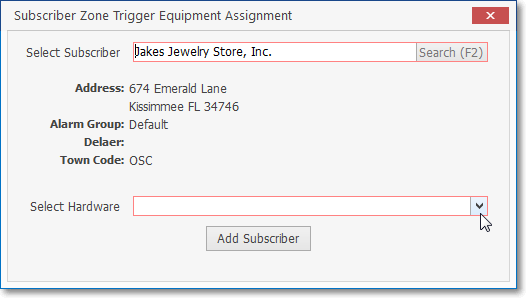
Zone Trigger Subscribers - Select Hardware dialog
▪The selected Zone Trigger Equipment (Hardware Provider) will be inserted in the Select Hardware field.
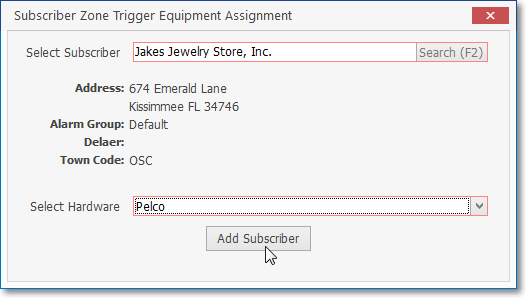
Zone Trigger Subscribers - Hardware Selection made
▪Add Subscriber - Click the Add Subscriber button to attach this Zone Trigger Equipment (Hardware Provider) to the selected Subscriber's record.

Subscriber Zone Trigger Equipment Assignment - Confirmation
▪OK - Click the OK button to complete the insertion and close the Subscriber Zone Trigger Equipment Assignment dialog
▪The Zone Trigger Subscribers Grid will be displayed with the new record inserted.
✓Remove Account - Subscribers may be deleted from this List. To do so:
▪Select the Subscriber Account to be removed
▪Click the Remove Account option
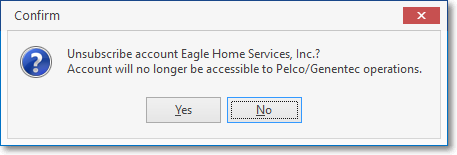
Zone Trigger Subscribers - Deleted Account Conformation
▪Click Yes or No as appropriate.
✓Print - Once the data has been formatted, filtered, sorted and configured as needed, a copy of this Zone Trigger Subscribers data grid data may be printed (see Understanding the Print Preview Dialog chapter).
✓Export - Once the data has been formatted, filtered, sorted and configured as needed, Click the Export Icon to make an Excel spreadsheet, Text or comma delimited copy of this Zone Trigger Subscribers data grid data.
✓EMail - Once the data has been formatted, filtered, sorted and configured as needed, Click the EMail Icon to send this data as a PDF attachment to an Email address of your choosing.