❑Alarm Stack Maintenance (refer to Batch Alarm Clear in item 5.10 of the Third Edition UL® 1981 Standard):
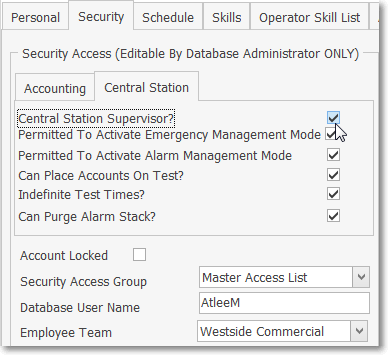
•The User must be identified as a Central Station Supervisor on the Security tab of the Employee Form to access the Stack Maintenance option on the Alarm Stack Form.
•Select the Stack Maintenance option to reset (all or specified) Signal Status settings, and/or selectively or globally purge the Alarm Stack.
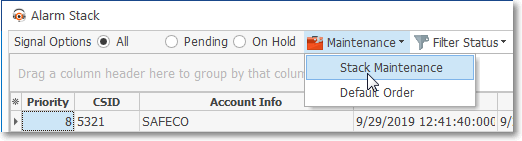
Alarm Stack - Maintenance Menu - Stack Maintenance option
❑Alarm Stack Maintenance tabs:
•The Alarm Stack Maintenance Form has two tabs:
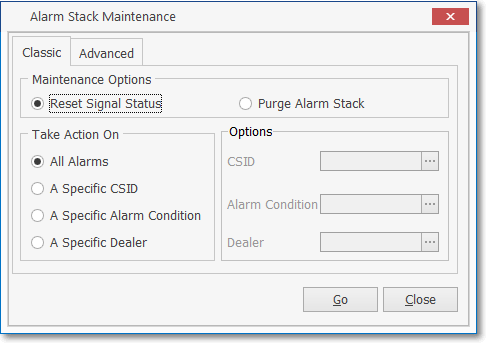
Alarm Stack Maintenance dialog - Classic tab
1.Classic - This tab - the original method used for Stack Maintenance procedures - offers the following options:
▪Maintenance Options - Choose which actions in the Alarm Stack will be taken.

a)Reset Signal Status - Click this button to Reset the Signal Status for the selected items in the Alarm Stack.
b)Purge Alarm Stack - Click this button to Delete the selected items from the Alarm Stack.
oFire Alarms can never be Purged!
▪Take Action On - Select which items in the Alarm Stack will be affected by the choice (i.e., Reset vs. Purge) made above.
oAll Alarms - Click this button to include every item in the Alarm Stack.
All Alarms selected on Alarm Stack Maintenance Form's Classic tab
oA Specific CSID - Click this button to include all items in the Alarm Stack with the selected Subscriber Panel's CSID.
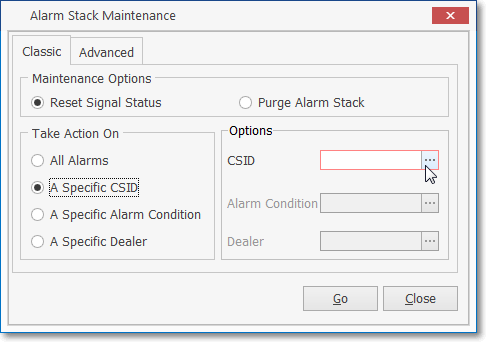
Specific CSID selected on Alarm Stack maintenance Form
> Click the Ellipse and the Search dialog will be displayed.
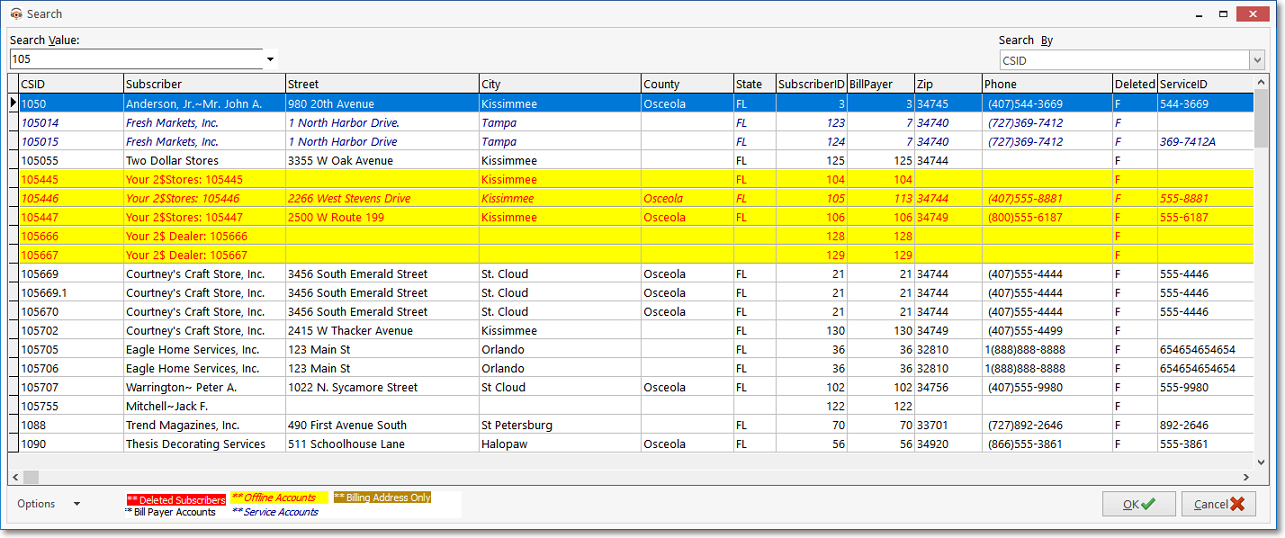
Subscriber Search dialog opened when Ellipse is selected
> Search By - Subscriber is the default Search By method.
i.Using the Drop-Down Selection List provided, Choose the Search By method you want to use.
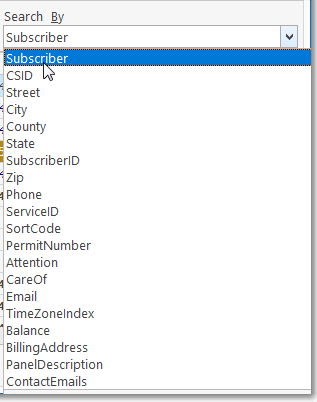
Search By selection list for the Subscriber Search Form
> Search Value - Based on the Search By method you selected, type your Search Value.
i.As you enter characters, the record closest to what you've typed will be displayed.
ii.Click on the desired record.
iii.Click OK to execute that selection and Close the Search dialog.
iv.The selected CSID will be inserted into the Specific CSID field.
oA Specific Alarm Condition - Click this button to include all items in the Alarm Stack with the selected Alarm Condition Code.
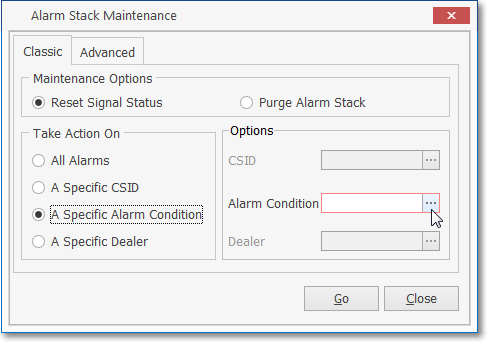
Specific Alarm Condition selected on Alarm Stack Maintenance Form
> Click the Ellipse and the Search dialog will be displayed.
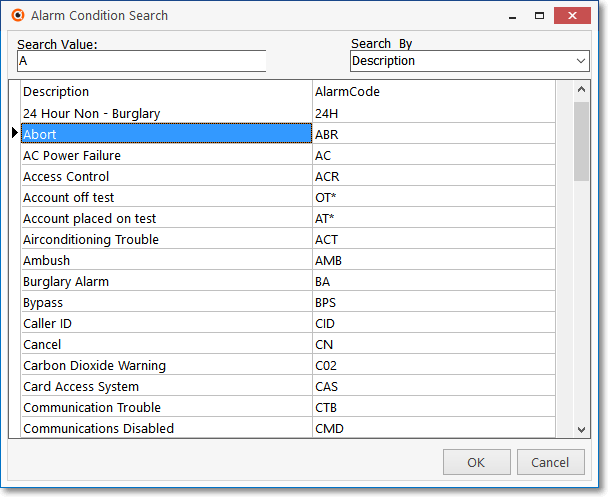
Alarm Condition Search dialog opened when Ellipse is selected
> Search By - Description is the default Search By method, the Alarm Code is the other.
i.Using the Drop-Down Selection List provided, Choose the Search By method you want to use.
> Search Value - Based on the Search By method you selected, type your Search Value.
i.As you enter characters, the record closest to what you've typed will be displayed.
ii.Click on the desired record.
iii.Click OK to execute that selection and Close the Search dialog.
iv.The selected Alarm Condition will be inserted into the Specific Alarm Condition field.
oA Specific Dealer - Click this button to include all items in the Alarm Stack associated with the selected Dealer.
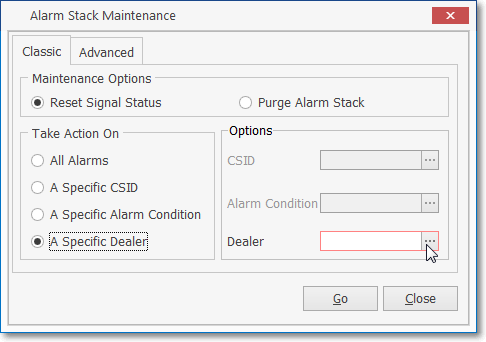
Specific Dealer selected on Alarm Stack Maintenance Form
> Click the Ellipse and the Search dialog will be displayed.
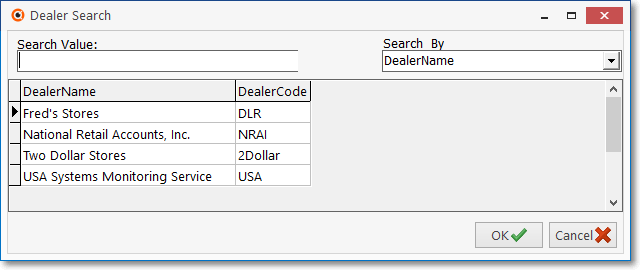
Dealer Search dialog opened when Ellipse is selected
> Search By - Dealer Name is the default Search By method, the Dealer Code is the other.
ii.Using the Drop-Down Selection List provided, Choose the Search By method you want to use.
> Search Value - Based on the Search By method you selected, type your Search Value.
v.As you enter characters, the record closest to what you've typed will be displayed.
vi.Click on the desired record.
vii.Click OK to execute that selection and Close the Search dialog.
viii.The selected Alarm Condition will be inserted into the Specific Dealer field.
▪Click the Go button to Take the Action on the Chosen Maintenance Option.
![]()
oConfirm the action is to be taken.
> If Reset was chosen:
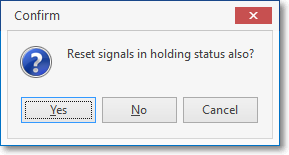
Confirm the Reset request
i.Click the Yes button to reset all of the Selected Alarm Signals to Pending status,
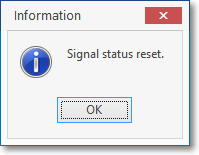
ii.A confirmation message will be displayed - Click OK.
iii.Click the No button to ignore signals On Hold,
iv.Click Cancel to abort this request.
> If Purge was chosen:

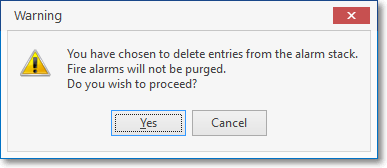
Confirm, the Purge request
i.Click the Yes button to complete the purge of all the Selected Alarm Signals.
ii.Click Cancel to abort this request.
iii.An information message will be displayed when the purge process is completed.
Confirmation that the selected signals have been deleted
2.Advanced - This tab - a more advanced dialog offering additional options beyond the Classic tab described above.
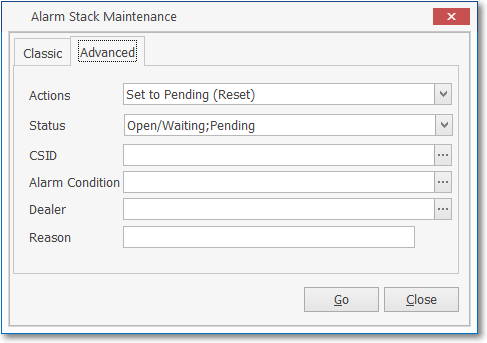
Alarm Stack maintenance Advanced tab dialog
▪Actions - Using the Drop-Down Selections Box provided, Choose the action to be performed.
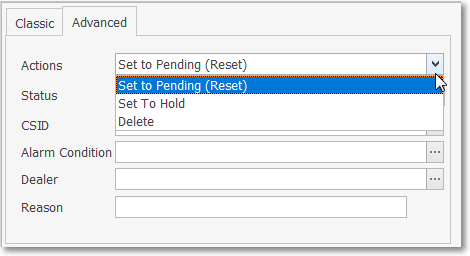
Actions options on the Advanced tab
▪Status - Using the Drop-Down Selection Check Boxes provided, Check each Status to be included in the Action selected above.
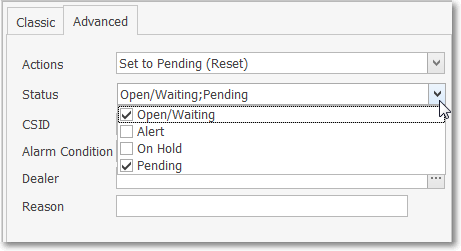
Status options on the Advanced tab
▪CSID - All CSIDs currently listed in the Alarm Stack will be included in the Action selected above, unless you specifically choose those that are to be included.
oTo Choose specific CSIDs to be affected by the Action specified above, Click the Ellipse button to the right of of the CSID field and Check all that are to be Selected.
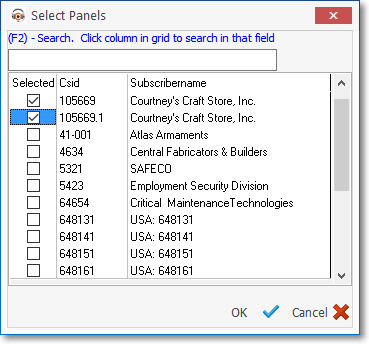
Advanced tab - CSID field - Select Panels search dialog
oClick the OK button when you have made the desired selections.
▪Alarm Condition - All Alarm Condition Codes currently listed in the Alarm Stack will be included in the Action selected above, unless you specifically choose those that are to be included.
oTo Choose specific Conditions to be affected by the Action specified above, Click the Ellipse button and Check all that are to be Selected.
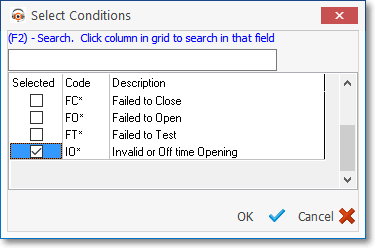
Advanced tab - Alarm Condition field - Select Conditions search dialog
oClick the OK button when you have made the desired selections.
▪Dealer - All Subscribers - with or without a Dealer Code assigned - who are currently listed in the Alarm Stack will be included in the Action selected above, unless you specifically choose the Specific Dealer(s) who are to be included.
oTo Choose specific Dealer to be affected by the Action specified above, Click the Ellipse button and Check all that are to be Selected.
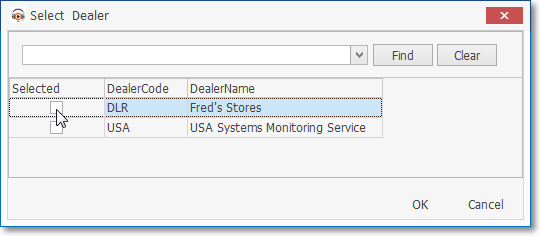
Advanced tab - Dealer field - Select Dealer search dialog
oClick the OK button when you have made the desired selections.
▪Reason - Enter the reason for this Action in the space provided.
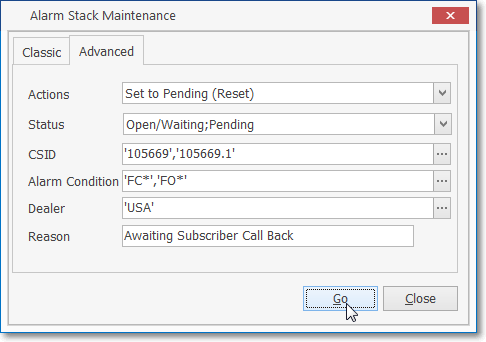
▪Click the Go button to execute the Action.
![]()
▪A Signals processed message will be displayed when the selected Action have been performed.
Signals processed.
✓Click the Close ![]() box (or the Close button) to return to the Alarm Stack Form.
box (or the Close button) to return to the Alarm Stack Form.
•History - The Alarm Stack's History option will display Signal Details in a special section.
✓Click the History option to view the History Detail section
✓Click the History option to reactivate the Alarm Stack's Grid View.

Alarm Stack Form - Signal record - History option - History Detail section
❑Updates to the Alarm History records resulting from Alarm Stack Maintenance Actions:
•Any Actions taken on the the CSIDs listed in the Alarm Stack using any of the available Alarm Stack Maintenance functions will be added to the Alarm History records as an additional Note in the Detail for that specific Alarm Signal or Event.
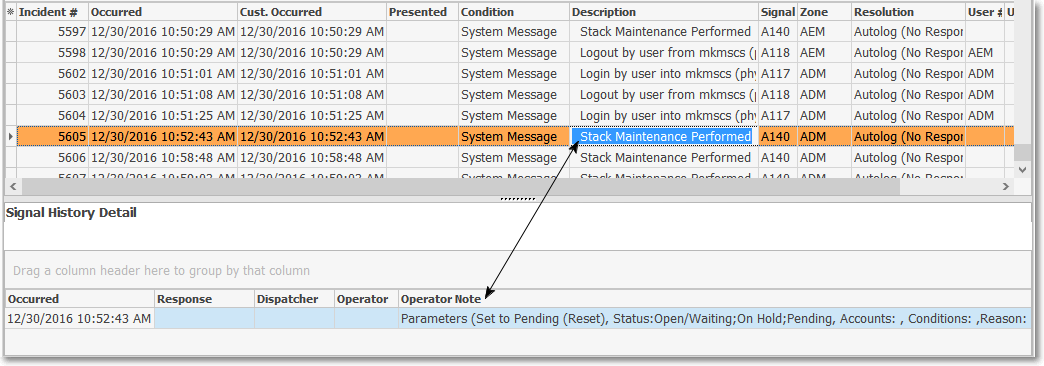
•The special Subscriber record named "SPA" (shown above) used by the Signal Processing Application will contain a more detailed record with the selected Actions, Status changes, CSIDs affected and Alarm Condition parameters chosen, and with the Reason noted above.
07/07/2020